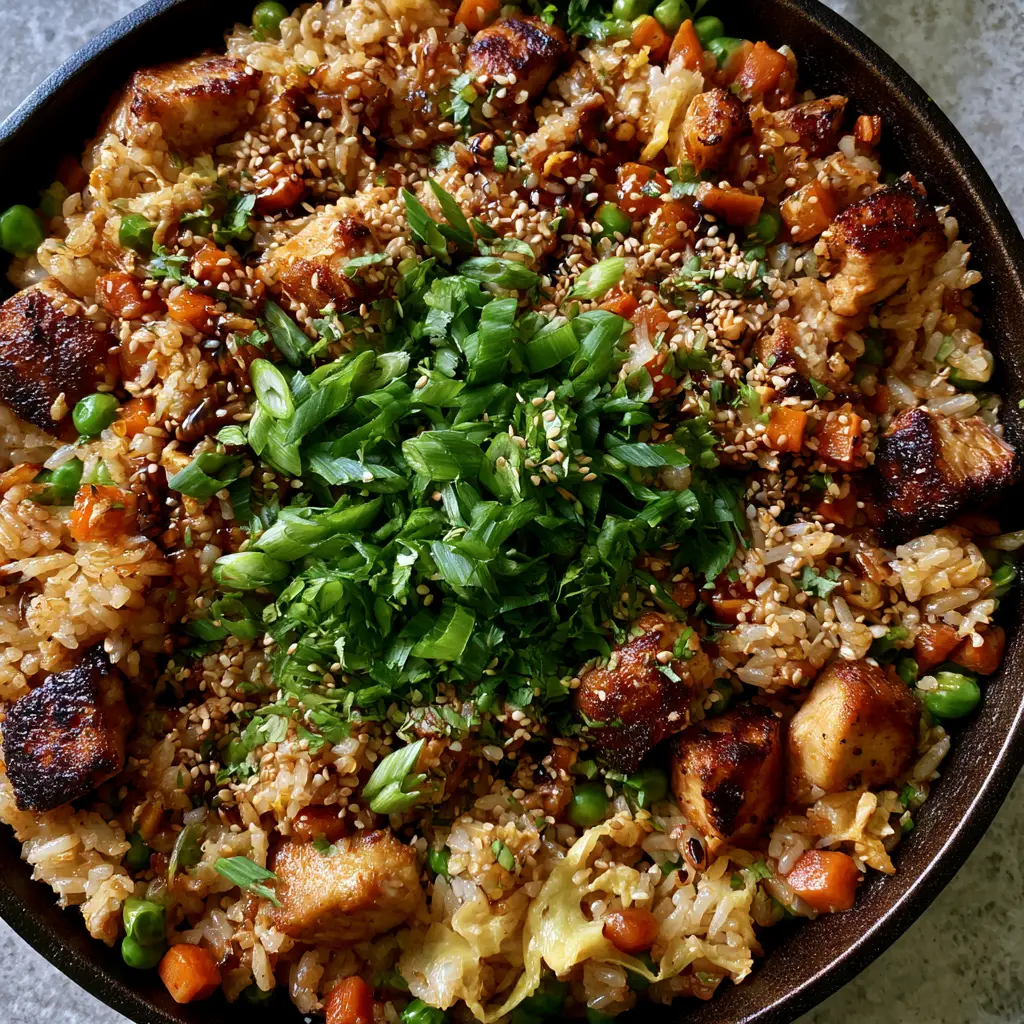
There is a specific magic that happens in a screaming-hot cast iron skillet when cold rice meets high heat. This chicken fried rice isn’t just a side dish; it is a masterclass in texture and flavor, designed to replicate that coveted hibachi-style char in your own kitchen.
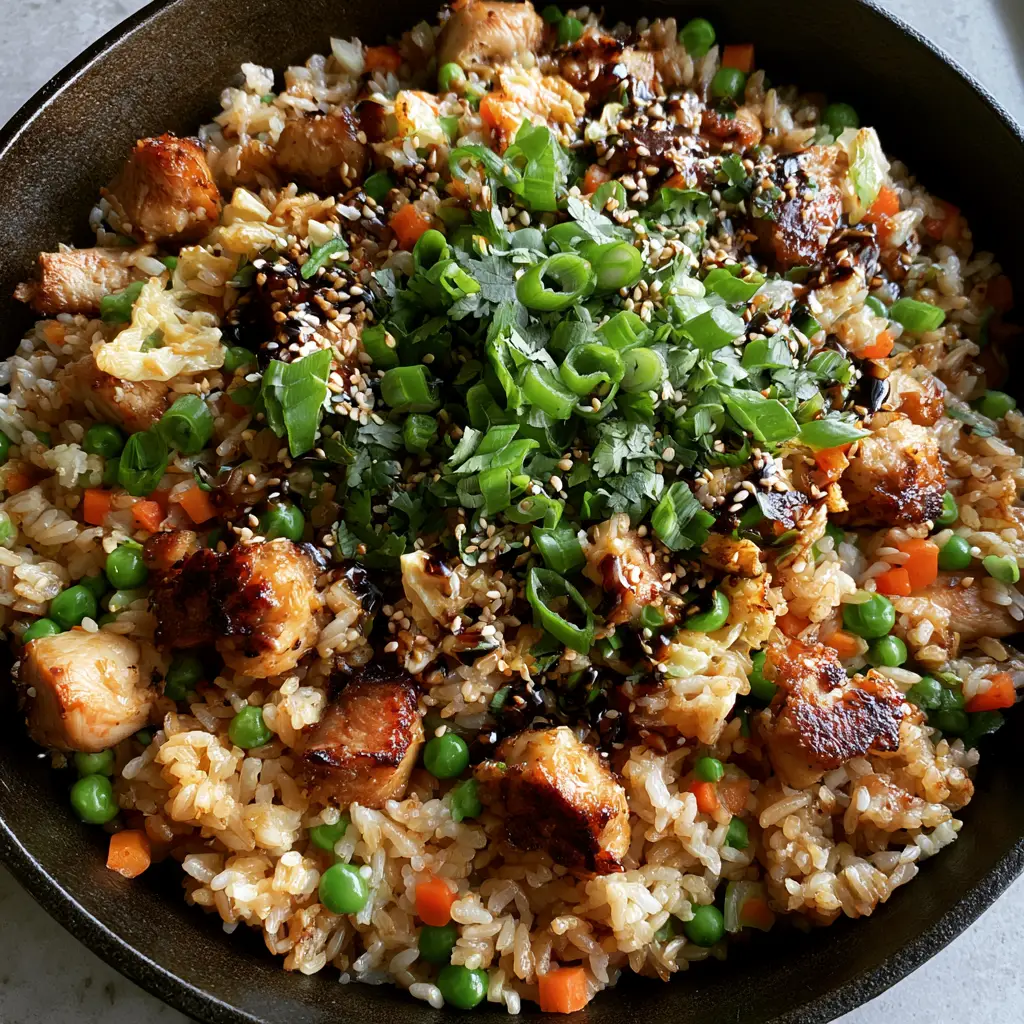
If you have ever stared at a macro photo of glistening, individual grains of toasted jasmine rice and wondered how to achieve that at home, you are in the right place. We are moving beyond “mushy” stir-fry and into the world of deeply seared chicken breast and vibrant, crisp-tender vegetables.
The secret lies in the “toasted” finish, where every grain of rice is coated in a light golden sheen, punctuated by the sharp contrast of bright green peas and delicate ribbons of soft scrambled egg. Let’s dive into the forensic details of making the perfect chicken fried rice.
The Anatomy of a Perfect Skillet Chicken Fried Rice
To achieve the visual and culinary success seen in professional kitchens, this recipe focuses on three distinct pillars: the sear, the grain separation, and the glaze. Here is why this version stands out:
- Deeply Seared Textures: We use high-heat searing to create crispy brown edges on the chicken breast cubes, providing a savory “crunch” in every bite.
- Individual Grain Integrity: By using chilled long-grain jasmine rice, we ensure each grain stays distinct and toasted rather than clumping together.
- Vibrant Color Contrast: The combination of bright orange carrots, neon-green peas, and golden egg ribbons creates a visual feast that matches its taste.
- The “Hibachi” Glaze: A light soy-based glaze provides a dark savory finish without making the dish heavy or soggy.
Essential Ingredients for Restaurant-Quality Results
Every ingredient in this chicken fried rice has been chosen to fulfill a specific role in the dish’s architecture. From the foundational aromatics to the final garnish, nothing is left to chance.
Long-Grain Jasmine Rice: 3 cups (approx. 450g) of cooked, chilled rice. Jasmine provides the floral aroma and the perfect starch content to achieve a toasted golden sheen without becoming gummy.
Chicken Breast: 1 lb (450g) cut into 1/2-inch cubes. Cutting the chicken into uniform bite-sized pieces ensures they sear quickly and develop those signature crispy brown edges.
Vegetable Foundation: 1/2 cup (75g) finely diced carrots and 1/2 cup (75g) bright green garden peas. These provide the essential sweetness and “pop” of color required for a classic profile.
The Eggs: 3 large eggs, lightly whisked. These are cooked into delicate ribbons to provide a soft, creamy counterpoint to the toasted rice grains.
The Glaze & Seasoning: 3 tbsp (45ml) light soy sauce, 1 tsp (5ml) toasted sesame oil, and a heavy hand of cracked black pepper. This combination creates the dark savory glaze seen in hibachi cooking.
Foundational Fats: 3 tbsp (45ml) neutral oil (like avocado or grapeseed) and 1 tbsp (15g) unsalted butter. The oil handles the high heat, while the butter adds that classic hibachi richness.
The Garnish: 1/4 cup (15g) freshly sliced scallions, 2 tbsp (5g) chopped cilantro, and 1 tbsp (9g) toasted white sesame seeds. These add the final layer of fresh fragrance and visual “macro” detail.
Must-Have Tools for the Ultimate Sear
To get the exact look of our chicken fried rice, your equipment is just as important as your ingredients. A seasoned cast iron skillet is the preferred vessel for its heat retention.
If you don’t have a cast iron skillet, a heavy-bottomed stainless steel pan or a carbon steel wok will work. The goal is a surface that can maintain high heat to “toast” the rice rather than just warming it through.
You will also need a wide, flat spatula. This allows you to press the rice against the hot surface and toss the ingredients efficiently without breaking the delicate grains.
Step-by-Step Instructions to Mastering the Skillet
Step 1: Achieving the Deep Golden Sear on the Chicken
Heat 1 tbsp (15ml) of oil in your cast iron skillet over medium-high heat until it begins to shimmer. Pat your chicken cubes dry with a paper towel—this is crucial for a proper sear.
Add the chicken in a single layer, seasoned with a pinch of salt and cracked black pepper. Let it sit undisturbed for 2-3 minutes until a deep golden-brown crust forms on the bottom, then toss to cook through. Remove and set aside.
Step 2: Sautéing the Aromatic Vegetable Base
In the same pan, add another tbsp of oil and your finely diced carrots. Sauté for 3-4 minutes until they soften slightly and the edges begin to caramelize.
Add the bright green peas and cook for another minute. You want the peas to stay vibrant and “snap” when bitten, so do not overcook them at this stage.
Step 3: Creating the Soft Scrambled Egg Ribbons
Push the vegetables to the outer edges of the skillet. If the pan looks dry, add a small knob of butter (5g) to the center.
Pour in the whisked eggs. Using your spatula, gently fold the eggs as they set, creating soft, delicate ribbons. Once they are 90% cooked, break them into smaller pieces and incorporate them with the vegetables.
Step 4: The Toasted Jasmine Rice Transformation
Add the remaining oil and the cold jasmine rice to the skillet. Use the back of your spatula to break up any large clumps of rice so that every grain is exposed to the heat.
Spread the rice across the bottom of the skillet and let it “toast” for 2 minutes without moving it. You should hear a distinct crackling sound—this is the rice grains glistening and browning in the fat.
Step 5: The Final Glaze and Garnish
Return the chicken to the pan. Drizzle the light soy sauce and toasted sesame oil over the rice. Toss everything vigorously for 1-2 minutes until the rice is evenly coated in a light golden sheen.
Turn off the heat. Sprinkle a generous amount of cracked black pepper, the toasted white sesame seeds, and the heavy garnish of freshly sliced scallions and chopped cilantro. The residual heat will wake up the aromatics without wilting the herbs.
Expert Tips for the Best Chicken Fried Rice
- The “Cold Rice” Rule: Never use freshly cooked, warm rice. It contains too much moisture and will turn into a mushy mass. Use rice that has been refrigerated for at least 12 hours.
- High Heat is Non-Negotiable: If your pan isn’t smoking slightly before the rice hits, you won’t get that “toasted” flavor. Cast iron is your best friend here.
- Don’t Crowd the Pan: If you are doubling the recipe, cook in batches. Overcrowding drops the temperature and leads to steaming instead of frying.
- The Butter Finish: Adding a small pat of butter at the very end (the “Hibachi secret”) provides a silky mouthfeel and a rich flavor that soy sauce alone cannot achieve.
How to Store and Reheat Your Leftovers
This chicken fried rice keeps exceptionally well in the refrigerator for up to 3 days when stored in an airtight container. Because the rice has already been “toasted,” it maintains its structure better than other rice dishes.
To reheat, avoid the microwave if possible as it can make the chicken rubbery. Instead, toss the rice back into a hot skillet with a teaspoon of water or a tiny bit of oil. This helps re-steam the interior of the grain while keeping the exterior crisp.
We do not recommend freezing this dish, as the texture of the peas and the soft egg ribbons can become spongy upon thawing.
What to Serve with Hibachi Chicken Fried Rice
This dish is a complete meal on its own, but it pairs beautifully with other Asian-inspired favorites. If you are looking for more protein options, try serving it alongside Japanese BBQ Style Chicken or a side of Teriyaki Glazed Skewers.
For a lighter side, a simple cucumber salad or a plate of roasted balsamic vegetables can balance the richness of the fried rice. If you are planning a larger spread, check out our summer dinner ideas for more inspiration.
Frequently Asked Questions
Absolutely. Frozen peas and carrots are often flash-frozen at peak freshness. Just ensure you sauté them long enough to evaporate any excess frost moisture before adding the rice.
Yes. Freshly cooked rice contains too much surface moisture, which will cause it to steam and become mushy in the pan. Chilled rice has a drier surface that allows for the ‘toasting’ effect.
Pat the chicken dry before cooking and use a preheated cast iron skillet. Don’t crowd the pan, and let the chicken sit undisturbed for 2-3 minutes to develop a proper Maillard reaction crust.
The combination of high-heat searing in a cast iron pan, toasted sesame oil, and a final finish of unsalted butter provides that distinct restaurant-quality richness.
Long-grain jasmine rice is the gold standard. Its lower starch content and floral aroma allow it to toast and remain separate rather than clumping like short-grain varieties.
The Ultimate Skillet Chicken Fried Rice Recipe Card
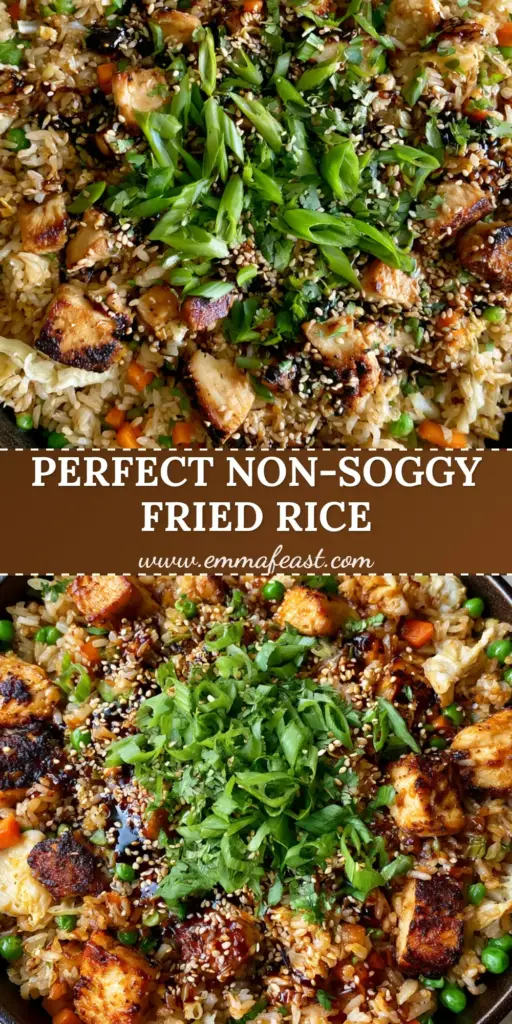
Chicken Fried Rice: The Ultimate Hibachi-Style Cast Iron Skillet Guide
Ingredients
Equipment
Method
- Heat 1 tbsp oil in skillet. Add chicken cubes in a single layer. Sear until crispy brown edges form (about 3 mins). Remove chicken.
- Add 1 tbsp oil. Cook diced carrots for 3 mins. Add peas and cook for 1 min until vibrant.
- Push veggies to the side. Pour in whisked eggs. Gently fold into soft ribbons, then mix with veggies.
- Add remaining oil and cold rice. Break up clumps. Spread flat and let toast for 2 mins until glistening and golden.
- Return chicken. Drizzle soy sauce and sesame oil. Toss for 1 min. Remove from heat and top with scallions, cilantro, sesame seeds, and black pepper.
Notes
A cast iron skillet provides the best heat for a professional hibachi-style sear.
Unlock Your Inner Chef Today
Mastering chicken fried rice is a rite of passage for any home cook looking to bring restaurant-quality flavors to the weeknight dinner table. The combination of the seared chicken breast, the toasted jasmine grains, and that dark savory glaze creates a sensory experience that is hard to beat.
Did you try the cast iron method? We want to hear about your results! Leave a comment below or share your photos with us. Don’t forget to follow us on Pinterest for more culinary inspiration and visual recipe guides!