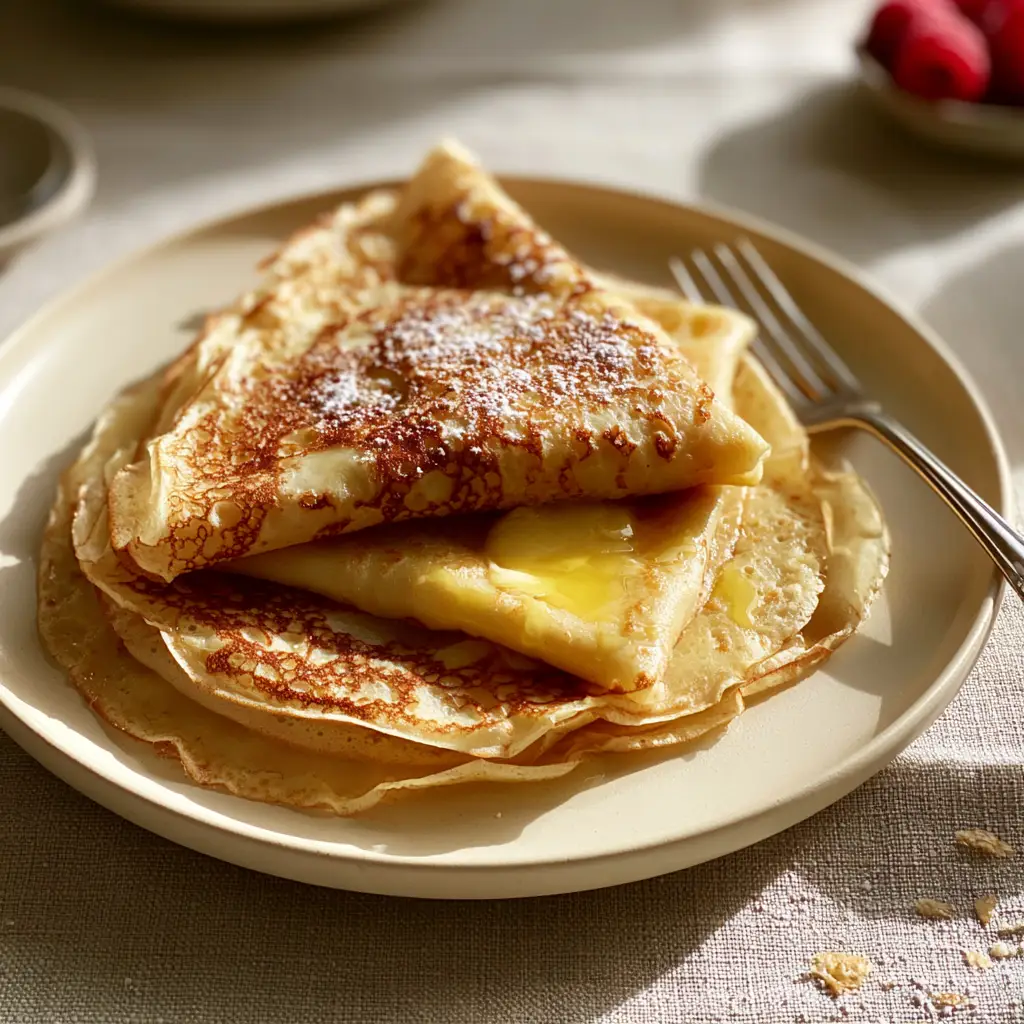
There is nothing quite like the elegance of authentic French crepes served on a quiet, sun-drenched morning. Imagine the soft, warm morning sunlight streaming through your window, illuminating a stack of delicate pastries that are as light as air. These are not your average pancakes; these are masterful creations characterized by their paper-thin profile and intricate, golden-brown leopard spots.
Achieving that perfect “melt-in-your-mouth” quality requires a balance of professional technique and high-quality ingredients. Whether you are folding them into elegant triangles or topping them with a dusting of fine sugar, these French crepes transform a simple breakfast into a gourmet experience. The visual contrast of vibrant red raspberries against a matte cream ceramic plate creates a centerpiece that is as beautiful as it is delicious.
In this guide, we will break down the culinary science behind the perfect batter and the precise heat management needed for those lacy edges. Prepare to master the art of the French crepe, ensuring every bite carries the rich, buttery sheen and tender texture seen in the finest Parisian bistros.
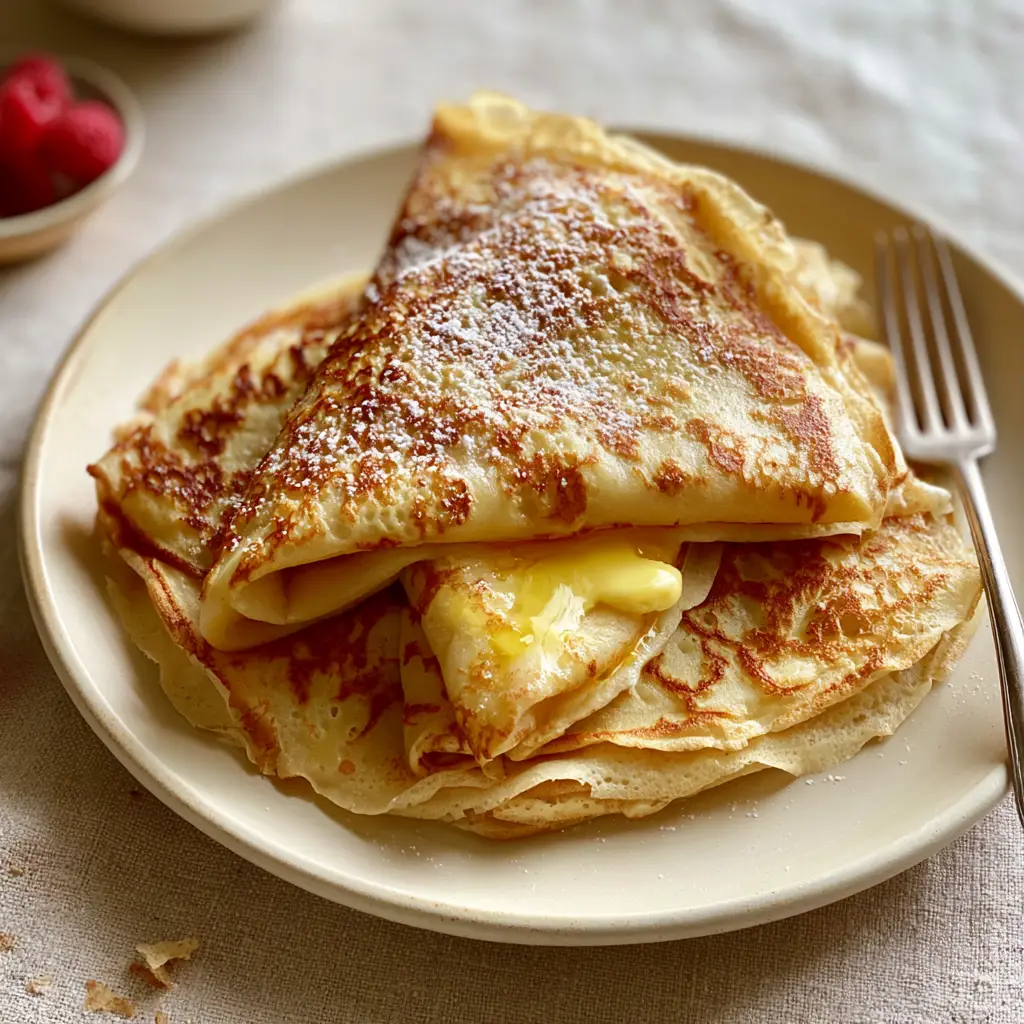
The Visual Signature of an Authentic French Crepe
- Paper-Thin Structure: A translucent quality that ensures the crepe is tender rather than bready or heavy.
- Leopard Spotting: Distinctive golden-brown patches that indicate perfect caramelization and a hint of crispness.
- Lacy, Glistening Edges: Delicate, slightly ruffled perimeters achieved through precise pan temperature and butter distribution.
- The Folding Aesthetic: Soft enough to be folded into elegant triangles without cracking, showcasing the internal “sheen” of melted butter.
- Vibrant Garnishes: A light, airy dusting of powdered sugar paired with the sharp, acidic pop of fresh red raspberries.
Essential Ingredients for Silk-Smooth Crepe Batter
All-Purpose Flour: 1 ½ cups (190g). Flour provides the essential gluten structure, but we use just enough to hold the crepe together while maintaining a delicate, thin consistency.
Whole Milk: 1 ½ cups (360ml). The fat content in whole milk is non-negotiable for achieving that rich, creamy interior texture and helping the batter spread evenly across the pan.
Large Eggs: 3 units. Eggs act as the primary binder and provide the “lift” and flexibility needed to flip the crepes without them tearing.
Melted Unsalted Butter: 3 tbsp (45g), plus extra for the pan. Incorporating melted butter directly into the batter creates an emulsion that results in that signature oily sheen and prevents sticking.
Granulated Sugar: 2 tbsp (25g). A small amount of sugar encourages the “leopard spots” to form through the Maillard reaction, providing both flavor and visual appeal.
Fine Sea Salt: ¼ tsp (1.5g). Salt is the “invisible” hero that cuts through the richness of the butter and milk, brightening the overall flavor profile of the French crepes.
Vanilla Extract: 1 tsp (5ml). Pure vanilla adds a floral aromatic layer that pairs perfectly with the dusting of powdered sugar and fresh fruit.
Cold Water: ½ cup (120ml). A splash of water thins the batter further than milk alone, ensuring it can be swirled into a truly paper-thin layer.
Professional Tools for the Perfect Swirl
To achieve the visual results described in our blueprint, you need a high-quality 10-inch (25cm) non-stick skillet or a traditional carbon steel crepe pan. The flat surface and low flared sides are critical for sliding a spatula under the delicate edges without damaging the lacy fringe.
A fine-mesh sieve is also recommended. Straining your batter is a “chef secret” that removes any tiny flour clumps, ensuring the final French crepes have a perfectly smooth, professional finish. Finally, a small offset spatula or a thin silicone turner will give you the precision needed to flip the crepes once those golden-brown spots appear.
Mastering the Batter: Preparation and Resting
Hydrating the Flour for Maximum Tenderness
In a large blender or mixing bowl, combine the milk, water, eggs, melted butter, sugar, salt, and vanilla. Gradually add the flour, whisking or blending until the mixture is the consistency of heavy cream; it should be significantly thinner than standard pancake batter.
The most important step is the “rest.” Let the batter sit in the refrigerator for at least 30 to 60 minutes. This allows the gluten to relax and the flour particles to fully hydrate, which is the secret to a tender, melt-in-your-mouth texture that doesn’t feel “rubbery.”
Achieving the Perfect Pan Temperature
Heat your non-stick skillet over medium heat. You’ll know it’s ready when a drop of water sizzles and dances across the surface. Lightly coat the pan with a small pat of butter, wiping away any excess with a paper towel—you want a thin, glistening film, not a pool of grease.
The “Swirl and Pour” Technique
Lift the pan off the heat and pour about ¼ cup (60ml) of batter into the center. Immediately tilt and rotate your wrist in a circular motion so the batter coats the entire bottom of the pan in a paper-thin layer. Any excess should be quickly swirled to the edges to create that iconic lacy look.
Executing the Flip: Visual Cues for Success
Identifying Leopard Spots and Lacy Edges
Place the pan back on the heat and cook for approximately 60 to 90 seconds. Look for the edges to start drying out and turning a delicate golden brown. The center of the crepe will set, and you will see small bubbles or “spots” forming underneath.
Gently slide your spatula under the edge. If the crepe lifts easily and shows a beautiful “leopard spot” pattern of golden brown, it is ready to flip. Use your fingers or the spatula to quickly turn it over.
The Second Sear and the “Fold”
The second side only needs about 30 seconds. It won’t be as evenly browned as the first, which is exactly what we want for an authentic look. Slide the crepe onto a matte ceramic plate and immediately fold it into a triangle while it is still steaming and pliable.
Expert Tips for Picture-Perfect Results
- The First Crepe Rule: The first crepe is almost always a “test.” Use it to gauge your pan temperature and batter thickness, adjusting with a tablespoon of water if the batter feels too heavy.
- Temperature Control: If the butter in the pan starts to smoke, your heat is too high. Lower the flame to maintain that soft, warm golden-brown color without burning the lacy edges.
- Stacking for Steam: Stack finished crepes on a plate covered with a clean linen cloth. The residual steam keeps them soft and prevents the edges from becoming too brittle to fold.
- The Sieve Trick: If you don’t use a blender, always pour the batter through a fine-mesh sieve into a clean bowl to guarantee a silk-like texture.
Storage, Reheating, and Make-Ahead Advice
French crepes are incredibly meal-prep friendly. You can store the cooked crepes in the refrigerator for up to 3 days. Simply stack them with parchment paper in between each layer to prevent sticking and seal them in an airtight bag or container.
To reheat, place a single crepe back in a dry skillet over medium-low heat for 20 seconds per side until the butter sheen returns. You can also freeze them for up to 2 months; just ensure they are well-wrapped to prevent freezer burn, as their thin structure is susceptible to drying out.
What to Serve With These Delicate Crepes
These French crepes are versatile enough to handle both sweet and savory pairings. For a classic morning spread, serve them alongside some mediterranean baked feta eggs for a protein-packed contrast. The salty feta and rich yolks complement the buttery crepes perfectly.
If you prefer a fruit-forward breakfast, consider pairing them with elements from a triple berry bake or even filling them with the macerated berries found in mini summer berry galettes. For those who love a hearty start to the day, a side of creamy spinach and eggs provides a savory balance to the sweet powdered sugar dusting.
Finally, if you are looking for more morning inspiration, be sure to browse our full collection of breakfast recipes to find the perfect beverage or side dish to complete your linen-draped table setting.
Frequently Asked Questions
Yes! You can prepare the batter up to 24 hours in advance. Keep it covered in the refrigerator; just give it a gentle whisk before cooking.
While a crepe pan helps, any high-quality 10-inch non-stick skillet will work. The key is a flat bottom and low sides for easy flipping.
Lacy edges are created by having a thin batter and using just enough butter to lightly coat the pan. The high heat causes the thin perimeter to crisp up beautifully.
Rubbery crepes usually result from over-mixing the batter or not letting it rest. Resting allows the gluten to relax, ensuring a melt-in-your-mouth texture.
The first crepe acts as a ‘sacrificial’ tester to season the pan and verify the temperature. It is a normal part of the process for even professional chefs!
The Ultimate French Crepe Recipe Card
French Crepes: The Secret to Paper-Thin, Golden Lace Edges
Ingredients
Equipment
Method
- Combine all batter ingredients in a blender and pulse for 30 seconds until completely smooth. Alternatively, whisk wet ingredients and slowly sift in flour.
- Strain the batter through a fine-mesh sieve and let it rest in the refrigerator for at least 30-60 minutes to relax the gluten.
- Heat a non-stick pan over medium. Lightly grease with butter and wipe away excess with a paper towel.
- Pour 1/4 cup of batter into the center and quickly swirl the pan to coat the bottom in a paper-thin layer.
- Cook for 60-90 seconds until lacy edges brown and leopard spots form on the bottom. Flip and cook for 30 seconds more.
- Fold the crepe into a triangle. Top with a small pat of butter to melt, a dusting of powdered sugar, and fresh raspberries.
Notes
Use a medium heat to achieve golden-brown leopard spots without burning the lacy edges.

Closing & Call to Action
Mastering French crepes is a rite of passage for any home cook looking to bring a touch of Parisian flair to their kitchen. With their paper-thin texture, buttery golden spots, and the fresh pop of raspberries, this recipe is a guaranteed showstopper. The simplicity of the ingredients belies the sophisticated result you’ll achieve by following these professional cues.
Did you manage to get those perfect lacy edges? We would love to hear about your results! Leave a comment below, sign up for our newsletter for more culinary deep-dives, and don’t forget to share your beautiful creations to Pinterest so others can enjoy this morning treat!