There is a specific, gravity-defying magic found in bakery style chocolate chip cookies that most home recipes simply cannot replicate. We are talking about those massive, mountainous cookies that feature a crinkled, golden-brown exterior and a center so soft it practically hums with steam when pulled apart.
This recipe is designed to bridge the gap between your kitchen and the high-end bakeries of New York City. By focusing on professional techniques like butter aeration and specific flour ratios, you will create a cookie that boasts deep ripples and molten dark chocolate pools.
Imagine holding a warm, ultra-thick cookie that is dense yet doughy, finished with a delicate dusting of flaky sea salt that catches the light. This isn’t just a snack; it is a culinary masterpiece designed for those who crave the perfect balance of crispy caramelized edges and a melting interior.
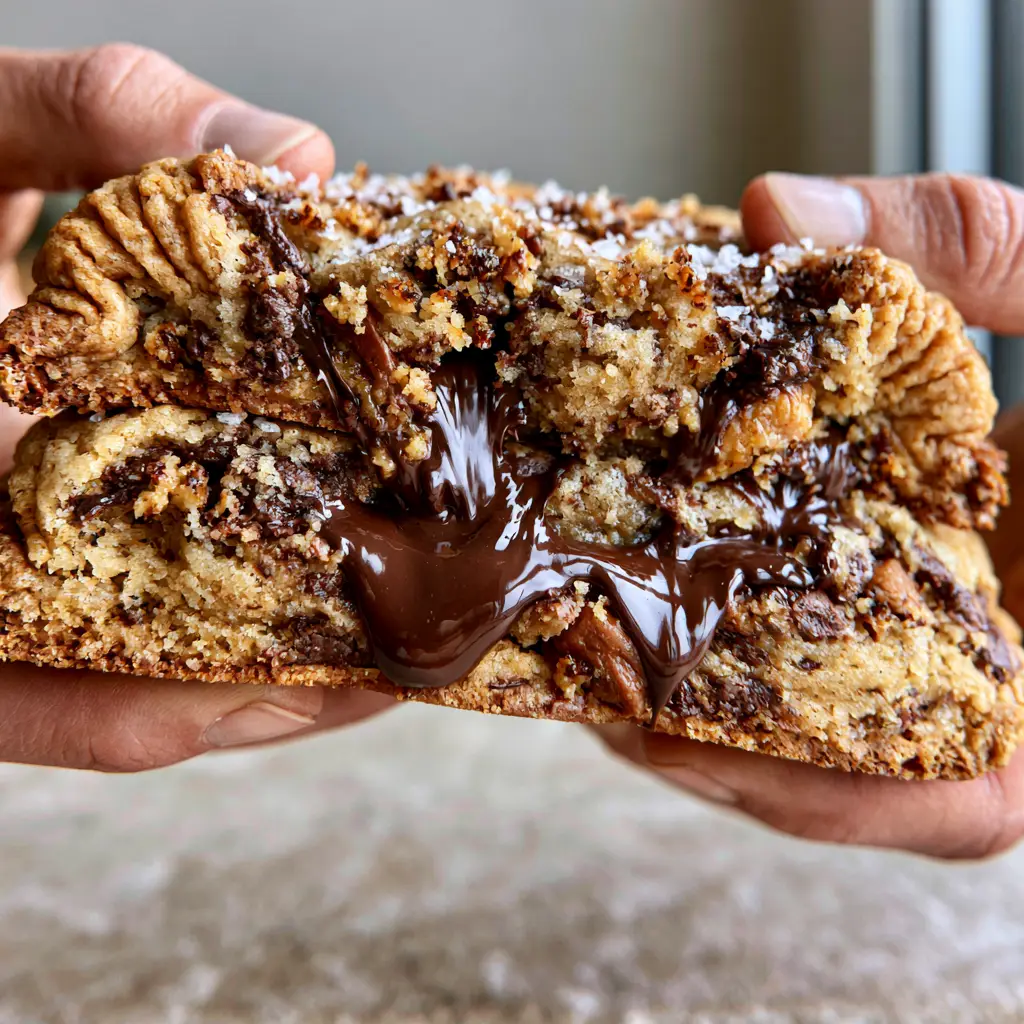
The Anatomy of a Perfect Mountainous Cookie
Achieving the iconic Levain-style silhouette requires more than just a standard dough; it requires a structural blueprint. The following elements are what set these bakery style chocolate chip cookies apart from a standard flat biscuit.
- Extreme Vertical Height: We utilize a high-protein flour blend and cold fats to ensure the cookies stand tall rather than spreading thin on the pan.
- Molten Chocolate Architecture: By using hand-chopped dark chocolate bars instead of just chips, we create those signature overflowing pools of liquid gold.
- Toasted Brown Butter Ripples: Browning the butter adds “bits” of toasted milk solids that create a nutty, complex flavor profile and visible flecks in the dough.
- Dual-Texture Experience: The high heat of the oven creates a crispy, caramelized “shell” while leaving the very center in a state of soft, doughy perfection.
Essential Ingredients for Success
Every ingredient in these bakery style chocolate chip cookies serves a scientific purpose. We do not use “fluff” ingredients; every addition is calculated for texture, height, and flavor depth.
1 cup (227g) Unsalted Butter: We will brown this butter to evaporate water content and intensify the flavor. It provides the foundation for those toasted ripples and the rich, nutty aroma.
1 cup (200g) Light Brown Sugar, packed: Brown sugar provides the moisture and acidity needed to react with the leavening agents. It is responsible for the soft, chewy center and the deep caramel notes.
1/2 cup (100g) Granulated Sugar: This sugar is essential for achieving those crispy caramelized edges. It aids in the Maillard reaction, giving the exterior its golden-brown hue.
2 Large Eggs, Cold: Using cold eggs helps keep the dough temperature down, which is vital for preventing premature spreading in the oven. They provide the necessary structure and lift.
1 ½ cups (190g) All-Purpose Flour: This provides the base structure of the cookie. It keeps the crumb tender while allowing the other ingredients to shine.
1 ½ cups (190g) Bread Flour: The higher protein content in bread flour is the secret to the “mountainous” height. It creates a stronger gluten network that holds those molten chocolate pools in place.
1 tsp (5g) Cornstarch: This “invisible” ingredient is a professional secret for creating a soft, doughy center. It breaks up the gluten just enough to ensure the cookie isn’t tough.
1 tsp (5g) Baking Soda & 1/2 tsp (2g) Baking Powder: This dual-leavening approach ensures the cookies rise rapidly. The baking soda aids in browning, while the powder provides the vertical lift.
1 tsp (6g) Fine Sea Salt: Salt is a flavor enhancer that cuts through the richness of the chocolate and butter. We also use it to balance the sweetness of the sugars.
1 ½ cups (250g) Dark Chocolate (70% Cacao), hand-chopped: Hand-chopping creates varying sizes of chocolate. The smaller shards melt into the dough, while the large chunks create those massive molten pools.
1 cup (170g) Semi-Sweet Chocolate Chunks: These provide a classic sweetness and a different melting point than the dark chocolate. This variety creates a complex “chocolate landscape” inside the cookie.
Flaky Sea Salt, for garnish: A final dusting provides a visual sheen and a sharp contrast to the molten chocolate. It is the signature finish for any high-end bakery style chocolate chip cookies.
Tools for the Professional Baker
To achieve the hyper-realistic texture seen in our visuals, you need a few specific tools. These ensure consistency and help manage the temperature of the dough.
A heavy-bottomed stainless steel saucepan is required for browning the butter. This allows you to see the milk solids as they turn from gold to a deep, toasted brown.
A stand mixer with a paddle attachment is ideal for incorporating air into the sugars and butter without overworking the flour. This aeration is key to the crinkled ripple effect.
Large baking sheets lined with parchment paper or silicone mats prevent sticking and ensure even heat distribution. Avoid thin, dark pans which can burn the caramelized edges too quickly.
Finally, a digital kitchen scale is highly recommended. Measuring by weight is the only way to guarantee that your cookies will be ultra-thick and not flat or dry.
The Brown Butter Foundation
The first step in creating these bakery style chocolate chip cookies is mastering the brown butter. Place your butter in the saucepan over medium heat, whisking constantly as it melts.
Watch for the butter to foam and then subside. You will begin to smell a nutty, toasted aroma, and small brown flecks will appear at the bottom of the pan.
Immediately remove the pan from the heat and pour the butter—including all those toasted bits—into a heat-proof bowl. Let it cool until it is a soft, semi-solid “sludge” consistency before starting your dough.
Mixing the Mountainous Dough
In your stand mixer, combine the cooled brown butter with the brown and granulated sugars. Cream them together on medium speed for at least 3-4 minutes until the mixture looks pale and fluffy.
Add the cold eggs one at a time, followed by a splash of high-quality vanilla extract. Mix until just combined; over-mixing at this stage can lead to a cake-like texture rather than a dense, doughy one.
In a separate bowl, whisk together the all-purpose flour, bread flour, cornstarch, baking soda, baking powder, and fine salt. Sifting these together ensures there are no clumps of leavening agent in your cookies.
Turn the mixer to the lowest setting and slowly add the dry ingredients. Stop as soon as you see only a few streaks of flour remaining; the final mixing will happen when we add the chocolate.
Creating the Molten Dark Chocolate Pools
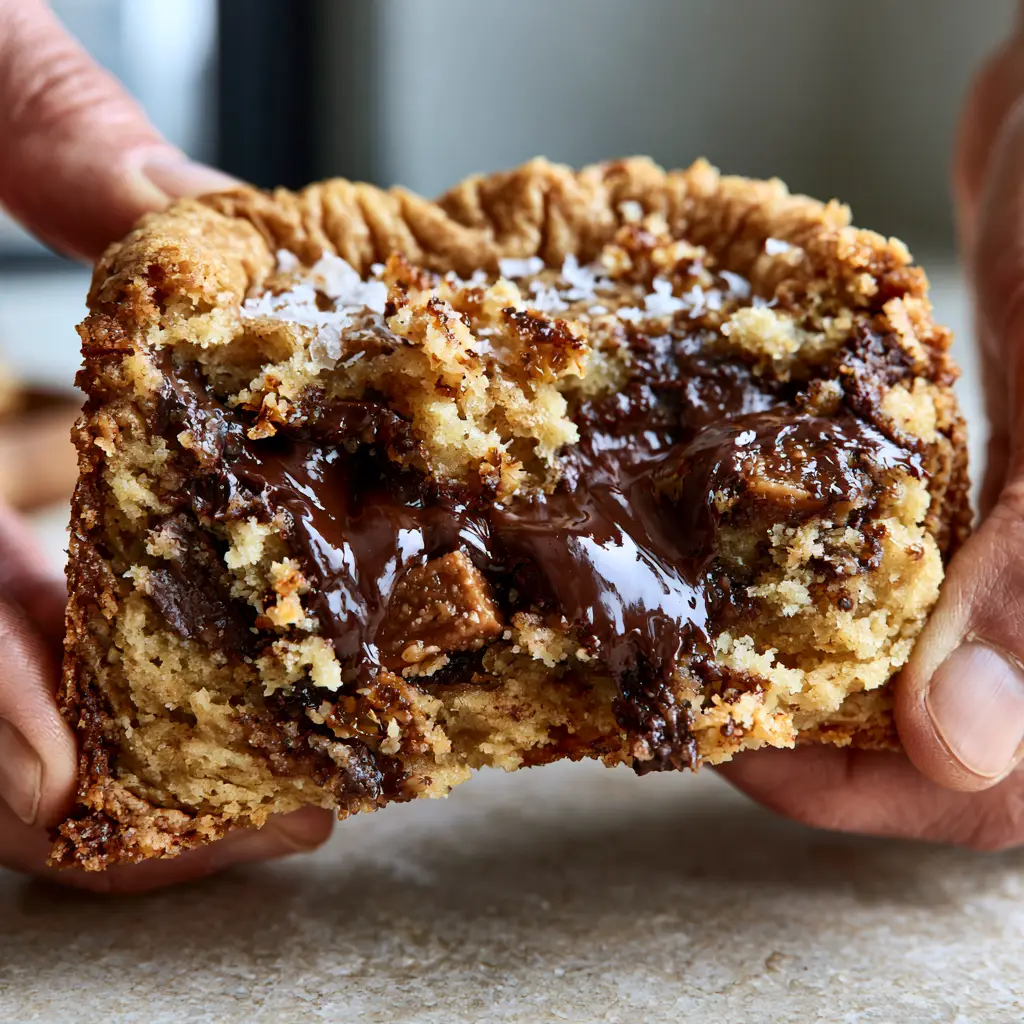
Fold in your hand-chopped dark chocolate and semi-sweet chunks using a large spatula. Ensure the chocolate is distributed evenly so every bite contains a massive, overflowing pool of cocoa.
The dough will be thick, heavy, and studded with chocolate. At this point, the dough needs to rest in the refrigerator for at least 2 hours, though 24 hours is preferred for flavor development.
Chilling the dough allows the flour to fully hydrate and the fats to solidify. This is the single most important step for ensuring your bakery style chocolate chip cookies maintain their mountainous height.
Baking for Crispy Edges and Soft Centers
Preheat your oven to 410°F (210°C). This high temperature is a bakery secret; it sears the outside of the cookie quickly, creating that crispy caramelized crust before the middle can overcook.
Scoop the dough into massive balls, roughly 6 ounces (170g) each. Do not roll them into smooth spheres; leave the tops craggy and uneven to encourage those deep, crinkled ripples.
Place only 4 cookies on a large baking sheet to allow for airflow. Bake for 10-12 minutes, or until the edges are deep golden brown and the tops look “set” but still slightly pale in the cracks.
Immediately upon removing them from the oven, sprinkle with flaky sea salt. Let them rest on the hot pan for at least 15 minutes to allow the interior to finish setting through residual heat.
Expert Tips for Bakery-Style Success
- The “Slam” Technique: Halfway through baking, lift the pan and gently tap it against the oven rack. This encourages the ripples to form and settles the molten chocolate pools.
- Avoid Over-Baking: The cookies will look underdone in the center when you pull them out. This is intentional! The “steam vapors” and soft center rely on pulling them out at the perfect moment.
- Quality Chocolate Matters: Since chocolate is the star, avoid cheap chips with stabilizers. Use high-quality bars that list cocoa butter as a primary ingredient for the best “melt.”
- Freezer Trick: For even thicker cookies, place your scooped dough balls in the freezer for 15 minutes immediately before putting them in the hot oven.
The Best Way to Store and Reheat
These bakery style chocolate chip cookies are best served warm, ideally 20 minutes after baking. However, they stay delicious for up to 3 days when stored in an airtight container at room temperature.
To regain that “molten” experience the next day, microwave a cookie for 10-15 seconds. This softens the dough and turns the chocolate back into liquid pools.
You can also freeze the unbaked dough balls for up to 3 months. When the craving hits, simply bake them directly from the freezer, adding 2-3 minutes to the total baking time.
What to Serve With These Cookies
While these cookies are a meal in themselves, they make a spectacular ending to a cozy dinner. If you are planning a full menu, consider starting with a savory dish like pepper steak or a comforting bruschetta chicken casserole.
For a lighter evening, these cookies pair beautifully with a fresh burger bowl. The contrast between the savory meal and the rich, salt-dusted cookie is incredible.
If you are hosting a gathering, these are the perfect baby shower food ideas because they are visually stunning and can be made in advance. Pair them with a cold glass of milk or a strong espresso to cut through the dark chocolate intensity.
Bakery Cookie Troubleshooting: Frequently Asked Questions
You can, but chopped bars are the secret to those ‘molten pools’ seen in bakery cookies. Chips contain stabilizers to help them hold their shape, while bars melt more fluidly into the dough.
While you can use all-purpose flour, bread flour contains more protein which creates the gluten strength necessary for thick, Levain-style cookies. Without it, they will spread more and be less dense.
Don’t roll your dough into smooth balls. Leave the surface craggy and uneven. Additionally, using the ‘pan slam’ technique halfway through baking helps the dough settle into those iconic ripples.
Flat cookies usually result from butter that is too warm or not using enough high-protein flour. Ensure your brown butter is semi-solid and use bread flour to provide the structure needed for that mountainous height.
High heat (410°F) quickly sets the outer edges and creates a caramelized crust, preventing the cookie from spreading. This leaves the center soft and doughy while the outside gets perfectly crispy.
The Ultimate Bakery Style Chocolate Chip Cookie Recipe
Bakery Style Chocolate Chip Cookies: The Ultimate Thick and Gooey Brown Butter Guide
Ingredients
Equipment
Method
- In a stainless steel saucepan, melt the butter over medium heat. Whisk constantly until it foams, smells nutty, and brown flecks appear. Remove from heat immediately.
- Pour the butter into a bowl and let it cool until it reaches a soft, semi-solid consistency (about 30-45 minutes).
- Cream the cooled brown butter with both sugars in a stand mixer for 3-4 minutes until fluffy. Add eggs one at a time.
- Sift together flours, cornstarch, leavening agents, and fine salt. Mix into the butter mixture on low until just barely combined.
- Fold in the chopped dark chocolate and chunks. Portion into 6oz balls and chill in the fridge for at least 2 hours.
- Preheat oven to 410°F (210°C). Place dough balls on parchment-lined sheets. Bake for 10-12 minutes until edges are golden but centers are soft.
- Sprinkle with flaky sea salt immediately. Let cookies rest on the pan for 15 minutes before serving warm to ensure steam vapors and molten centers.
Notes
The high temperature (410°F) is critical for the crispy edge and soft center contrast.
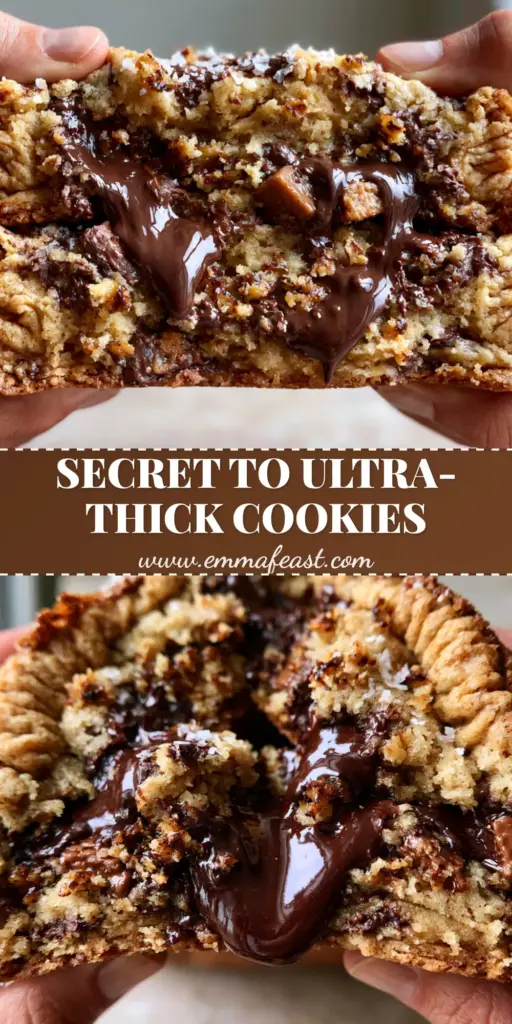
Mastering the bakery style chocolate chip cookies is a rite of passage for any home cook. The combination of toasted brown butter, mountainous dough, and molten dark chocolate creates a sensory experience that is truly unmatched.
We hope you enjoy the process of browning your butter and watching these cookies rise to incredible heights in your oven. The crispy caramelized edges and soft, steaming centers are waiting for you!
If you love this recipe, please leave a comment below and share your results! Don’t forget to follow us and share your beautiful cookie pulls on Pinterest.