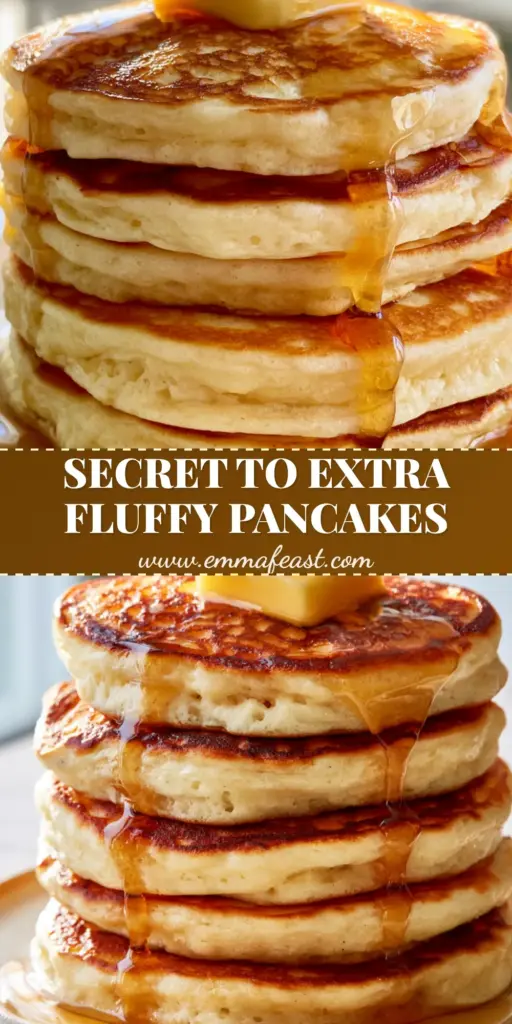
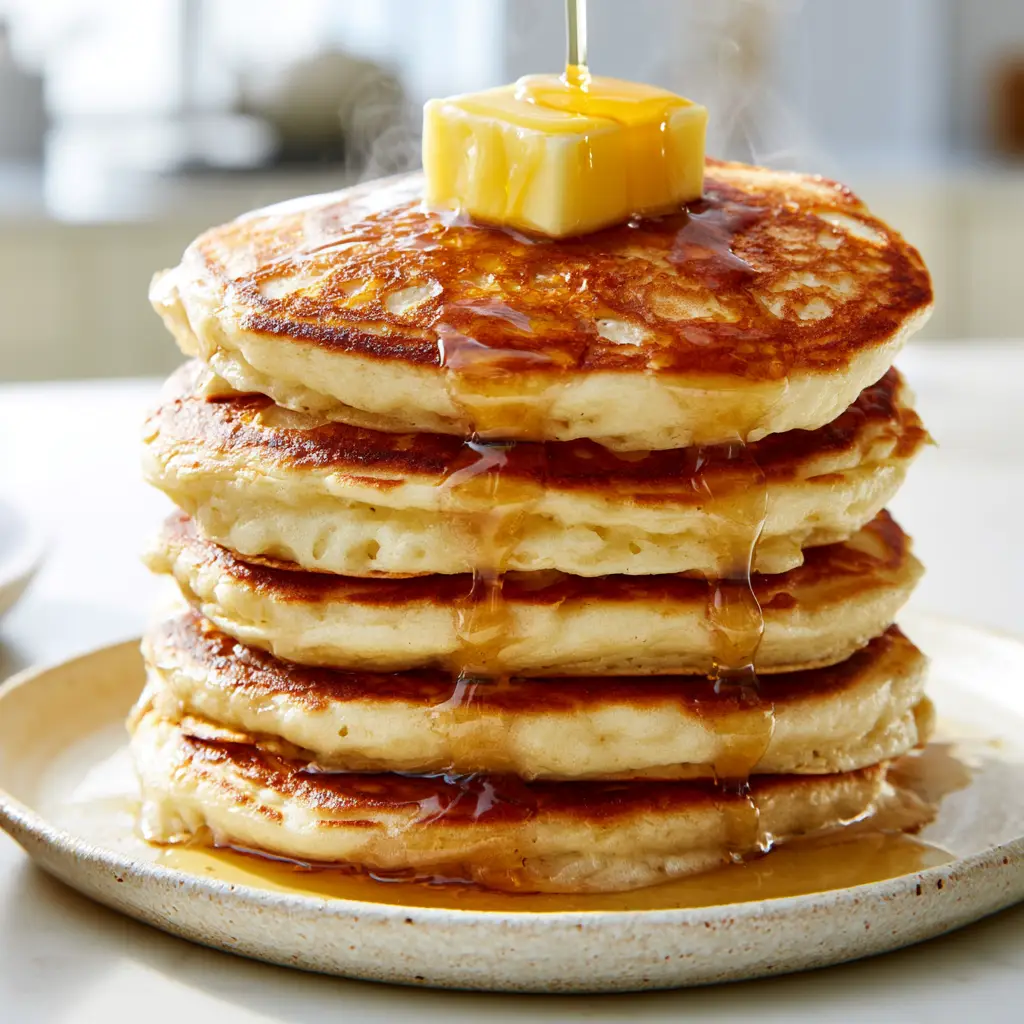
There is nothing quite like the sight of a towering stack of homemade pancakes catching the soft morning light on a Saturday morning. Imagine five exceptionally thick, airy rounds piled high, each boasting a perfect golden-brown lace-patterned sear and those iconic aerated buttermilk edges.
This recipe isn’t just about breakfast; it is about recreating that nostalgic diner experience in your own kitchen. We are targeting that specific visual of a large square pat of salted yellow butter melting rapidly over the peak, sending translucent amber maple syrup cascading down the sides to pool at the base.
Whether you are a seasoned pro or a weekend warrior, these homemade pancakes will redefine your expectations of what a griddle cake can be. Let’s dive into the culinary science of the perfect flip.
Why This Homemade Pancakes Recipe Works
- Extreme Vertical Height: Using a precise ratio of leavening agents to acidic buttermilk ensures these pancakes rise high and stay fluffy.
- The Perfect Sear: We utilize a specific fat-to-heat ratio to achieve that professional lace-patterned golden crust seen in high-end diners.
- Aerated Texture: By avoiding over-mixing, we preserve the carbon dioxide bubbles that create those beautiful, light-colored aerated edges.
- Balanced Flavor: The combination of salted butter and real maple syrup provides the ultimate sweet-and-savory finish.
Foundational Ingredients for the Fluffiest Stack
All-Purpose Flour: 2 cups (250g). This provides the essential structure and gluten network needed to hold the air bubbles without becoming tough.
Granulated Sugar: 2 tbsp (25g). Beyond sweetness, sugar aids in the Maillard reaction, helping to achieve that deep golden-brown seared surface.
Baking Powder & Baking Soda: 2 tsp (8g) and 1/2 tsp (3g) respectively. This dual-leavening approach reacts with the buttermilk for an immediate and sustained lift.
Fine Sea Salt: 1/2 tsp (3g). Salt is a flavor enhancer that balances the richness of the butter and the sweetness of the syrup.
Full-Fat Buttermilk: 2 cups (480ml). The acidity in buttermilk is the “secret engine” that activates the baking soda for those extreme aerated edges.
Large Eggs: 2 units. These act as a binder and provide the fat necessary for a rich, tender crumb that melts in your mouth.
Melted Unsalted Butter: 4 tbsp (56g). Incorporating fat directly into the batter ensures a moist interior and a luxurious mouthfeel.
Pure Vanilla Extract: 1 tsp (5ml). This adds a nostalgic aroma that pairs perfectly with the scent of rising steam from the hot stack.
Salted Butter Pat: 1 large square (14g). Placed on top of the finished stack, it provides the visual and gustatory “peak” of the dish.
Amber Maple Syrup: 1/2 cup (120ml). Choose a thick, translucent syrup for that iconic cascading visual effect.
Essential Equipment for Diner-Quality Results
To achieve the “lace-patterned sear” described in our blueprint, a heavy-bottomed non-stick skillet or a cast-iron griddle is non-negotiable. The heat retention of cast iron creates a more even, vibrant color across the surface of the homemade pancakes.
You will also need a wide stainless steel spatula for confident flipping, a wire whisk for the dry ingredients, and a large silicone spatula for gently folding the wet into the dry. A standard 1/3 cup (80ml) measuring cup is perfect for portioning consistent, thick pancakes.
Step-By-Step Instructions for the Perfect Flip
Preparing the Aerated Batter
In a large mixing bowl, whisk together the flour, sugar, baking powder, baking soda, and salt. Ensure there are no large clumps of leavening agent, as this ensures an even rise across the entire tower.
In a separate jug, whisk the buttermilk, eggs, melted butter, and vanilla until fully combined. Create a well in the center of the dry ingredients and pour in the liquid mixture.
Use a spatula to fold the ingredients together until *just* combined. Stop the moment you see no more streaks of dry flour; the batter should be thick and noticeably lumpy to preserve those air pockets.
Mastering the Lace-Patterned Sear
Preheat your griddle over medium heat. You’ll know it’s ready when a drop of water flicked onto the surface dances and evaporates immediately.
Lightly grease the surface with a small amount of butter or neutral oil. Pour 1/3 cup (80ml) of batter per pancake, leaving plenty of room between them so they don’t merge into one.
Cook until you see bubbles forming on the surface and the edges look set and aerated. Peek underneath; you are looking for a deep, golden-brown lacy pattern before you perform a swift, confident flip.
Building the Five-Pancake Tower
Cook the second side for about 1-2 minutes until it mirrors the golden sear of the first. As each pancake finishes, stack them immediately onto a rustic ceramic plate to retain heat and create that rising steam effect.
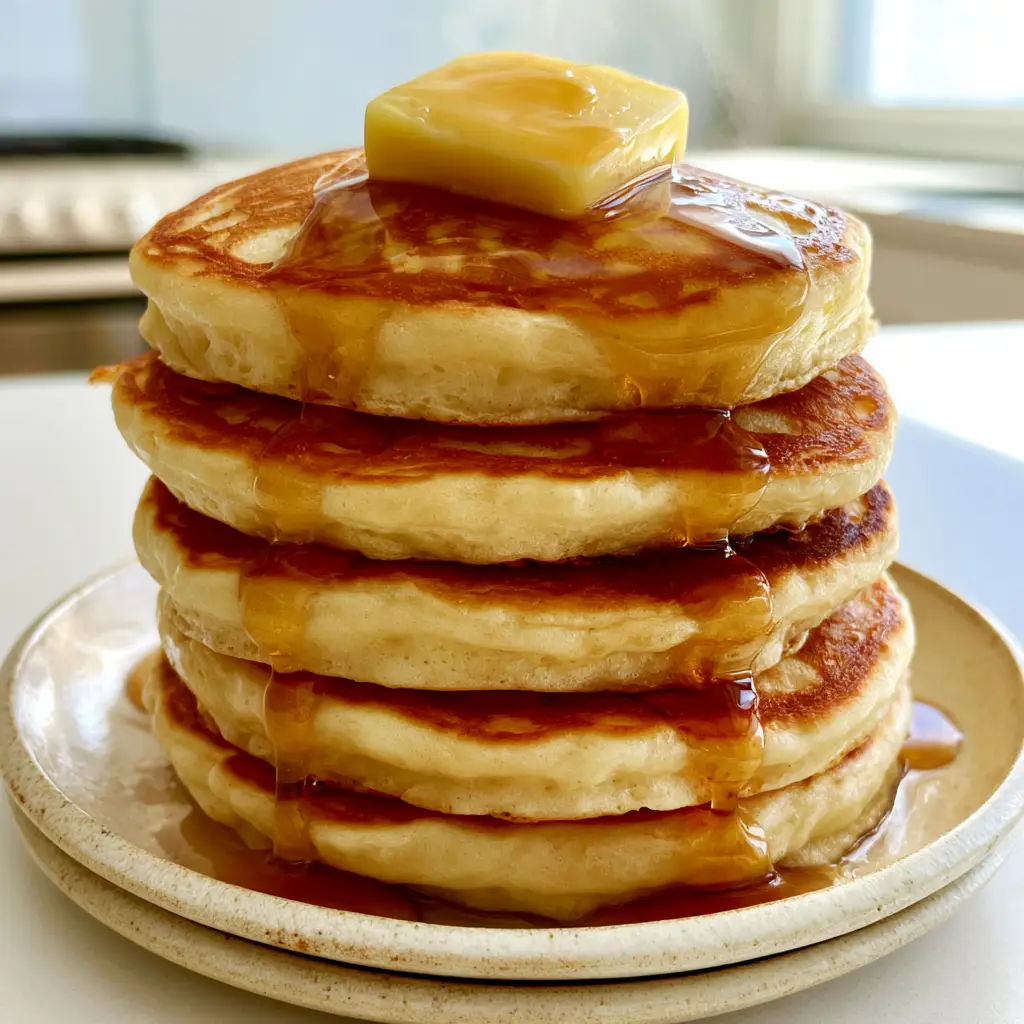
Once you reach five pancakes high, immediately place the square of salted butter on the peak. The residual heat will cause it to melt rapidly, coating the top layer in a glossy yellow sheen.
Finish by pouring the amber maple syrup slowly over the center, allowing it to cascade down the sides and pool slightly at the base of the stack.
Expert Tips for Pancake Success
- Don’t Over-mix: If you mix until the batter is smooth, you will develop too much gluten, resulting in rubbery pancakes instead of airy ones.
- Temperature Control: If the pancakes are browning too fast but staying raw inside, lower your heat. Patience is key to a thick, cooked-through center.
- The First Pancake Rule: Often, the first pancake is a “test” to calibrate the heat of your pan. Don’t be discouraged if it’s less than perfect.
- Rest the Batter: Letting the batter sit for 5-10 minutes allows the flour to hydrate and the leavening agents to begin their work.
Storage, Reheating, and Freezing
If you have leftovers, these homemade pancakes store beautifully. Keep them in an airtight container in the refrigerator for up to 3 days. To maintain the crisp edges, reheat them in a toaster or a dry skillet rather than the microwave.
For long-term storage, follow our guide on freezer-friendly breakfast options and freeze individual pancakes between layers of parchment paper. They can be popped straight from the freezer into the toaster for a quick weekday meal.
What to Serve with Homemade Pancakes
While a stack of five is a meal in itself, you can elevate your brunch spread by pairing these with other favorites. If you prefer a bit of crunch, try our textured cornmeal pancakes as a savory alternative.
For those who love a fruity twist, these pancakes pair excellently with a side of strawberry cheesecake oats or a fresh blueberry and lemon zest snack. If you need a protein boost, serve them alongside some crispy cottage cheese tots.
Frequently Asked Questions
You can, but you’ll lose the characteristic tang and the extreme lift. If using regular milk, add a teaspoon of lemon juice or vinegar to mimic the acidity needed to react with the baking soda.
This comes from a combination of a hot, well-seasoned cast-iron pan and a small amount of fat. The bubbles popping on the surface create the uneven, crispy texture that browns into a lace pattern.
Medium heat (around 375°F or 190°C) is ideal. It allows the center to cook through and rise while the exterior develops a golden-brown sear without burning.
Pancakes usually turn out flat if the batter is over-mixed, which kills the air bubbles, or if your leavening agents (baking powder/soda) are expired. Ensure the batter remains lumpy.
Rubbery texture is caused by over-working the flour. When you mix too much, you develop gluten. For fluffy pancakes, fold the ingredients just until the flour streaks disappear.
The Ultimate Homemade Pancakes Recipe
Homemade Pancakes: The Ultimate Fluffy Diner-Style Recipe
Ingredients
Equipment
Method
- Whisk flour, sugar, baking powder, baking soda, and salt in a large bowl.
- In a separate jug, whisk buttermilk, eggs, melted butter, and vanilla.
- Gently fold wet ingredients into dry until just combined. Batter should be thick and lumpy.
- Heat a greased skillet over medium heat until a drop of water sizzles.
- Pour 1/3 cup of batter per pancake. Cook until bubbles form and edges are aerated. Flip and sear until golden-brown.
- Stack five pancakes high. Top with a pat of salted butter and pour maple syrup over the peak.
Notes
Use a cast-iron skillet for the best lace-patterned sear.
Join the Emma Feast Community
We hope this guide helps you master the art of the fluffy stack! There is nothing more satisfying than a successful batch of homemade pancakes. If you enjoyed this recipe, please leave a comment below and tell us how yours turned out.
Don’t forget to follow us and save this recipe to your breakfast boards on Pinterest so you never lose it! Happy cooking!