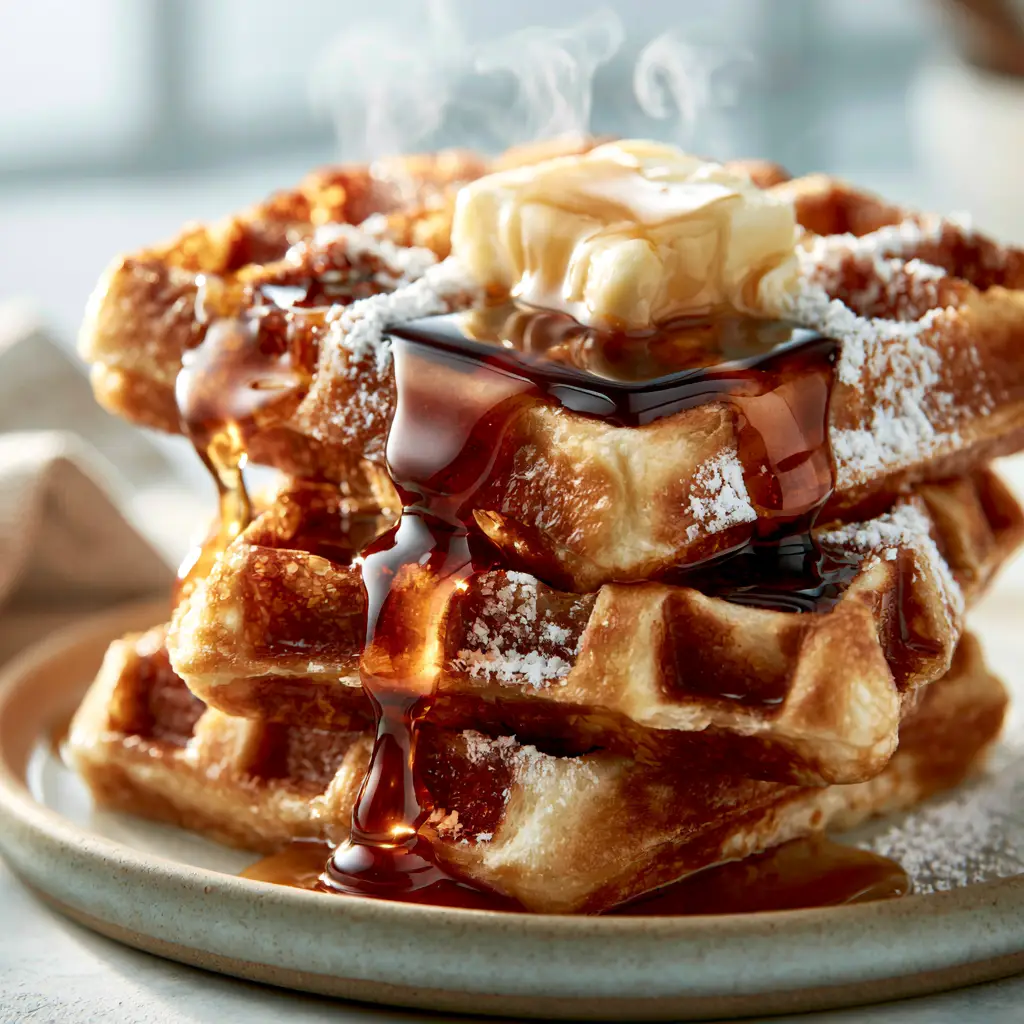
There is a specific, crystalline sound that occurs when a fork pierces the perfect Belgian waffle. It is a high-frequency snap—a “shattered-glass” texture that gives way to a cloud-like, steaming interior. If you have been searching for waffles that maintain their structural integrity under a heavy pour of syrup without becoming a soggy disappointment, you have arrived.
This recipe isn’t just about mixing batter; it is an exercise in culinary physics. We are engineered for maximum surface area and deep, syrup-trapping craters. By manipulating protein structures and moisture evaporation, we create a golden-brown masterpiece that looks exactly like a high-end editorial spread.
The Science Behind the Shattered-Glass Crispy Texture
To achieve that signature “shattered” edge seen in professional food photography, we must address the moisture content. Traditional recipes often result in soft, pancake-like textures because they rely solely on wheat flour. Our secret lies in the ratio of starch to protein.
By introducing cornstarch into the dry mix, we weaken the gluten network just enough to allow for a brittle, crispy exterior. When the batter hits the high-heat iron, the water evaporates rapidly, leaving behind a delicate, porous lattice that snaps upon contact.
The second pillar of the perfect waffles experience is the aeration. While chemical leaveners like baking powder provide the lift, whipped egg whites provide the “airy interior” described in our visual blueprint. This mechanical leavening creates the steam-filled pockets that contrast so beautifully with the golden-brown ridges.
Essential Elements for Golden-Brown Belgian Perfection
- Shattered Crispy Edges: Achieved through a high-fat content and the inclusion of cornstarch.
- Soft Airy Interior: Guaranteed by the “folding method” of whipped egg whites.
- Deep Recessed Squares: Requires a true Belgian-style iron with deep grids.
- Viscous Amber Highlights: We recommend Grade A Dark Maple Syrup for that high-gloss, slow-moving pour.
- Visual Sensory Cues: Watch for the steam to dissipate from the iron—that is the signal that the exterior has reached peak crispiness.
The Anatomy of Our Signature Waffle Batter
The Structural Foundation: Flour and Cornstarch
2 cups (250g) All-Purpose Flour provides the necessary structure, while 1/2 cup (60g) Cornstarch is the “secret weapon” for that shattered-glass effect. This combination ensures the waffles don’t turn chewy as they cool.
The Leavening Powerhouse: Baking Powder and Eggs
1 tablespoon (12g) of Baking Powder provides the initial rise. However, the 2 Large Eggs (separated) do the heavy lifting. The yolks add richness and color, while the whites, beaten to stiff peaks, create a literal foam that suspends the flour particles in an airy matrix.
The Moisture and Fat: Buttermilk and Salted Butter
2 cups (480ml) of Buttermilk provides the acidity needed to react with the leaveners, creating a tender crumb. 1/2 cup (115g) of Melted Salted Butter is crucial for the Maillard reaction, giving us those deeply browned, flavorful ridges. If you love a savory-sweet combo, consider trying these with some hot honey chicken.
The Flavor Finishers: Sugar, Salt, and Vanilla
2 tablespoons (25g) of Granulated Sugar aids in caramelization (that golden-brown glow). 1 teaspoon (5g) of Fine Sea Salt balances the sweetness, and 1 tablespoon (15ml) of Vanilla Extract provides the aromatic depth found in artisanal bakeries.
Precision Equipment for Professional Results
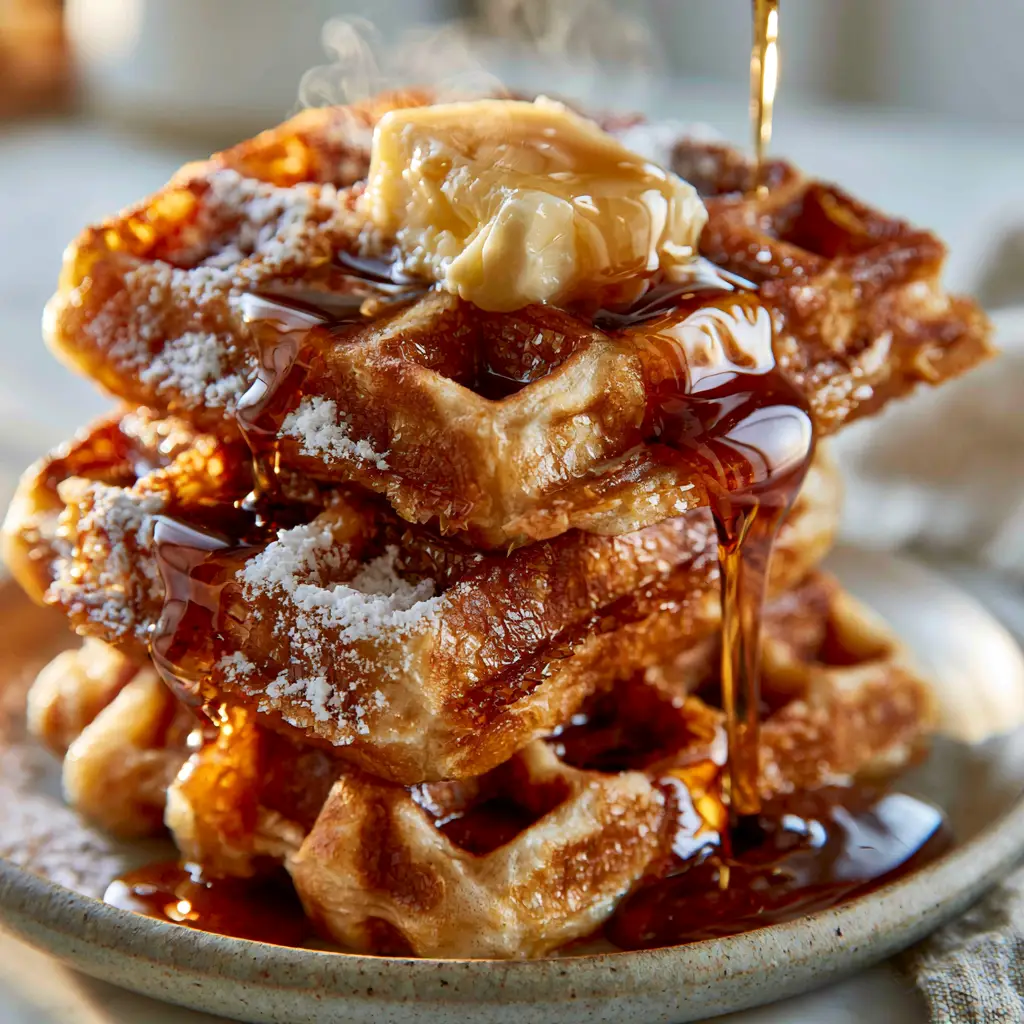
To replicate the macro, eye-level shot of a tall stack of thick waffles, you need the right tools. A standard waffle maker will produce thin discs; you specifically need a Belgian Waffle Iron with deep 1-inch (2.5cm) recesses.
A high-quality balloon whisk or electric hand mixer is essential for achieving the stiff peaks required for the egg whites. Finally, use a wire cooling rack rather than a plate for the finished waffles. Placing them directly on a plate causes steam to collect underneath, ruining the crispy texture you just worked so hard to achieve.
Step-by-Step: Mastering the Belgian Pour
Phase 1: The Dry and Wet Integration
In a large mixing bowl, sift together your flour, cornstarch, sugar, baking powder, and salt. Sifting is vital here; we want zero clumps to ensure a smooth, professional batter. In a separate medium bowl, whisk the buttermilk, melted butter, egg yolks, and vanilla until emulsified.
Phase 2: The Aeration Ritual
In a clean, grease-free bowl, beat the egg whites until they form stiff, glossy peaks. This is the stage that separates amateur waffles from elite ones. Gently pour the wet ingredients into the dry, stirring until just combined. The batter should still have small lumps—over-mixing is the enemy of fluffiness.
Phase 3: The Fold
Using a rubber spatula, gently fold the whipped egg whites into the batter. Use a “cut and fold” motion to maintain the air bubbles. Stop as soon as no large white streaks remain. The batter should look thick, bubbly, and light as a cloud.
Phase 4: High-Heat Searing
Preheat your waffle iron to its highest setting. Lightly brush the plates with oil, even if they are non-stick. Pour roughly 3/4 cup (180ml) of batter into the center, allowing it to spread naturally. Close the lid and resist the urge to peek.
Phase 5: The Visual Cue for Doneness
Wait for the steam to stop billowing from the sides of the iron. This indicates that the moisture has evaporated and the “shattered-glass” crust has formed. The waffles should be a deep, vibrant golden-brown. Carefully remove them and place them on a wire rack for 30 seconds to “set” the crispiness.
Expert Tips for the Ultimate Stack
- Don’t Stack Immediately: If you stack hot waffles directly on top of each other without a momentary rest on a wire rack, the trapped steam will soften the ridges.
- The Butter Pat: Use cold, high-quality salted butter for the topping. As it hits the hot waffles, it creates those glistening “sliding” highlights seen in our visual guide.
- Temperature Control: If making a large batch for a crowd, keep a 200°F (95°C) oven ready with a wire rack inside to keep the waffles warm and crispy.
- Syrup Viscosity: For the most photogenic results, warm your maple syrup slightly. This makes it more viscous and allows it to pool perfectly in the recessed squares.
What to Serve with Your Golden-Brown Waffles
While a stack of fluffy waffles is a meal in itself, pairing them with the right sides elevates the breakfast experience. For a protein-packed side, these go beautifully with cottage cheese tots for a textural contrast. If you prefer a more traditional route, a side of spicy honey chicken tenders creates a world-class “Chicken and Waffles” pairing.
For those looking for a lighter accompaniment, consider a bowl of strawberry cheesecake overnight oats to round out a brunch spread. The acidity of the berries cuts through the richness of the butter and syrup perfectly.
Storage, Reheating, and Freezing
These waffles are an incredible candidate for meal prep. To freeze, let them cool completely on a wire rack, then flash-freeze on a baking sheet for one hour. Transfer to a freezer-safe bag for up to 3 months. When the craving hits, do not microwave them. Reheat in a toaster or a 350°F (175°C) oven until the shattered-glass crust is restored.
Frequently Asked Questions
You can mix the dry and wet ingredients (excluding the egg whites) ahead of time. However, for the airy interior, you should only beat and fold in the egg whites immediately before cooking to ensure the air bubbles don’t deflate.
Yes, but for the best results, use a Belgian waffle iron. The deep recesses allow for more steam to build up inside while searing the outside, which is what creates the contrast between the crispy ridges and the soft interior.
The secret to extra crispy waffles is adding cornstarch to the batter and replacing some of the milk with buttermilk or melted butter. Additionally, ensure your waffle iron is on its highest heat setting and allow the waffles to rest on a wire rack for 30 seconds after cooking.
The best way to reheat frozen waffles is in a toaster or a preheated oven at 350°F (175°C). Avoid the microwave, as it will make the waffles rubbery and soft.
Sogginess is usually caused by trapped steam. If you place hot waffles directly on a plate, the steam from the bottom will soften the crust. Always use a wire cooling rack. Over-mixing the batter can also lead to a dense, chewy texture rather than a light, crispy one.
The Definitive Crispy Belgian Waffle Recipe
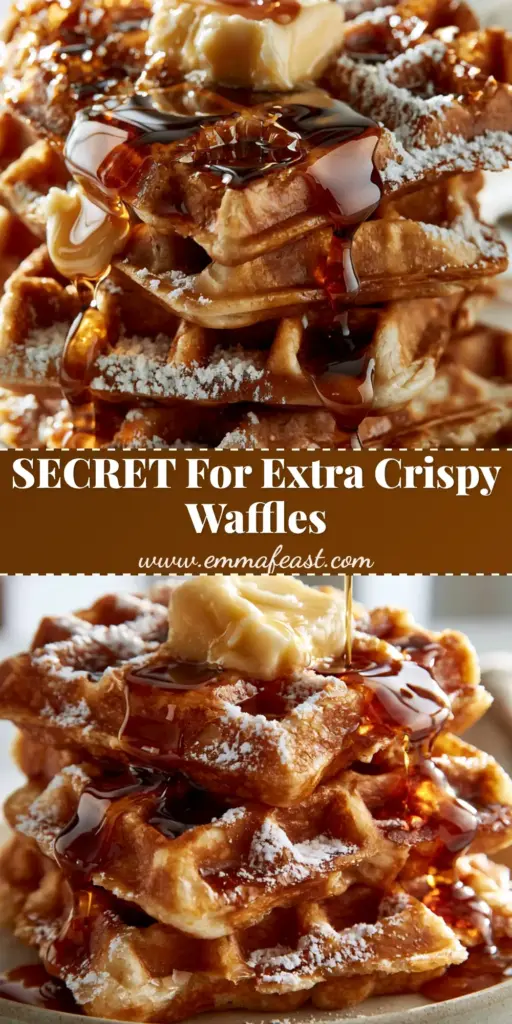
Waffles with a Shattered-Glass Crust: The Ultimate Crispy Belgian Recipe
Ingredients
Equipment
Method
- In a large bowl, sift together the flour, cornstarch, baking powder, sugar, and salt to ensure a clump-free batter.
- In a separate bowl, whisk together the buttermilk, melted butter, egg yolks, and vanilla until smooth.
- Using an electric mixer, beat the egg whites in a clean bowl until stiff, glossy peaks form.
- Add the wet mixture to the dry mixture and stir until just combined. Gently fold in the whipped egg whites using a spatula until no large streaks remain.
- Preheat your Belgian waffle iron to high. Pour about 3/4 cup (180ml) of batter into the center.
- Cook until the steam stops rising from the iron and the waffles are a deep golden-brown with shattered crispy edges.
- Remove to a wire rack for 30 seconds. Top with a pat of salted butter, a viscous amber maple syrup pour, and a dusting of powdered sugar.
Notes
For extra crispiness, ensure your waffle iron is fully preheated to its highest setting.
Closing & Call to Action
Achieving the perfect waffles is a balance of science and art. From the shattered-glass ridges to the melting pat of salted butter, every element of this recipe is designed to provide the ultimate sensory experience. If you enjoyed this deep dive into breakfast excellence, please leave a comment below and share your results! Don’t forget to follow us on Pinterest for more culinary inspiration and high-end food photography tips.