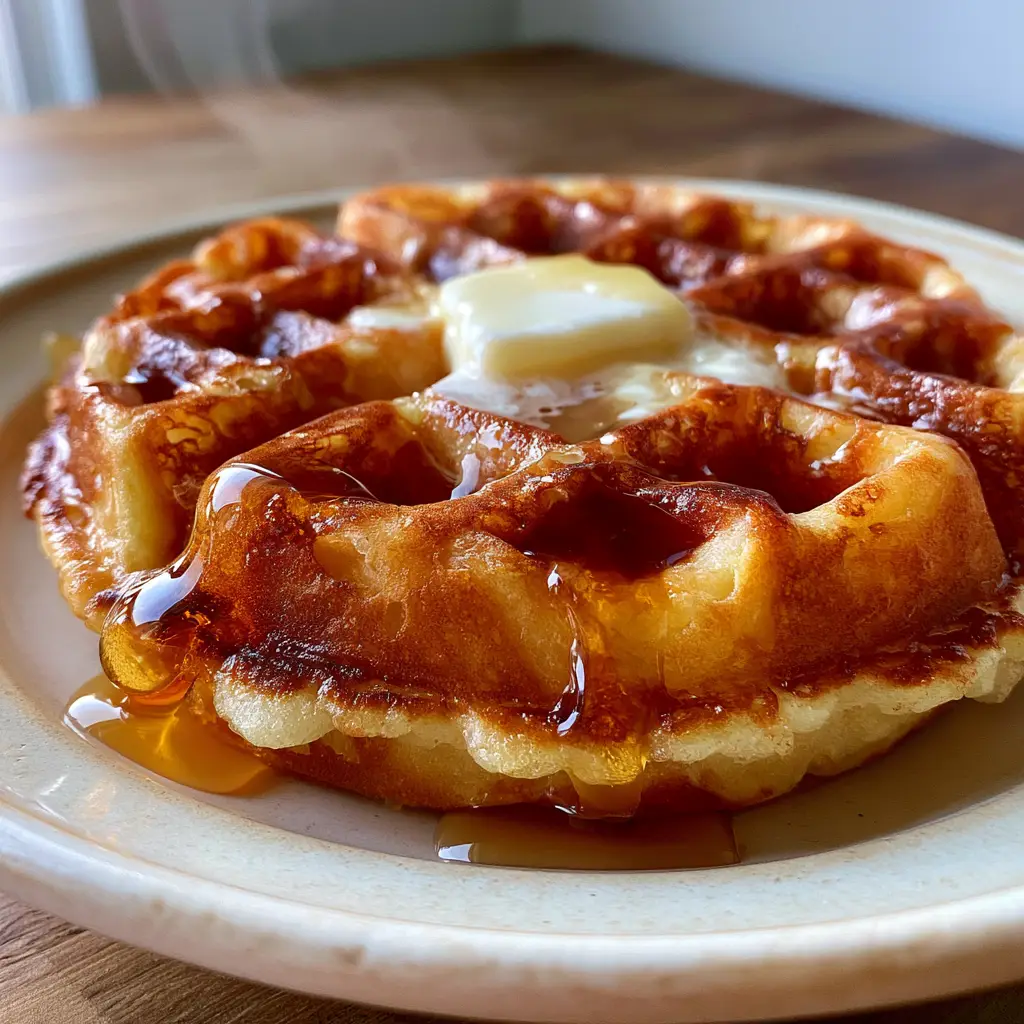
There is a profound difference between a standard breakfast and the experience of biting into truly crispy classic waffles. Imagine a deep, uniform golden-brown exterior that offers a distinct “shatter-crisp” resistance before giving way to a cloud-like, airy center. This isn’t just a meal; it is a study in culinary textures, perfectly captured by the sight of thick amber maple syrup glistening as it pools in deep, geometric pockets.
Achieving this level of perfection requires more than just a box mix; it demands an understanding of moisture evaporation and gluten control. When you see that single square of salted butter beginning to pool in the center, catching the soft morning light, you know you’ve mastered the art of the Belgian waffle. The rising steam carries the scent of toasted grain and sweet vanilla, signaling a breakfast that looks exactly like a professional macro photograph.
In this guide, we are diving deep into the forensic details of waffle science. We will explore how to achieve those jagged, crispy edges and that signature matte finish on the plate. Whether you are a weekend warrior or a seasoned home cook, these crispy classic waffles will redefine your morning routine.
Why This Shatter-Crisp Belgian Waffle Recipe Works
- The Dual-Starch Secret: By blending traditional flour with cornstarch, we inhibit excessive gluten development, ensuring the waffle is crisp rather than chewy.
- Visual Precision: This recipe is engineered to produce the deep golden-brown hue and “shatter-crisp” texture described in our visual blueprint.
- Structural Integrity: These waffles are sturdy enough to hold a heavy pour of thick amber maple syrup without becoming soggy within seconds.
- Sensory Mastery: From the sound of the initial crunch to the sight of the steam rising from the iron, every step is designed for maximum impact.

The Science of the Batter: Essential Ingredients and Substitutions
To achieve the result seen on a rustic off-white ceramic plate, we must look at the “invisible” ingredients that build the foundation of flavor and structure. Every component serves a specific forensic purpose in the final bake.
All-Purpose Flour (2 cups / 250g): This provides the primary structure. For a different nutritional profile, you might consider oat flour waffles, but for the classic Belgian crunch, AP flour is the gold standard.
Cornstarch (1/2 cup / 64g): This is the secret to the “shatter-crisp” exterior. It lowers the protein content of the flour, allowing the waffle to dry out and crisp up in the iron without getting tough.
Granulated Sugar (2 tbsp / 25g): Sugar isn’t just for sweetness; it’s for the Maillard reaction. This is what creates that deep, uniform golden-brown color you see in the morning side-light.
Baking Powder (1 tbsp / 12g) and Baking Soda (1/2 tsp / 3g): This dual-leavening approach ensures a rapid rise. The baking soda also aids in browning, contributing to that rustic aesthetic.
Fine Sea Salt (1 tsp / 6g): Salt balances the sweetness of the syrup. If you are using salted butter as a topper, this creates a beautiful flavor contrast.
Buttermilk (1 ¾ cups / 420ml): The acidity in buttermilk tenderizes the crumb. If you prefer a lighter style, check out our guide on extra fluffy waffles for specialized folding techniques.
Unsalted Butter, Melted (1/2 cup / 115g): Fat is essential for heat conduction within the waffle iron. It helps “fry” the exterior of the batter against the hot plates to create those jagged edges.
Large Eggs (2): Separating the eggs and whipping the whites is a professional secret for an airy interior. The yolks provide richness and emulsification.
Vanilla Extract (1 tsp / 5ml): An invisible aromatic that enhances the perception of sweetness without adding extra sugar.
Essential Equipment for Professional Results
You cannot achieve a deep-pocketed Belgian waffle without the right tools. The equipment is just as important as the ingredients when aiming for a specific visual result.
Belgian Waffle Iron: You need an iron with deep grids to create those pockets for the syrup to drip into. A standard thin waffle iron won’t provide the same “light and airy” interior.
Wire Cooling Rack: Never stack your waffles. Stacking creates steam, which turns your “shatter-crisp” exterior into a soft, soggy mess. A wire rack allows air to circulate.
Mixing Bowls: You will need at least two—one for dry ingredients and one for wet—plus a clean bowl if you choose to whip your egg whites separately.
Silicone Spatula: This is vital for folding the batter gently. Over-mixing is the enemy of the crispy classic waffles.
Step-By-Step Mastery for the Perfect Golden Belgian Waffle
Follow these steps closely to ensure your final dish matches the macro handheld smartphone photo aesthetic. Pay attention to the sensory cues at each stage.
Step 1: The Dry Ingredient Sift
In a large bowl, whisk together the flour, cornstarch, sugar, baking powder, baking soda, and salt. Sifting or vigorous whisking aerates the mixture, which is the first step toward a light interior.
Step 2: The Emulsion Phase
In a separate medium bowl, whisk the buttermilk, melted butter, egg yolks, and vanilla extract. Ensure the butter isn’t so hot that it cooks the yolks; it should be warm and fluid.
Step 3: The Gentle Fold
Make a well in the center of the dry ingredients and pour in the wet mixture. Using your spatula, fold until just combined. A few lumps are fine—over-mixing leads to a rubbery texture rather than a crisp one.
Step 4: The Egg White Secret (Optional but Recommended)
For the ultimate airy interior, beat the egg whites in a separate bowl until stiff peaks form. Gently fold these into the batter last. This creates microscopic air bubbles that expand rapidly under heat.
Step 5: The High-Heat Bake
Preheat your waffle iron to its highest setting. Lightly brush with oil or melted butter. Pour the batter in, focusing on the center, and close the lid. Watch for the steam; when the steam stops venting, the waffle is likely done.
Step 6: The Forensic Visual Check
Open the iron to reveal a deep golden-brown crust. The edges should look jagged and crystalline. Use a fork to gently lift it; it should feel light and sound hollow when tapped.
Expert Tips for Success
- Temperature Control: If your iron isn’t hot enough, the waffle will steam rather than sear. Wait for the indicator light every single time.
- Steam Release: Don’t peek! Opening the iron too early lets out the heat and steam required for the rise, resulting in a flat waffle.
- The Starch Ratio: If you find your waffles are too soft, increase the cornstarch by 2 tablespoons (15g) and decrease the flour by the same amount.
- Rest the Batter: Let the batter sit for 5-10 minutes before cooking. This allows the flour to hydrate fully for a more uniform texture.
What to Serve with Crispy Classic Waffles
To complete the morning scene on your matte ceramic plate, pair these waffles with complementary flavors. The classic choice is a thick amber maple syrup and a square of salted butter.
For a savory twist, these waffles are the perfect base for hot honey chicken. The sweetness of the waffle pockets catches the spicy honey beautifully. If you are looking for a different grain profile for your side dishes, consider serving these alongside cornmeal pancakes for a full brunch spread.
If you’re planning a busy week, you can even make a batch of freezer breakfast burritos to go alongside your fresh waffles, giving your family both sweet and savory options that are ready to go.
Storage, Reheating, and Freezing
Crispy classic waffles are best enjoyed immediately, but they store surprisingly well if handled correctly. To store, let them cool completely on a wire rack to prevent moisture buildup.
Refrigeration: Place in an airtight container for up to 3 days. To reheat, use a toaster or a 350°F (175°C) oven to restore the “shatter-crisp” texture. Avoid the microwave, as it will make them rubbery.
Freezing: Flash freeze individual waffles on a baking sheet for an hour before transferring to a freezer bag. They will stay fresh for up to 2 months. Reheat directly from frozen in the toaster.
Frequently Asked Questions
You can, but the waffles will be less tender and may not brown as deeply. If using regular milk, add 1 tablespoon of lemon juice or vinegar to mimic the acidity needed for the leavening reaction.
Yes. Cornstarch is a pure starch that inhibits gluten development and helps the batter dry out more efficiently during the bake, resulting in a ‘shatter-crisp’ texture.
Jagged edges are created by the fat in the batter (butter) reacting with a high-heat iron. Ensure your batter has enough fat and that you don’t over-fill the iron, allowing the edges to crisp up naturally.
The best way to reheat crispy classic waffles is in a toaster or a convection oven at 350°F (175°C). This removes any ice crystals and restores the crystalline crunch of the exterior.
Soft waffles are usually caused by a low-temperature waffle iron or trapped steam. Ensure your iron is fully preheated to its highest setting and never stack waffles after cooking, as this creates moisture.
The Crispy Classic Waffle Recipe Card
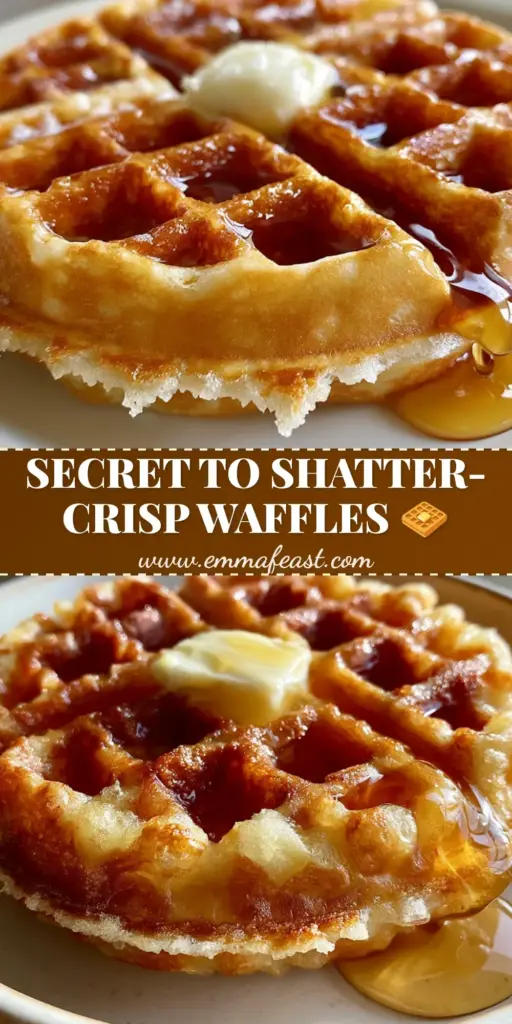
Crispy Classic Waffles: The Ultimate Shatter-Crisp Belgian Recipe
Ingredients
Equipment
Method
- Whisk flour, cornstarch, sugar, baking powder, baking soda, and salt in a large bowl until well combined and aerated.
- In a separate bowl, whisk buttermilk, melted butter, egg yolks, and vanilla until smooth.
- Make a well in the dry ingredients and pour in the wet mixture. Fold gently with a spatula until just combined; do not over-mix.
- Preheat your Belgian waffle iron to its highest setting. Lightly grease the plates.
- Pour batter into the center of the iron. Close and cook until the steam stops venting and the exterior is a deep, uniform golden-brown.
- Remove the waffle and place it on a wire rack for 30 seconds to set the 'shatter-crisp' crystalline texture before serving.
Notes
Always use a wire rack instead of a plate to prevent bottom sogginess.
Bring the Bakery Home
Creating crispy classic waffles is a rewarding culinary endeavor that brings professional-level textures to your home kitchen. The contrast between the jagged, golden crust and the soft, steamy interior is a sensory delight that never gets old. We hope this forensic look at waffle-making helps you achieve the perfect breakfast.
If you enjoyed this recipe, please leave a comment below and let us know how your waffles turned out! Don’t forget to share your photos and tag us, or save this recipe to your breakfast board on Pinterest for later.