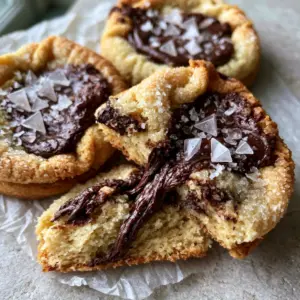
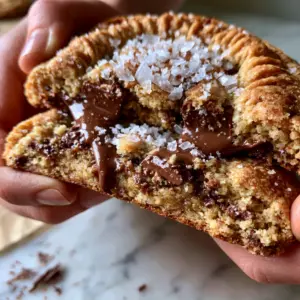
There is a specific, visceral magic found only in the windows of high-end metropolitan bakeries—a golden-brown, ultra-thick disc of dough that promises both a crunch and a collapse. These Bakery-style chocolate chip cookies are the culmination of culinary engineering, designed to replicate that exact gourmet experience in your home kitchen.
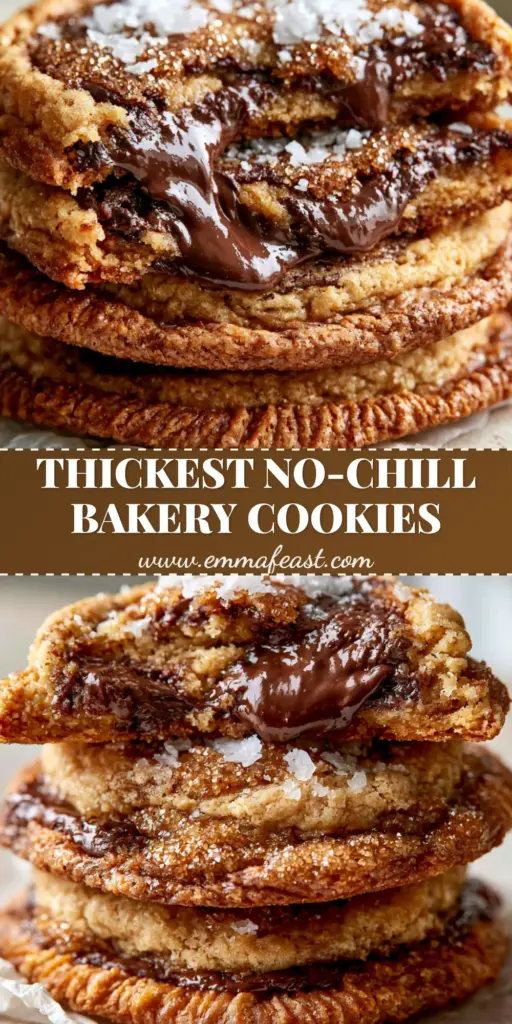
Imagine pulling a tray from the oven where the edges are perfectly caramelized and rippled, while the centers remain soft-baked and almost molten. As you break one open, a puff of steam escapes, revealing massive puddles of semi-sweet chocolate that glisten under the light of your kitchen window.
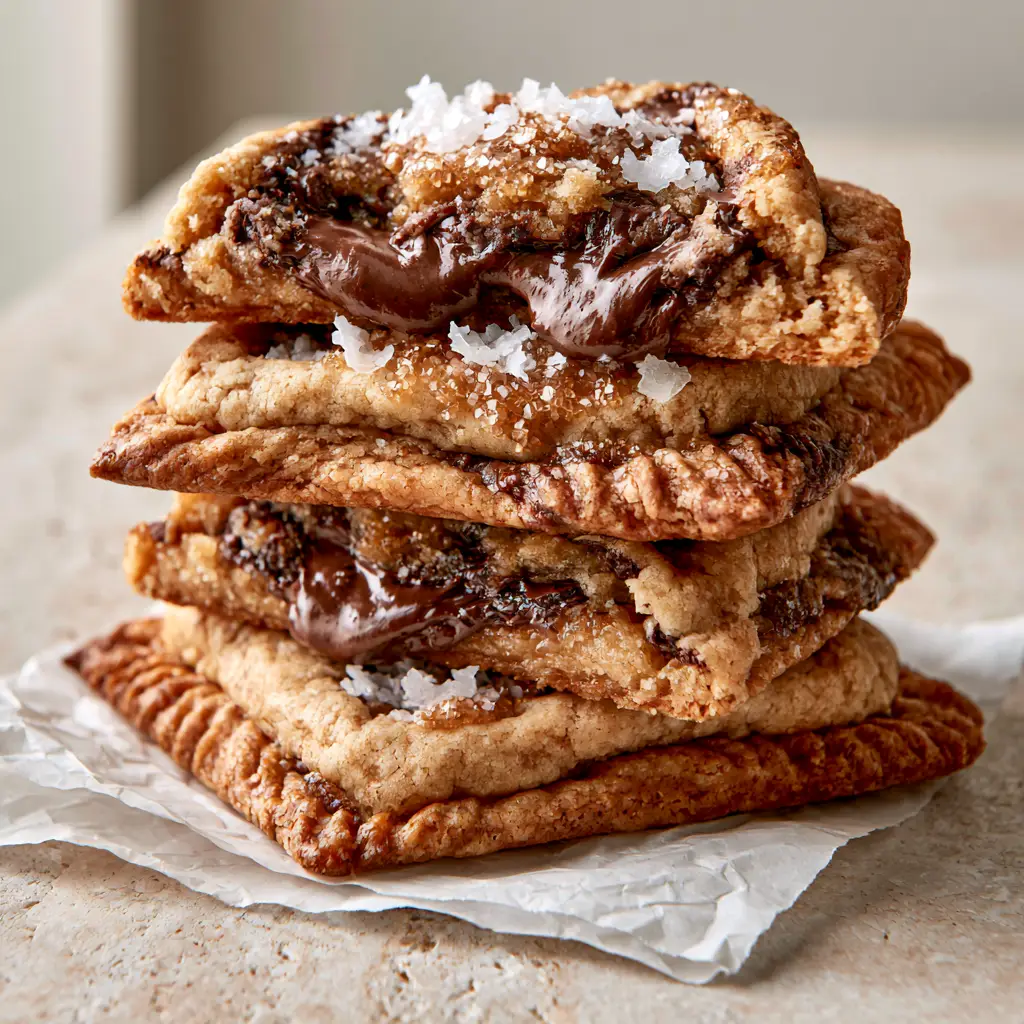
This recipe isn’t just about mixing flour and sugar; it’s about mastering the physics of a cookie that stands tall. We are targeting a specific visual profile: shimmering sugar crystals on the surface, a heavy dusting of flaky sea salt, and a texture that transitions from a crisp exterior to a gooey, fudge-like core.
The Signature Profile of a Gourmet Bakery Cookie
- Extreme Thickness: By using cold fats and specific flour ratios, these cookies maintain a hefty, ultra-thick “stackable” profile that won’t pancake in the oven.
- Textural Contrast: You will achieve a dual-texture result featuring crisp, rippled edges and a soft-baked, gooey center that stays tender for days.
- Molten Chocolate Architecture: Instead of standard chips, we use hand-chopped semi-sweet chunks to create deep, molten chocolate puddles that stay fluid.
- Visual Finishing: Every cookie is topped with visible granulated sugar crystals and large flakes of sea salt for a professional, high-contrast aesthetic.
The Science Behind Our High-Ratio Ingredient List
To achieve the result of world-class Bakery-style chocolate chip cookies, every ingredient must serve a structural and aesthetic purpose. We avoid “fluff” and focus on components that drive the Maillard reaction and provide structural integrity.
Unsalted Butter (1 cup / 227g): We use cold, cubed butter rather than softened butter to ensure the cookies stay thick and don’t spread too quickly. This creates a sturdier dough that traps air, resulting in that classic bakery lift.
Light Brown Sugar (1 ¼ cups / 250g): The high molasses content in brown sugar is what provides the chewy, soft-baked center and the deep caramel notes. It is the secret to a cookie that feels “fudgy” rather than “cakey.”
Granulated Sugar (½ cup / 100g): This sugar is responsible for the crisp, rippled edges and the shimmering crystals on the surface. If you’ve ever tried a cookie with no brown sugar, you know granulated sugar is the king of crunch.
All-Purpose Flour (3 cups / 360g): A higher protein count is necessary to support the weight of the massive chocolate chunks. We weigh this carefully to prevent a dry, crumbly texture.
Semi-Sweet Chocolate Chunks (2 cups / 340g): For those signature molten chocolate puddles, hand-chopped bars are superior to chips. The irregular sizes allow some chocolate to melt into the dough while others form huge, gooey reservoirs.
Flaky Sea Salt (1 tbsp / 15g): This is the “bridge” ingredient that cuts through the richness of the sugar and chocolate. Use a high-quality finishing salt like Maldon for the best visual and flavor impact.
Essential Tools for Professional Results
You cannot achieve the rippled, caramelized edges of a professional bakery cookie without the right conductivity. A heavy-duty aluminum baking sheet is non-negotiable for even heat distribution.
Using a large 3-ounce (approx. 85g) cookie scoop is the only way to get those jumbo chocolate chip cookies that look like they belong in a glass display case. Smaller scoops simply won’t provide enough mass to maintain a soft center while the edges crisp up.
Finally, always bake on parchment paper. Silpat mats are great, but for these specific Bakery-style chocolate chip cookies, parchment paper allows for a slightly crisper bottom and easier “pan-banging” to create those ripples.
Forging the Perfect Bakery-Style Dough
Step 1: The Cold-Creaming Technique
Unlike standard recipes that call for room-temperature butter, we start with cold, cubed butter. Beat the cold butter with the brown sugar and granulated sugar for at least 4-5 minutes.
You are looking for a texture that resembles wet sand but is lighter in color. This process creates tiny air pockets that won’t immediately collapse, ensuring your cookies remain ultra-thick during the bake.
Step 2: Incorporating the Binding Agents
Add two large cold eggs and two teaspoons (10ml) of pure vanilla extract. Mix on medium-high until the batter is glossy and pale.
This emulsification is critical for the “gooey” factor. If the eggs aren’t properly incorporated, the fat may leak out, ruining the soft-baked center we are aiming for.
Step 3: Folding the Structure and the Puddles
Slowly add your dry ingredients (flour, baking soda, and salt) until just combined. Overmixing at this stage will develop gluten, leading to a tough cookie rather than a tender one.
Fold in the massive semi-sweet chocolate chunks by hand. Ensure they are distributed evenly so every bite contains a molten chocolate puddle. If you want to experiment with different bases, you can look into a no-butter version, but for this specific bakery result, dairy fat is key.
Step 4: The 24-Hour Ripening Period
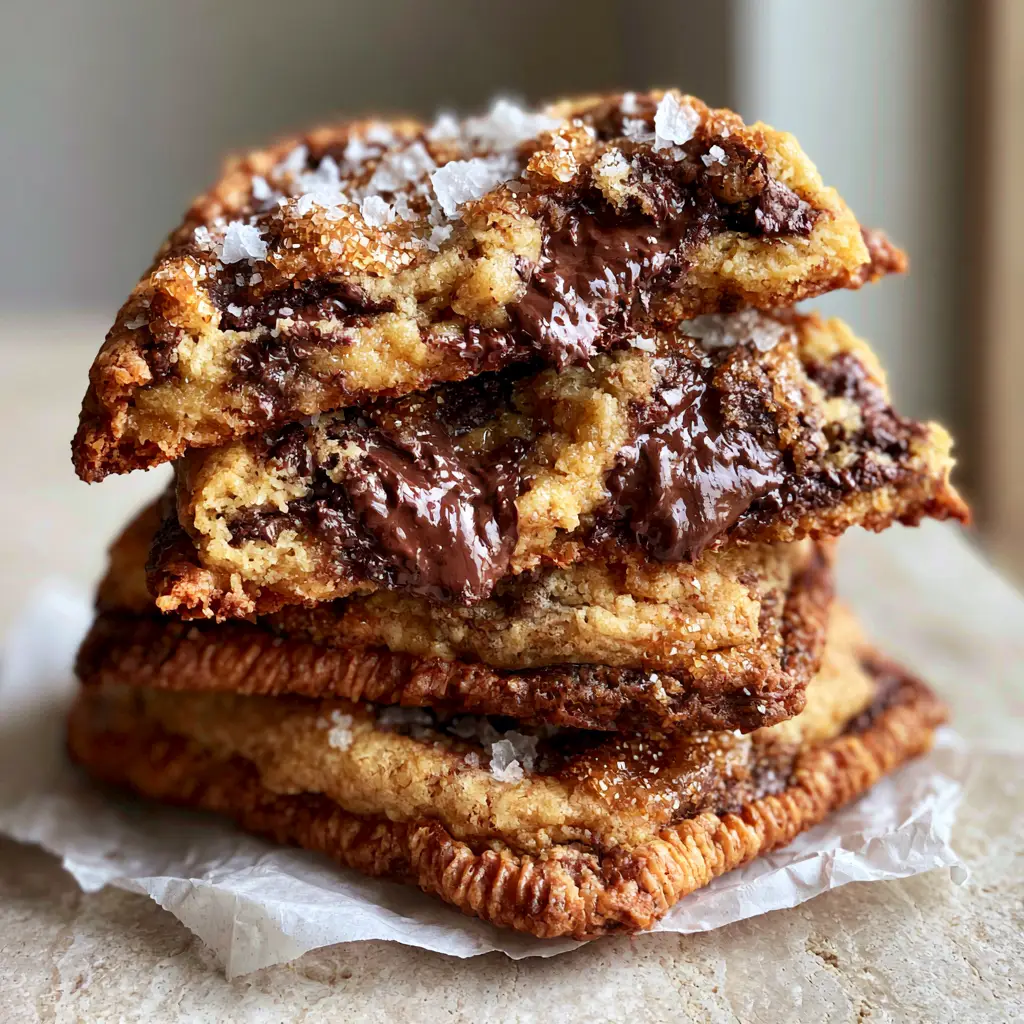
Do not skip this. Chill the scooped dough balls in the refrigerator for at least 12 to 24 hours. This allows the flour to fully hydrate and the sugars to concentrate.
A chilled dough ball will bake much slower, allowing the edges to set and ripple while the inside stays steaming and soft. This is the difference between a good cookie and a gourmet Bakery-style chocolate chip cookie.
The Pan-Banging Secret for Rippled Edges
To get those “rippled” and caramelized edges seen in the visual prompt, we use a technique called “pan-banging.” About 10 minutes into the bake, lift the baking sheet and firmly drop it against the oven rack.
This causes the partially baked cookie to collapse, pushing the edges outward and creating a beautiful, rippled ring. Repeat this every 2 minutes for the remainder of the bake to create multiple ripples.
When you pull them out, the edges should be a deep golden-brown, while the centers look slightly underdone and “puffy.” They will firm up as they cool on the parchment paper, resulting in that perfect soft-baked texture.
Expert Tips for Bakery-Level Perfection
- The “Ring” Trick: Immediately after taking the cookies out of the oven, place a large circular cookie cutter or a bowl over the cookie and scoot it in a circular motion. This rounds out the edges for a perfect circle.
- Salt Timing: Add the flaky sea salt immediately after the cookies come out of the oven. The residual heat from the molten chocolate puddles will help the salt crystals adhere.
- Sugar Dusting: For extra shimmer, roll the cold dough balls in a small bowl of granulated sugar right before placing them on the baking sheet. This creates that “shimmering brown sugar crystal” look.
- Avoid the Rack: Let the cookies cool entirely on the hot baking sheet. This “carry-over cooking” is what perfects the soft, gooey center.
The Ideal Pairings for a Dessert Spread
These Bakery-style chocolate chip cookies are a powerhouse on their own, but they also shine as part of a larger dessert table. If you’re hosting a brunch, they pair beautifully with mini lemon cheesecakes for a citrusy contrast.
If you’re leaning into the “over-the-top” bakery vibe, consider serving these alongside cinnamon roll cheesecake cookies for a variety of textures. For a savory-then-sweet dinner night, start with stuffed Italian sausage before bringing out the warm, steaming cookies for dessert.
Frequently Asked Questions
You can, but chips contain stabilizers that prevent them from melting completely. For those ‘molten chocolate puddles’ seen in bakeries, hand-chopped chocolate bars are essential.
While optional, flaky sea salt (like Maldon) provides a visual contrast and balances the intense sweetness of the brown sugar and chocolate chunks.
Rolling the cold dough balls in granulated sugar before baking creates a shimmering crystal surface that persists even after the cookies are soft-baked.
The ripples are created by ‘pan-banging.’ By dropping the baking sheet against the oven rack during the bake, the cookie collapses and pushes the dough outward in waves.
Cookies usually go flat if the butter was too warm or if the dough wasn’t chilled. Using cold, cubed butter and refrigerating the dough for 24 hours ensures they stay ultra-thick.
The Ultimate Bakery-Style Chocolate Chip Cookie Recipe
Bakery-style chocolate chip cookies with Molten Puddles and Rippled Edges
Ingredients
Equipment
Method
- In a stand mixer, cream the cold cubed butter with brown sugar and granulated sugar until a sandy, lightened texture forms (about 5 minutes).
- Mix in the eggs one at a time, followed by the vanilla, beating until the mixture is glossy and smooth.
- Slowly add the flour, baking soda, and salt. Mix until a few streaks of flour remain, then fold in the chocolate chunks by hand.
- Scoop 3-ounce balls of dough and roll in extra granulated sugar. Place on a tray and refrigerate for 12-24 hours.
- Bake at 350°F (175°C) for 15 minutes. At the 10-minute mark, lift the pan and bang it against the rack to create ripples. Repeat twice more.
- Remove from oven when edges are golden but centers are soft. Top immediately with flaky sea salt and let cool on the pan.
Notes
Cold butter is the key to preventing excess spread and maintaining thickness.
Closing Thoughts on the Ultimate Soft-Bake
Mastering Bakery-style chocolate chip cookies is a rite of passage for any home baker. The combination of the cold-creaming method, the pan-banging technique, and the use of hand-chopped chocolate creates a cookie that is visually stunning and culinarily superior.
If you made these and captured that perfect “molten puddle” shot, we want to see it! Leave a comment below with your results and don’t forget to follow us and share your creations on Pinterest. Happy baking!