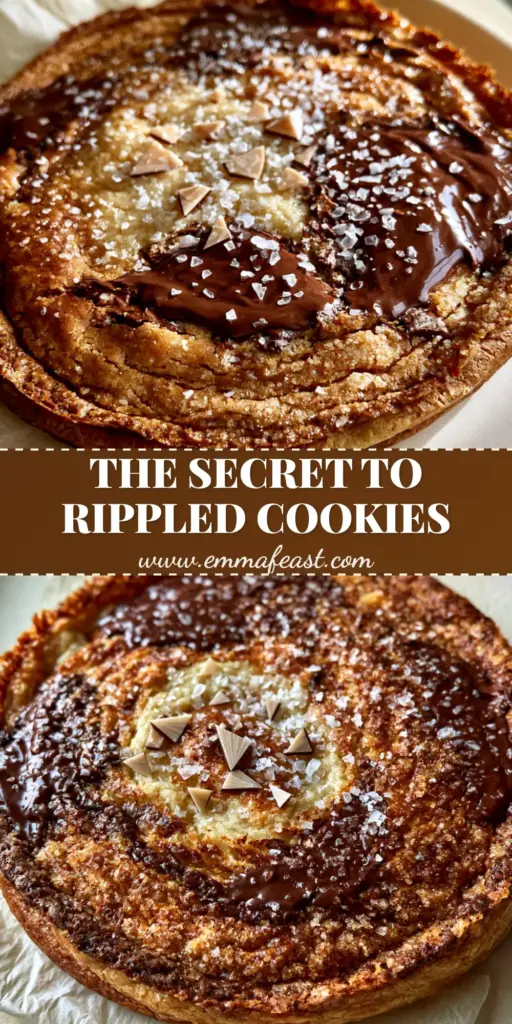
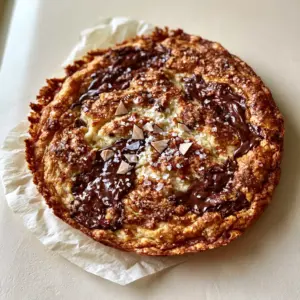
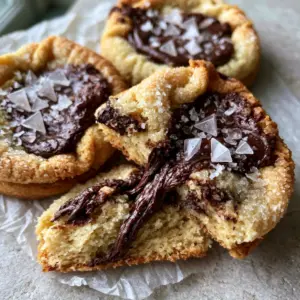
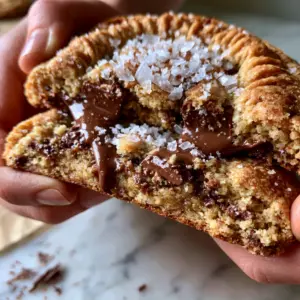
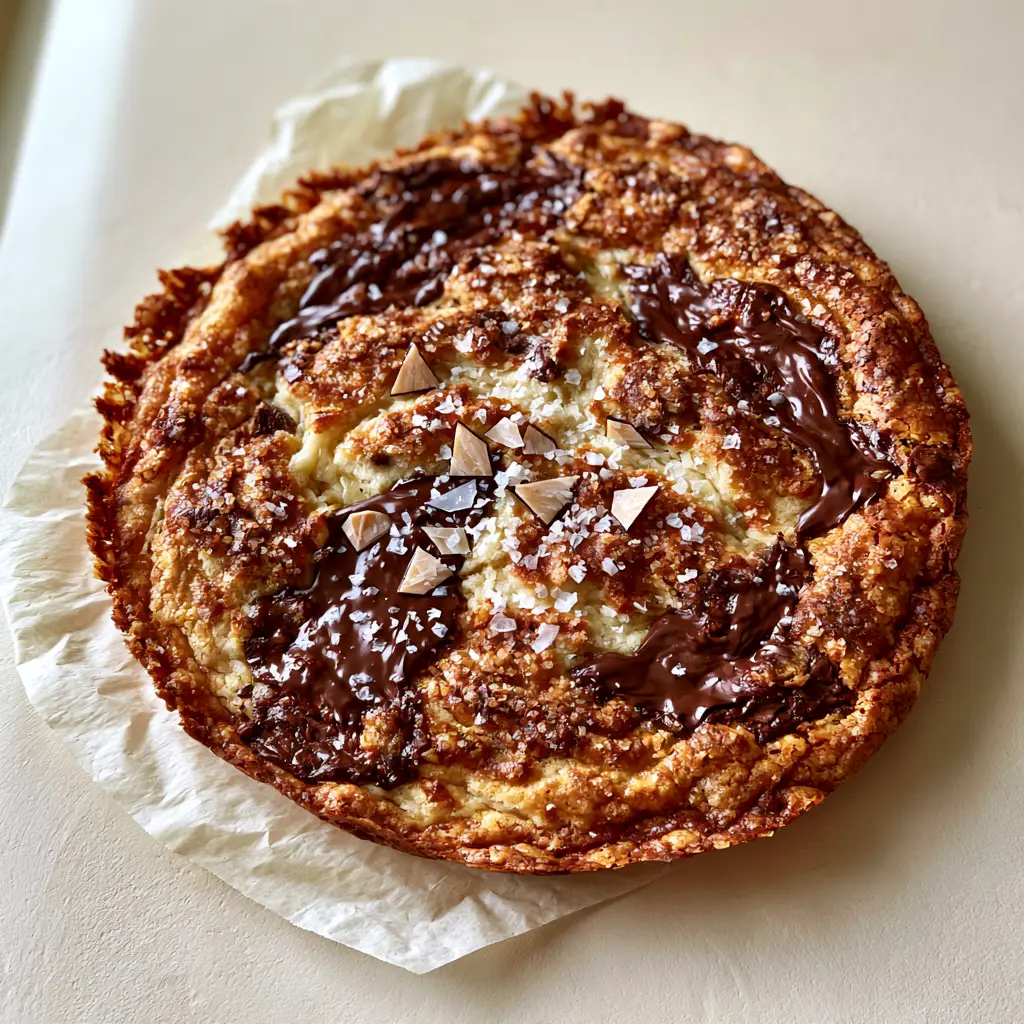
There is a specific, almost hypnotic beauty in the architecture of Rippled Chocolate Chip Cookies. If you have ever scrolled through social media and stopped dead in your tracks at a photo of a cookie with shattered, concentric rings and pools of liquid gold chocolate, you have witnessed the “pan-banging” phenomenon. This isn’t just a cookie; it is a masterclass in textural engineering, where the center remains soft and buttery while the edges offer a brittle, caramelized snap.
Our version of Rippled Chocolate Chip Cookies takes the classic technique and elevates it with the deep, nutty complexity of brown butter and the sharp contrast of geometric Maldon sea salt. We aren’t looking for a uniform, puffy bakery cookie here. We are aiming for a wide, thin, and dramatic disk that looks as though it was caught in a moment of seismic activity—ripples of dough frozen in time around a pale, tender heart.
The Science of the Shatter: Why These Textures Matter
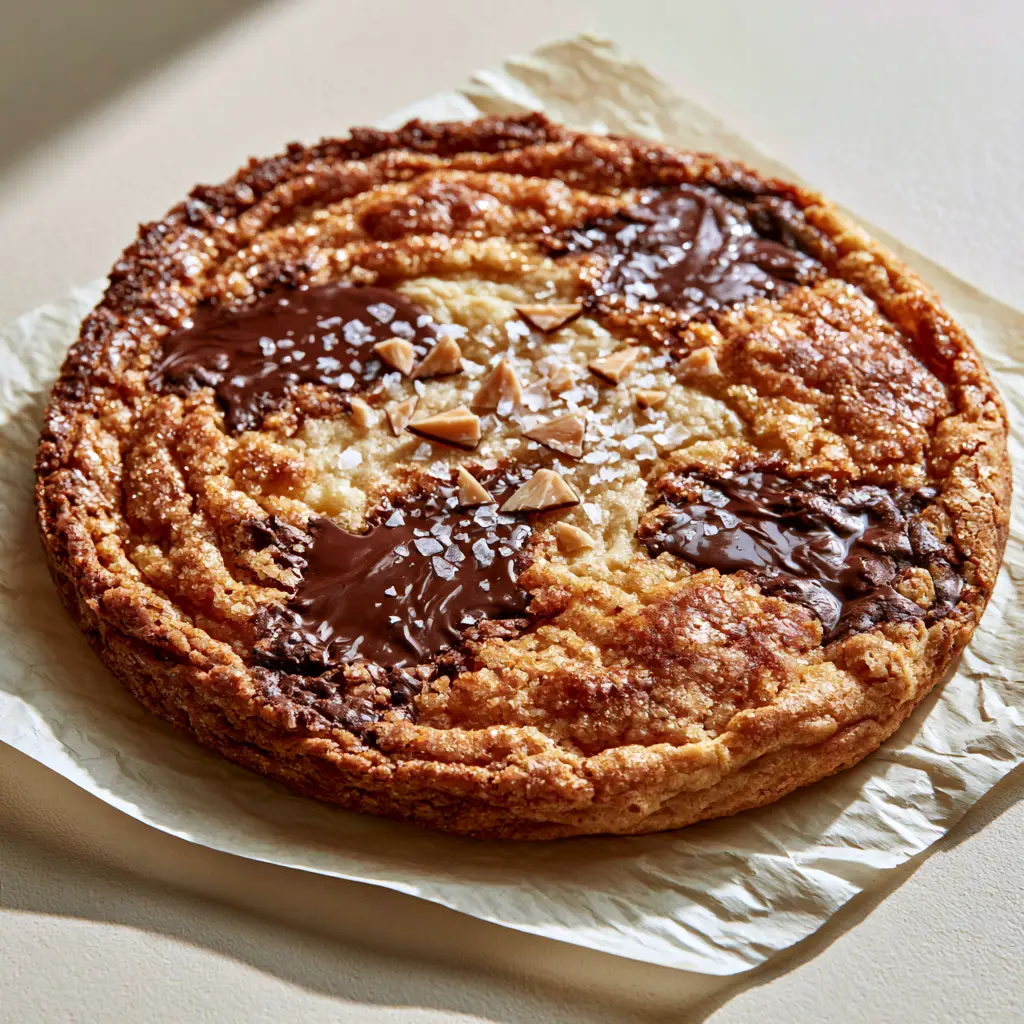
What sets these cookies apart from your standard bakery-style chocolate chip cookies is the deliberate collapse of the dough during the baking process. By lifting and dropping the pan, we force the air out of the rising cookie, creating those iconic “wrinkles” and thin, crispy edges. Here is what you can expect from this specific recipe:
- Shattered Golden Edges: A high sugar-to-flour ratio ensures the perimeter caramelizes into a brittle, toffee-like ring.
- Soft Pale Cookie Center: By pulling the cookies when the center still looks slightly underbaked, we maintain a fudge-like interior.
- Melted Dark Chocolate Pools: Using chopped chocolate bars instead of chips allows the cocoa butter to flow, creating those glossy, irregular reservoirs.
- Brown Butter Specks: Visible flecks of toasted milk solids provide a savory depth that balances the intense sweetness.
Essential Pantry Items for Liquid Chocolate Pools
To achieve the visual and sensory profile of these Rippled Chocolate Chip Cookies, you must select your ingredients with forensic precision. Unlike no-butter chocolate chip cookies, this recipe relies heavily on the quality of its fats and sugars.
Unsalted Butter (1 cup / 227g): We will brown this butter to create “Beurre Noisette,” which provides the brown butter specks seen in the blueprint. The water evaporation during browning is crucial for the final “shatter” of the edges.
Granulated Sugar (1 ½ cups / 300g): This is the primary driver of the “rippling” effect. Granulated sugar promotes spreading and crisping, which is why we use more of it than we do in brown-sugar chocolate chip cookies.
Light Brown Sugar (½ cup / 100g): This provides just enough moisture and molasses to keep the center soft and pale. If you find yourself without it, you can check our guide on chocolate chip cookie no brown sugar alternatives.
All-Purpose Flour (2 cups / 250g): A moderate protein content is necessary to hold the ripples without making the cookie too cakey or tough.
Dark Chocolate Bars (6 oz / 170g): Seek out 60-70% cacao. Chopping them by hand ensures you get the “irregular pools” and “overflowing chocolate” described in the visual prompt.
Maldon Sea Salt (1 tbsp / 15g): These large, geometric flakes are the final touch. They catch the light and provide a necessary saline punch to the rich dark chocolate.
Tools for the Perfect Pan-Banging Technique
To replicate the jumbo chocolate chip cookies aesthetic, you need a large, flat surface. A standard rimmed baking sheet (half-sheet pan) is essential.
You will also need plenty of off-white greaseproof parchment paper. The “wrinkled” texture mentioned in the visual blueprint isn’t just for show; the friction of the parchment helps the dough catch and ripple as it spreads. Avoid silicone mats, as they are too slick and will prevent the edges from setting properly between “bangs.”
Step-by-Step Guide to the Shatter-Edge Cookie
Browning the Butter for Visual Depth
In a small saucepan over medium heat, melt your butter. Continue cooking, stirring constantly, as it foams and pops. Watch for the visual cue: once you see golden-brown specks at the bottom and smell a toasted hazelnut aroma, immediately remove it from heat. Pour it into a large bowl and let it cool until it is no longer hot to the touch but still liquid.
Creating the Rippled Dough Base
Whisk the cooled brown butter with your granulated and brown sugars until the mixture looks like wet sand. Add one large egg (50g) and a splash of vanilla extract. Whisk vigorously for 2 minutes; this aerates the dough slightly, which will later help the ripples rise and then collapse. Fold in your flour, baking soda, and salt until just a few streaks of flour remain.
The Art of the Chopped Chocolate Pool
Chop your dark chocolate bars into irregular chunks, ranging from dust-sized shavings to half-inch pieces. Fold these into the dough. The variety in size is what creates those “glossy dark chocolate pools” that overflow across the ripples. If you prefer a cookie with zero texture, you might prefer our chocolate chipless cookies, but for this recipe, the chocolate is the star.
The Pan-Banging Execution
Scoop large balls of dough (about 3.5 oz / 100g each) onto your wrinkled parchment paper, spacing them at least 4 inches apart. Bake at 350°F (175°C) for 8 minutes. You will see the cookies start to puff in the center. Open the oven, lift one side of the pan about 4 inches, and drop it. Repeat this “bang” every 2 minutes for the remaining 6-8 minutes of baking. Each drop will collapse the center, pushing the dough outward to form a new ripple.
Expert Tips for Success
- Don’t Overcrowd: Because these cookies spread significantly to create those “concentric ripples,” only bake 4 cookies per sheet.
- The “Pale Center” Rule: Remove the pan when the edges are deep golden and brittle, but the center still looks slightly undercooked. It will firm up as it cools.
- Salt Timing: Apply the Maldon sea salt immediately after the final bang while the chocolate pools are still liquid so the flakes “sit on the surface” securely.
- Parchment Choice: Use actual parchment, not wax paper. The “off-white greaseproof” texture provides the perfect resistance for ripple formation.
What to Serve with Rippled Chocolate Chip Cookies
These cookies are incredibly rich, making them the perfect partner for a sharp contrast. Serve them alongside a cold glass of milk, or if you are hosting a dessert spread, pair them with lemon blueberry cheesecake cookies for a fruity counterpoint. For a truly decadent experience, a scoop of vanilla bean ice cream between two rippled cookies creates a thin and chewy ice cream sandwich that is second to none.
Frequently Asked Questions
While chips work, they contain stabilizers that prevent them from melting into the large, glossy pools seen in the Rippled Chocolate Chip Cookies blueprint. For the best visual and textural result, use high-quality chopped chocolate bars.
Yes! The wrinkles in the parchment paper provide slight friction and uneven surfaces that help the dough catch and fold during the pan-banging process, enhancing the dramatic ripple effect.
Banging the pan collapses the air bubbles in the dough as it rises. This creates the thin, concentric ripples and pushes the dough outward, resulting in the signature shattered crispy edges while keeping the center soft.
This usually happens if the cookies are overbaked. You must pull the pan when the ripples are set and golden, but the very center still looks slightly underdone. Residual heat will finish the cooking on the pan.
Brown butter (Beurre Noisette) adds those visible brown butter specks and a deep nutty flavor. It also removes water content, which contributes to the brittle, shattered texture of the cookie edges.
The Ultimate Rippled Chocolate Chip Cookie Recipe
Rippled Chocolate Chip Cookies with Brown Butter and Sea Salt
Ingredients
Equipment
Method
- Melt butter in a saucepan over medium heat until it foams and browned specks appear at the bottom. Smell for a nutty aroma.
- Transfer butter to a bowl and let it cool to room temperature but remain liquid.
- Whisk brown butter and both sugars until combined. Add the egg and vanilla, whisking for 2 minutes until slightly pale.
- Fold in the flour, baking soda, and salt. Stir in the chopped chocolate chunks to create the potential for chocolate pools.
- Portion 3.5 oz balls of dough onto wrinkled parchment paper. Chill for 15 minutes to prevent excessive spreading before the ripples set.
- Bake at 350°F (175°C) for 8 minutes. Lift and drop the pan against the oven rack. Repeat every 2 minutes until edges are deep golden and brittle.
- Immediately sprinkle with Maldon sea salt while the chocolate pools are glossy and melted.
Notes
Ensure your oven is fully calibrated to 350°F for the correct ripple formation.
Closing & Call to Action
Mastering the Rippled Chocolate Chip Cookies is a rite of passage for any serious home baker. The combination of brown butter, the rhythmic banging of the pan, and the finishing touch of sea salt creates a cookie that is as much a work of art as it is a treat. If you enjoyed this forensic deep-dive into cookie textures, please leave a comment below and share your results! Don’t forget to follow emma_feast_official on Pinterest for more visual recipe inspiration.