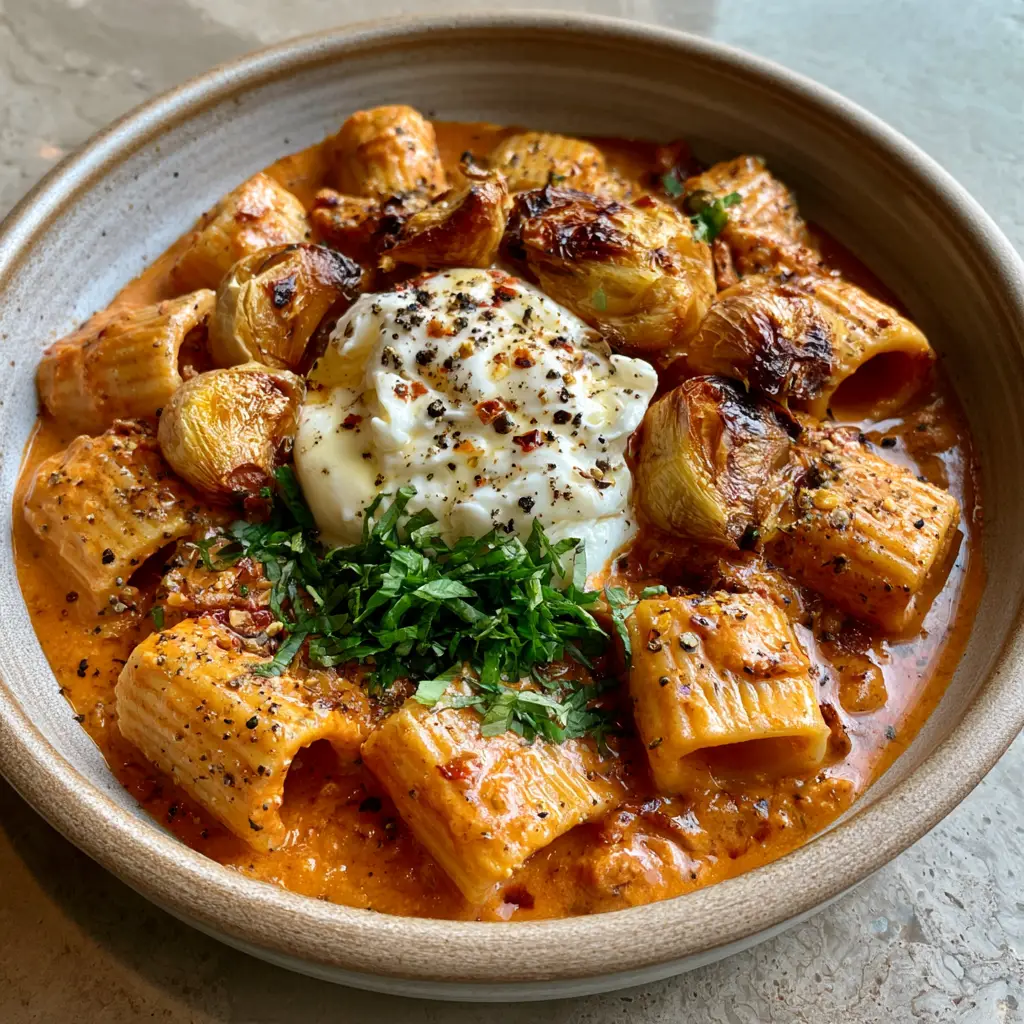
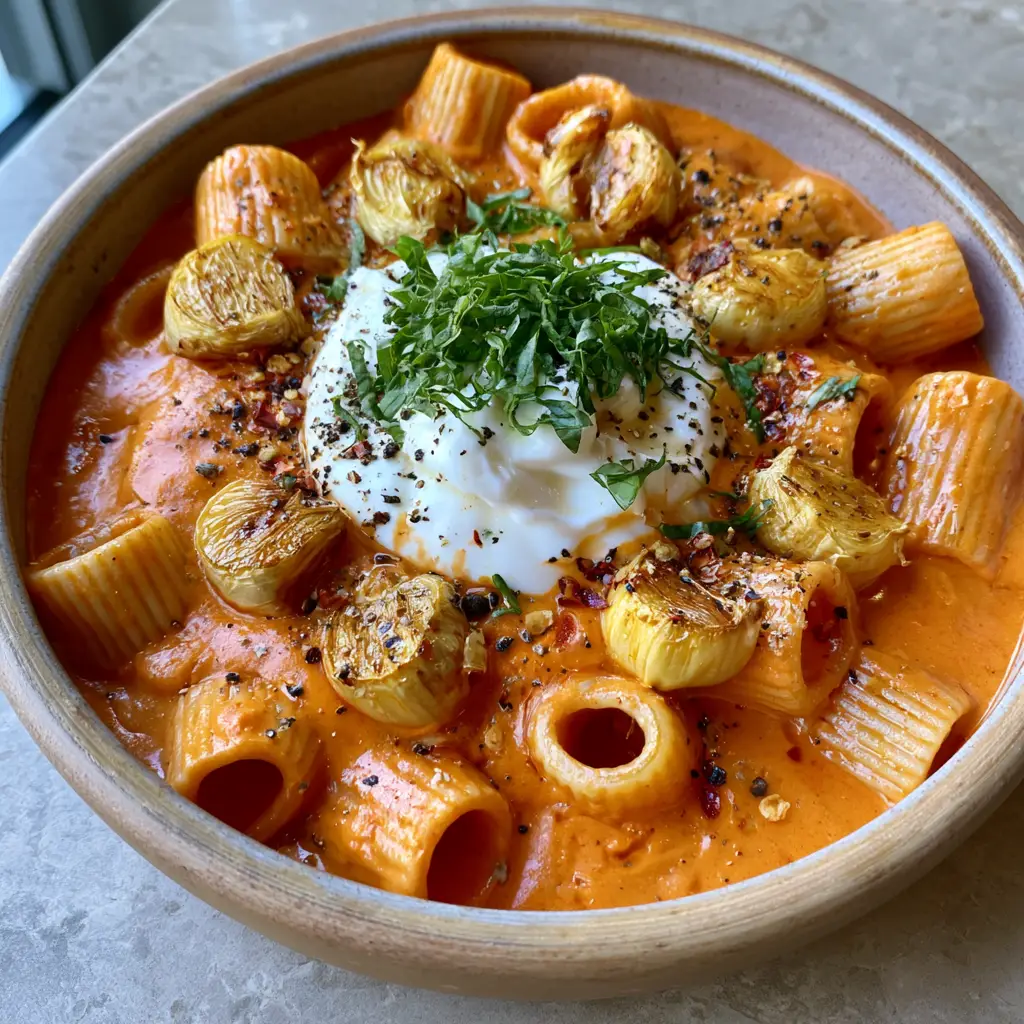
Creamy tomato garlic pasta is the ultimate comfort food that bridges the gap between a quick weeknight meal and a restaurant-quality masterpiece. Imagine a shallow rustic ceramic bowl filled with thick, velvety sauce in a deep sun-dried tomato orange hue, perfectly clinging to every ridge of al dente rigatoni. This isn’t just a meal; it is a sensory experience defined by the sweetness of whole roasted garlic cloves and the luxurious creaminess of a melting burrata heart.
The secret to this dish lies in the contrast of textures—from the firm bite of the pasta to the silkiness of the sauce and the bright, fresh pop of basil chiffonade. Whether you are basking in the soft natural morning light of a slow brunch or plating this under the warm glow of dinner candles, the visual appeal is unmatched. Let’s dive into how you can recreate this photographic masterpiece in your own kitchen.
The Irresistible Allure of This Velvety Rigatoni Masterpiece
- Visually Stunning Palette: The deep sun-dried tomato orange sauce provides a vibrant backdrop for the bright green basil and stark white burrata.
- Textural Harmony: Ridged rigatoni is scientifically designed to “trap” the thick cream sauce, ensuring every bite is fully coated.
- Umami Bomb: By using whole roasted garlic and concentrated tomato paste, we achieve a depth of flavor that mimics a 6-hour slow-cooked ragu in a fraction of the time.
- Interactive Dining: Breaking into the fresh burrata ball allows the creamy stracciatella center to spill out, creating a dynamic, self-saucing experience.
Essential Ingredients for the Ultimate Creamy Tomato Garlic Pasta
Ridged Rigatoni (1 lb / 454g): The ridges (rigate) are essential here, as they provide the necessary surface area for the heavy, velvety sauce to cling to without sliding off. Always choose a high-quality bronze-cut pasta for a rougher texture that maximizes sauce adhesion.
Whole Garlic Heads (2 large): We aren’t just mincing garlic; we are roasting whole cloves until they turn into golden, spreadable “butter.” This process removes the sharp bite of raw garlic and replaces it with a mellow, caramelized sweetness.
Tomato Paste (4 tbsp / 60g): This provides the concentrated base for our “deep orange” visual. Frying the paste in olive oil (the “pincé” technique) deepens the color and caramelizes the natural sugars.
Heavy Cream (1 cup / 240ml): This is the foundational liquid that transforms the acidic tomato base into a velvety, high-fat emulsion. It provides the glossiness seen in the morning light highlights of the dish.
Fresh Burrata Cheese (2 balls / 8oz / 226g): Positioned in the center of the bowl, this cheese provides a cooling contrast to the warm, spicy pasta. Its melting exterior creates that iconic “dollop” look.
Fresh Basil (1/2 cup / 15g): Cut into delicate chiffonade ribbons, the basil adds a peppery, aromatic finish. It is the “bright green” element that makes the orange sauce pop visually.
Extra Virgin Olive Oil (4 tbsp / 60ml): Used for both roasting the garlic and sautéing the sauce base. It carries the fat-soluble flavors of the red pepper flakes throughout the entire dish.
Red Pepper Flakes & Cracked Black Pepper: These provide the “heat and spice” visuals and a subtle back-of-the-throat warmth that cuts through the richness of the cream and cheese.
Grated Parmesan (1/2 cup / 45g): This acts as a binding agent, helping the sauce emulsify and providing a salty, nutty backbone to the flavor profile.
Professional Equipment for a Flawless Pasta Result
To achieve the specific texture of the velvety pasta sauce shown in the photos, you will need a few key tools. A large heavy-bottomed skillet or Dutch oven is vital for heat retention and even caramelization of the tomato paste. You will also need aluminum foil to tightly wrap the garlic for roasting, ensuring it steams in its own oils until tender.
A high-quality microplane is recommended for the parmesan cheese to ensure it is fine enough to melt instantly into the sauce. Finally, a pair of kitchen tongs is better than a spoon for tossing rigatoni, as it allows you to vigorously emulsify the pasta and sauce without breaking the noodles.
The Art of Roasting Garlic for Deep Caramel Flavor
Step 1: Preparing the Garlic Confit
Preheat your oven to 400°F (200°C). Slice the top 1/4 inch off two whole heads of garlic to expose the individual cloves. Place them on a square of aluminum foil, drizzle with 1 tbsp (15ml) of olive oil, and a pinch of salt. Wrap tightly and roast for 40-45 minutes until the cloves are golden brown and soft as butter.
Step 2: Boiling the Rigatoni to Al Dente
Bring a large pot of heavily salted water to a rolling boil. Cook the 1 lb (454g) of rigatoni for 2 minutes less than the package instructions. You want the pasta to have a “snap” in the center because it will finish cooking inside the sauce, absorbing the tomato flavors. Reserve 1 cup (240ml) of starchy pasta water before draining.
Step 3: Developing the Deep Orange Sauce Base
In your large skillet over medium heat, add 2 tbsp (30ml) of olive oil and the 4 tbsp (60g) of tomato paste. Stir constantly for 3-5 minutes. Watch for the color change: the paste will shift from a bright red to a deep, rust-like orange. This is the Maillard reaction in action, creating the savory depth we need.
Step 4: Emulsifying the Cream and Garlic
Squeeze the roasted garlic cloves out of their skins directly into the skillet. Use a wooden spoon to mash them into the tomato paste. Slowly pour in the 1 cup (240ml) of heavy cream while whisking. The sauce will instantly turn into that vibrant, velvety orange. Add the red pepper flakes and a generous amount of cracked black pepper.
Step 5: The Marriage of Pasta and Sauce
Add the cooked rigatoni to the skillet. Pour in 1/2 cup (120ml) of the reserved pasta water and the grated parmesan. Toss vigorously over medium-high heat. The starch in the water and the fat in the cheese will create a glossy, thick coating that “visibly clings” to the ridges of the pasta. If the sauce is too thick, add more pasta water a tablespoon at a time.
Expert Tips for a Picture-Perfect Presentation
- The Burrata Temperature: Take your burrata out of the fridge 30 minutes before serving. If it’s too cold, it won’t achieve that “melting” look when placed on the hot pasta.
- Chiffonade Technique: Stack your basil leaves, roll them like a cigar, and slice thinly. This prevents bruising and gives you those clean “bright green ribbons” mentioned in the visual prompt.
- The “Gloss” Factor: If your sauce looks matte or dry, it needs more fat or water. A final drizzle of high-quality olive oil right before serving adds the “highlights” that catch the light.
- Seasoning in Layers: Salt the pasta water like the sea, salt the garlic before roasting, and taste the sauce before adding the pasta. This builds a complex flavor profile that isn’t just “salty” at the end.
Creative Pairings: What to Serve with Creamy Pasta
This creamy tomato garlic pasta is quite rich, so you’ll want to pair it with something that offers acidity or crunch. A crisp arugula salad with a lemon vinaigrette is the perfect palate cleanser. If you are looking for more quick weeknight dinner solutions, you could serve this pasta alongside a simple grilled chicken breast or seared shrimp.
For a true Italian feast, consider starting with a juicy fresh tomato bruschetta to lean into the tomato theme. The acidity of fresh tomatoes contrasts beautifully with the heavy cream in the rigatoni sauce.
Safe Storage and Reheating Guidelines
To Store: Keep leftover pasta in an airtight container in the refrigerator for up to 3 days. Note that the pasta will absorb the sauce as it sits, so it will be much thicker the next day.
To Reheat: Do not use the microwave if possible, as it can cause the cream to break and become oily. Instead, place the pasta in a skillet with a splash of milk or water. Heat over low-medium, stirring gently until the sauce becomes creamy again.
Freezing: We do not recommend freezing this dish. The cellular structure of the cream and the burrata cheese will change upon thawing, resulting in a grainy texture.
Frequently Asked Questions
While rigatoni is preferred for its ridges, any tubular pasta like penne or fusilli works well. Avoid thin, smooth pastas like spaghetti, as the thick sauce will slide right off.
The color comes from ‘pincé,’ or frying the tomato paste in oil until it caramelizes, combined with the white of the heavy cream which lightens and vibrates the orange hues.
You can use full-fat coconut milk or a cashew-based cream substitute. However, the flavor profile will shift significantly, and you should use a vegan ‘burrata’ alternative.
A high-quality fresh buffalo mozzarella is the best substitute. If you want that creamy center, you can dollop a spoonful of ricotta cheese mixed with a splash of cream on top.
Roasting garlic whole transforms its chemical structure, turning it from sharp and pungent to sweet and buttery. This sweetness is essential to balance the acidity of the tomato paste.
The Ultimate Creamy Tomato Garlic Pasta Recipe Card
Creamy Tomato Garlic Pasta with Roasted Garlic and Burrata
Ingredients
Equipment
Method
- Cut the tops off garlic heads, drizzle with oil, wrap in foil.
- Bake at 400°F (200°C) for 45 minutes until golden and soft.
- Cook rigatoni in salted water until just before al dente. Reserve 1 cup of pasta water.
- Fry tomato paste in olive oil until it turns deep orange/rust color.
- Stir in mashed roasted garlic, cream, and pasta. Toss with parmesan and pasta water to emulsify.
- Serve in bowls topped with a burrata ball, basil, and black pepper.
Notes
Don't skip the pasta water; it's the secret to a non-greasy, velvety sauce.
Closing Thoughts: Join the Feast!
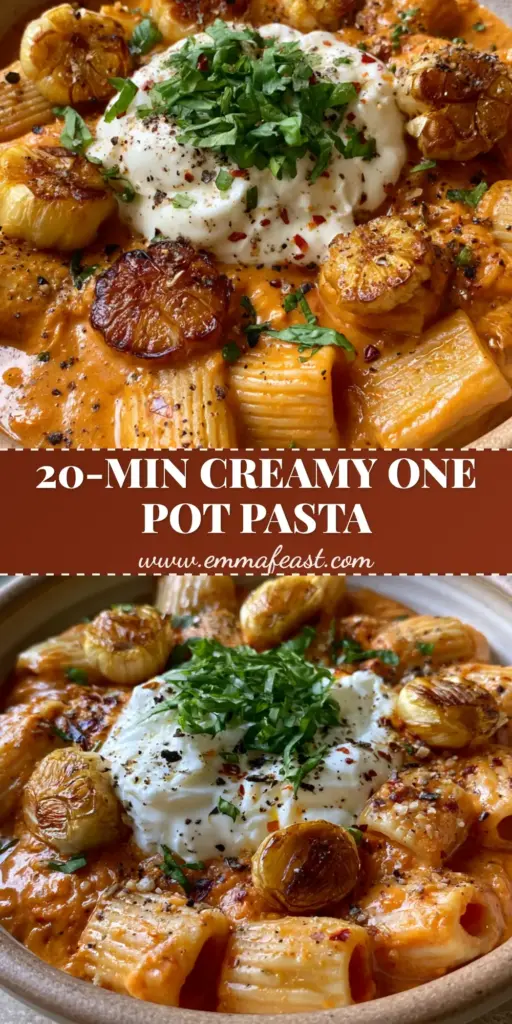
Recreating this creamy tomato garlic pasta is about more than just following steps; it is about embracing the textures and colors of high-quality ingredients. From the golden roasted garlic to the melting burrata, every element is designed to provide a moment of pure culinary joy. We would love to see your creations! If you make this dish, please leave a comment below and let us know how it turned out.
Don’t forget to follow us on Pinterest for more visual recipe inspiration and share your photos with the community. Happy cooking!