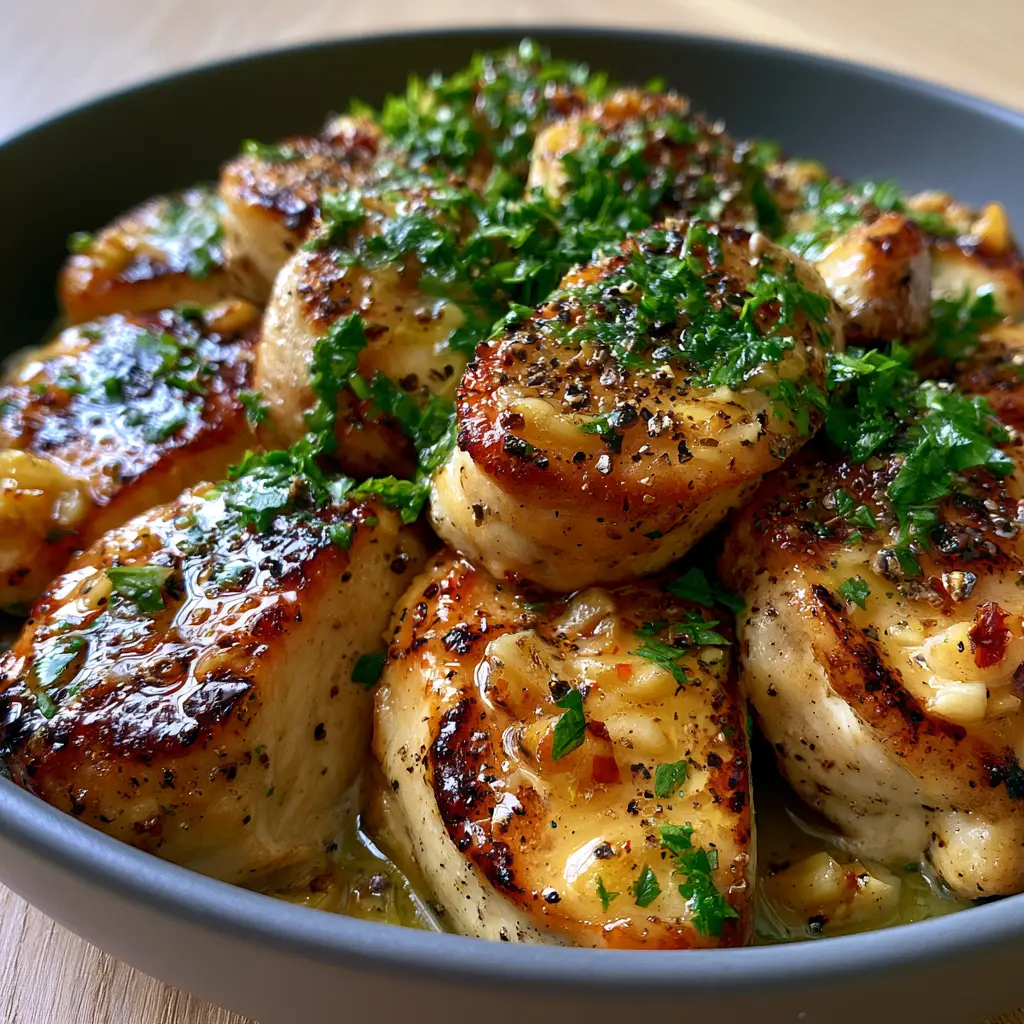
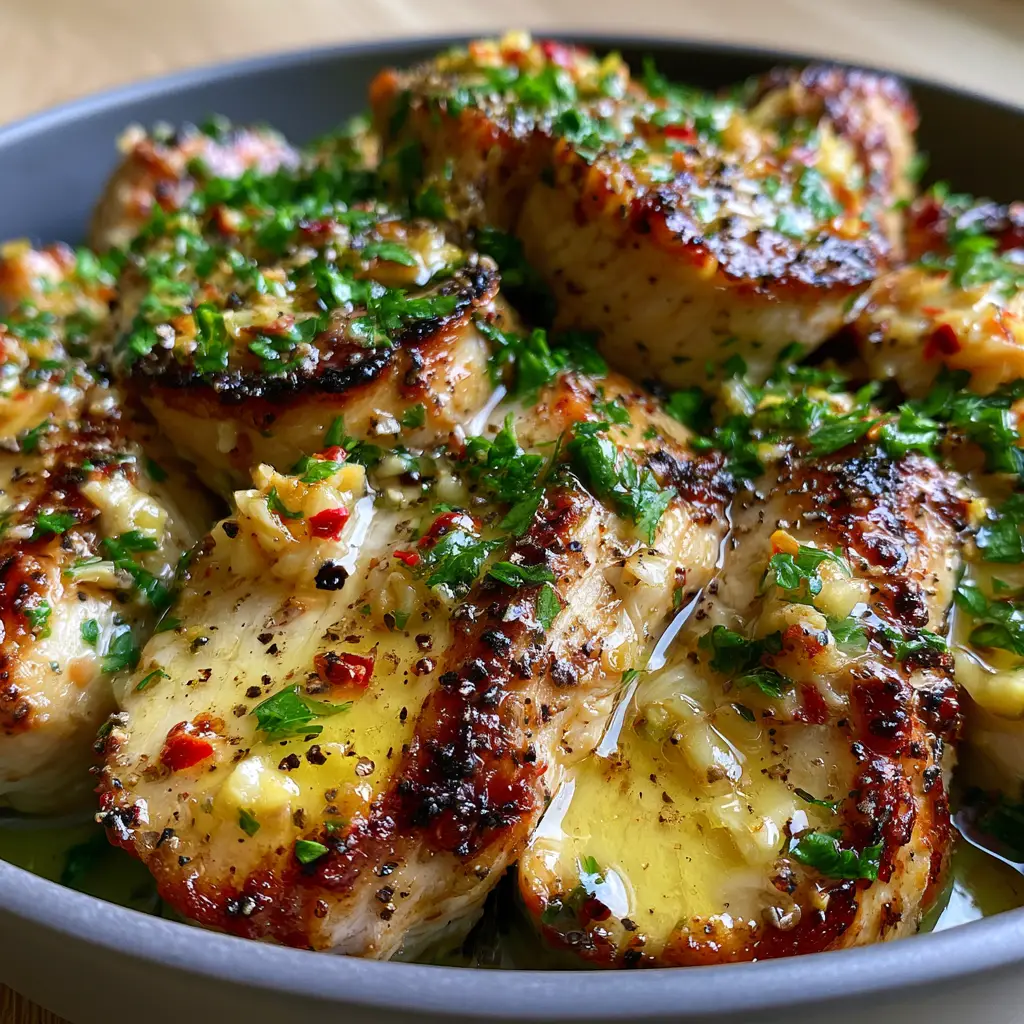
Finding the perfect balance between nutrition and flavor can be a challenge, but these high protein dinners prove you never have to sacrifice taste for macros. Imagine tender, juicy chicken breast sliced into perfect medallions, each boasting deep golden-brown charred edges that shatter slightly with every bite. The crowning glory is a shimmering, translucent garlic butter sauce that pools in the crevices of the meat, carrying the warmth of roasted minced garlic and a subtle kick of red chili flakes.
This recipe isn’t just about fuel; it’s a sensory experience designed to look as good as it tastes. When you plate this in a matte charcoal grey ceramic bowl, the vibrant green of the freshly chopped parsley pops against the golden sear marks. Whether you are a fitness enthusiast or simply a home cook looking for a restaurant-quality meal, this dish delivers high-end food blog aesthetics right to your kitchen table.
Success in this recipe lies in the “bridge” between professional searing techniques and simple, high-quality ingredients. We aren’t just cooking chicken; we are building layers of flavor through the Maillard reaction and butter-basting. The result is a high-protein masterpiece that stays incredibly moist on the inside while maintaining that coveted crust on the outside.
The Aesthetic and Nutritional Appeal of This High-Protein Powerhouse
- Shatter-Crisp Golden Edges: Achieving the perfect sear provides a textural contrast to the juicy interior, a hallmark of elite high protein dinners.
- Aromatic Garlic Butter Glaze: The shimmering sauce isn’t just for show; it carries the fat-soluble flavors of garlic and chili directly to your palate.
- Bursting with Freshness: The heavy scattering of vibrant green parsley and cracked black pepper adds a bright, earthy finish that cuts through the richness of the butter.
- Macro-Friendly Excellence: With a focus on lean poultry and healthy aromatics, this dish fits perfectly into a muscle-building or weight-management lifestyle.
Essential Elements for Protein-Packed Perfection
To achieve the visual and culinary results seen in our professional photography, you will need a specific set of ingredients. Each component plays a vital role in the final architecture of the dish.
Chicken Breasts: 1.5 lbs (680g) of boneless, skinless breasts provide the lean protein foundation. Ensure they are at room temperature before searing to guarantee even cooking and those iconic golden-brown marks.
Unsalted Butter: 4 tbsp (56g) of high-quality butter creates the base for our translucent glaze. Using unsalted allows you to control the seasoning precisely, ensuring the roasted garlic flavor shines through.
Minced Garlic: 6 cloves (approx. 30g) of garlic, finely minced, will be roasted in the butter until nutty and golden. This provides the “visible bits” of roasted garlic suspended in the sauce as described in our blueprint.
Red Chili Flakes: 1 tsp (2g) of dried red chili flakes adds a tiny pop of color and a gentle, warming heat. These flakes stay suspended in the butter glaze, creating a beautiful visual texture.
Fresh Italian Parsley: 1/2 cup (15g) of vibrant green parsley, finely chopped, provides the necessary contrast. It adds a fresh, herbaceous note that balances the savory depth of the seared meat.
Neutral High-Smoke Point Oil: 2 tbsp (30ml) of avocado or grapeseed oil is essential for the initial sear. Unlike butter, these oils won’t burn at the high temperatures required to create charred edges.
Coarse Kosher Salt and Cracked Black Pepper: These are your foundational seasonings. The cracked black pepper should be visible on the surface, providing both spice and a professional, rustic finish.
Tools Required for the Perfect Sear
Achieving restaurant-quality high protein dinners requires the right equipment to manage heat distribution and moisture. A heavy-bottomed skillet, preferably cast iron or stainless steel, is non-negotiable for creating those deep golden-brown charred edges.
You will also need a sharp chef’s knife to create clean, uniform slices of the chicken medallions. A set of stainless steel tongs will give you the control needed to flip the chicken without tearing the delicate crust. Finally, a small spoon is necessary for the “basting” phase, where you will drizzle the shimmering garlic butter over the sliced medallions.
Step-by-Step Guide to Culinary Excellence
Preparing the Protein Foundation
Start by patting your chicken breasts completely dry with paper towels. Moisture is the enemy of a good sear; any surface water will create steam, preventing the golden-brown crust from forming.
Season both sides generously with kosher salt and half of your cracked black pepper. If you enjoy this flavor profile, you might also find our salt and pepper pork to be a fantastic addition to your weekly rotation.
Achieving the Golden-Brown Sear Marks
Place your skillet over medium-high heat and add the neutral oil. Wait until the oil is shimmering and just starting to wisps of smoke—this is your cue that the pan is ready.
Lay the chicken breasts in the pan, laying them away from you to avoid oil splatter. Let them cook undisturbed for 5-6 minutes. You are looking for a deep, charred golden-brown color before you even think about flipping them.
Slicing and Creating Medallions
Once the chicken is cooked through (internal temperature of 165°F or 74°C), remove it from the pan and let it rest on a cutting board for at least 5 minutes. This allows the juices to redistribute, ensuring a “moist, juicy interior.”
Slice the chicken against the grain into medallions roughly 1/2 inch (1.25cm) thick. The interior should look glistening and opaque. If you prefer a different protein, these techniques work equally well for pork medallions as well.
Crafting the Translucent Garlic Butter Glaze
Wipe the excess oil from your skillet and return it to medium-low heat. Add the butter, and as it begins to foam, stir in the minced garlic and red chili flakes.
Cook the garlic for 2-3 minutes, watching for the color to turn a soft, roasted tan. Add the chicken medallions back into the pan, tossing them gently so the shimmering, translucent sauce coats every charred edge.
Expert Tips for Success
- The Dry Rub Secret: For an even deeper crust, let the seasoned chicken sit uncovered in the fridge for 30 minutes before cooking. This dries the surface further for an elite sear.
- Butter Temperature: Do not let the butter turn brown (beurre noisette) unless you want a nutty flavor. For the shimmering, translucent look in the prompt, keep the heat low during the glaze phase.
- Freshness Counts: Only chop the parsley seconds before serving. This ensures the “vibrant green” color remains intense against the charcoal grey bowl.
- Resting is Mandatory: Slicing chicken too early causes the internal juices to run out, leaving you with dry meat instead of the juicy interior shown in the macro photos.
Creative Pairings for High Protein Dinners
To turn this into a complete meal, consider what you serve alongside these medallions. For a low-carb option, these cauliflower steaks provide a wonderful roasted texture that complements the garlic butter.
If you are feeding a crowd or looking for hearty family options, this chicken pairs beautifully with a side of creamy crockpot chicken pasta. The garlic butter from the medallions can even be drizzled over the pasta for extra decadence.
For those who love bold, savory flavors, serving these medallions with a side of stir-fry inspired by our pepper steak recipe creates a fusion dinner that is high in protein and extremely satisfying.
Frequently Asked Questions
Yes, you can use chicken thighs. They will be even juicier due to the higher fat content, though the total protein-to-calorie ratio will shift slightly.
Keep the heat on medium-low during the butter-basting phase. Garlic only needs about 2 minutes to become fragrant and roasted; any longer and it will turn bitter.
The secret is three-fold: pat the chicken completely dry, use a high-smoke point oil, and do not move the chicken once it hits the hot skillet for at least 5 minutes.
Absolutely. The garlic butter sauce helps keep the chicken moist even after being stored in the refrigerator for up to 4 days.
Reheat them gently in a skillet over low heat with an extra splash of water or chicken broth to create steam, which helps preserve the juicy interior.
The Final Recipe: Pan-Seared Garlic Butter Chicken Medallions
High Protein Dinners: Pan-Seared Garlic Butter Chicken Medallions
Ingredients
Equipment
Method
- Pat the chicken breasts dry with paper towels. Season both sides generously with salt and half the cracked black pepper.
- Heat oil in a skillet over medium-high heat. Sear chicken for 5-6 minutes per side until deep golden-brown charred edges appear.
- Remove chicken from pan and rest for 5 minutes. Slice into 1/2 inch (1.25cm) medallions.
- Lower heat to medium-low. Melt butter, add minced garlic and chili flakes. Roast garlic for 2 minutes until golden. Return chicken to pan and baste with the shimmering sauce.
- Scatter fresh parsley and remaining cracked black pepper over the top before serving in a matte bowl.
Notes
Don't crowd the pan; cook in batches if necessary to maintain heat.
Closing & Call to Action
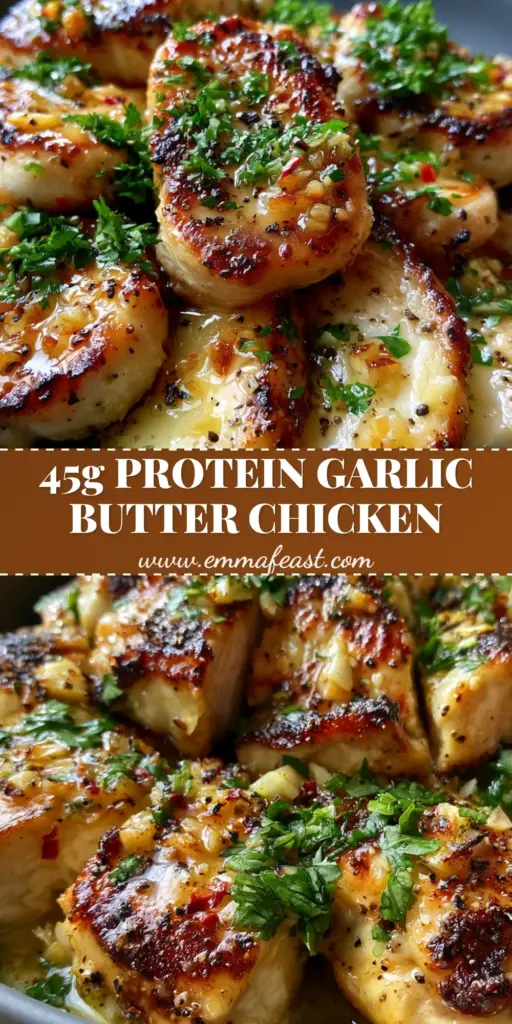
Mastering high protein dinners doesn’t require a culinary degree, just attention to detail and a love for bold flavors. These Pan-Seared Garlic Butter Chicken Medallions offer a restaurant-quality experience that fits perfectly into a healthy lifestyle. The combination of charred edges, juicy meat, and that shimmering garlic glaze is a guaranteed winner for your next meal prep or date night.
Did you try this recipe? We would love to see your recreations! Tag us in your photos or leave a comment below with your favorite way to customize this dish. Don’t forget to save this recipe to your “Healthy Dinners” board on Pinterest so you always have it on hand!