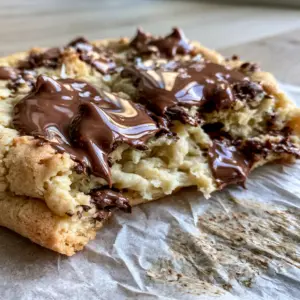
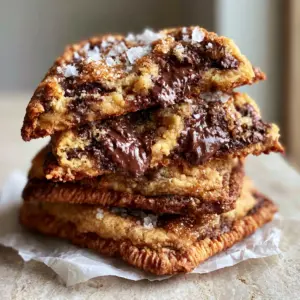
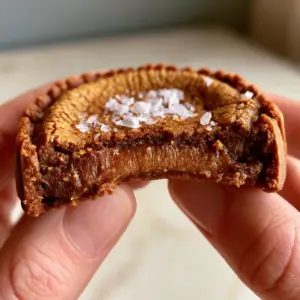
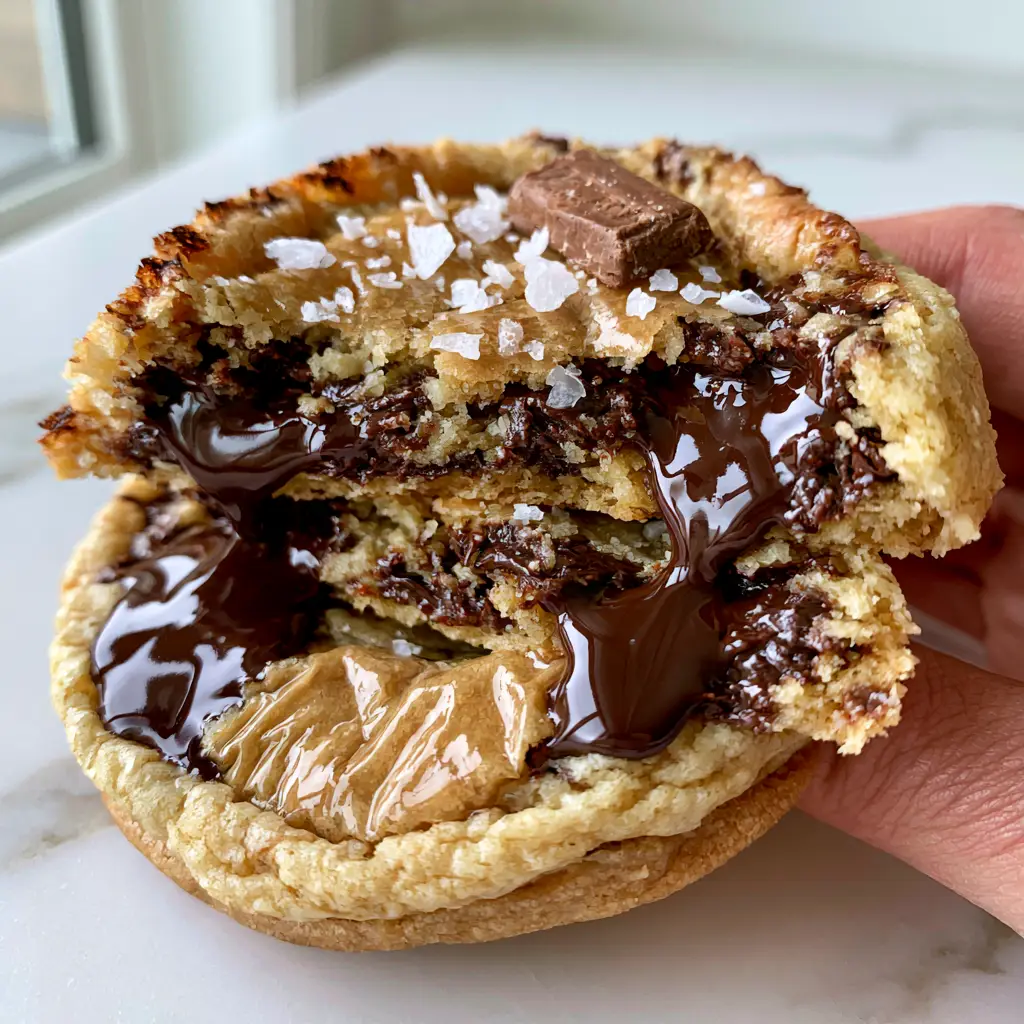
There is nothing quite like the sensory experience of breaking into a warm, bakery-style treat, and these melted butter chocolate chip cookies are designed to deliver that exact moment of bliss. Imagine a cookie with a golden-tan, crinkled surface that glistens with a rich, buttery sheen, giving way to an impossibly gooey, fudgy center. These aren’t your average flat disks; they are thick, substantial, and loaded with dramatic pools of melted semi-sweet chocolate.
The magic of using melted butter instead of the traditional creamed-butter method lies in the final texture. By melting the fat, we create a denser, chewier crumb that mimics the most sought-after professional bakery results. When you pull these apart, the chocolate should ooze from the break points, perfectly contrasted by a delicate garnish of flaky sea salt and toasted, crispy outer edges.
Whether you are a seasoned baker or just looking for the ultimate comfort food, this recipe bridges the gap between scientific precision and home-cooked warmth. We have meticulously tested the ratios to ensure that every bite offers a symphony of salt, sugar, and rich cocoa.
Why These Fudgy Chocolate Chip Cookies Stand Out
- The Signature Crinkle Top: We utilize a specific sugar-to-butter ratio that creates that delicate, shiny, “paper-thin” crust on top of a soft base.
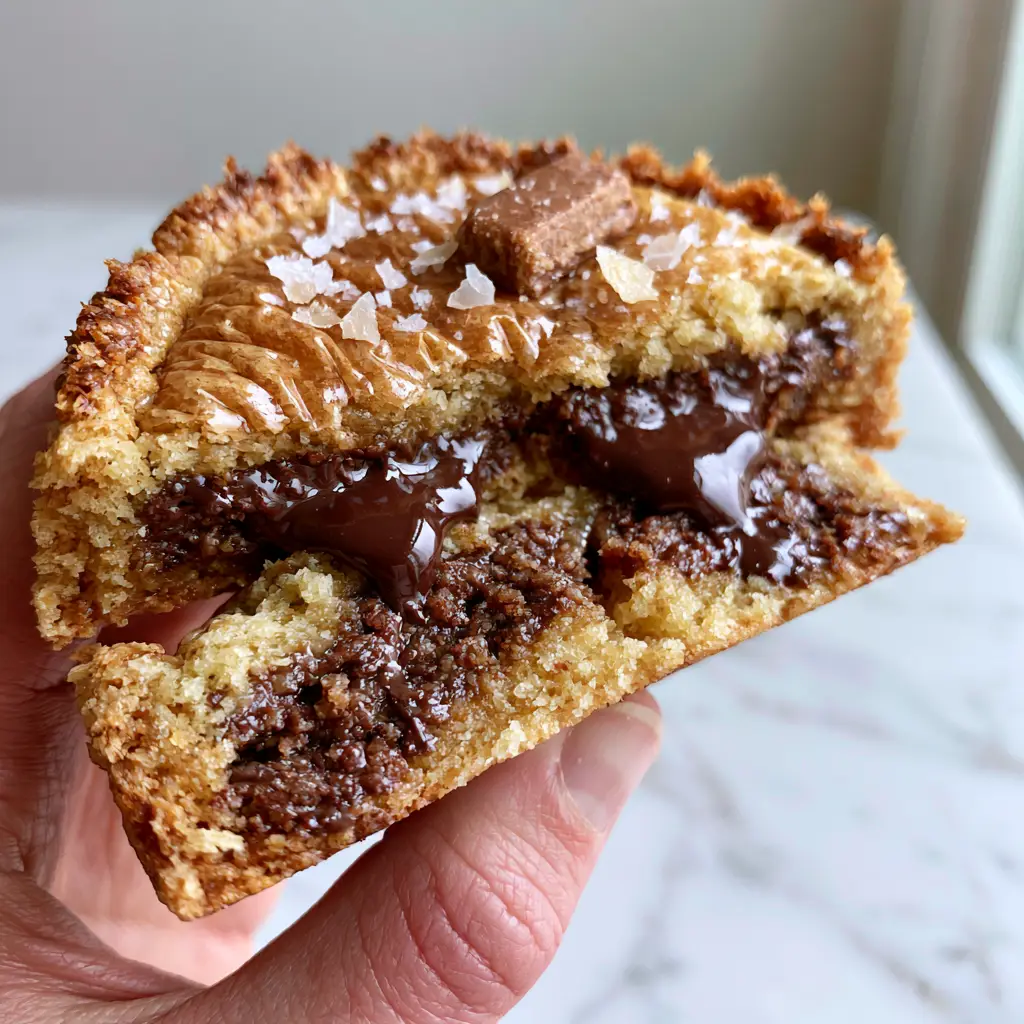
- Molten Chocolate Pools: By using chopped semi-sweet chocolate blocks rather than just chips, you achieve those iconic, oozing dark chocolate reservoirs.
- Bakery-Style Architecture: These cookies are thick and sturdy on the outside while remaining delightfully underbaked and “doughy” in the very center.
- Toasted Maillard Edges: The high-heat blast ensures the perimeter is deeply golden-brown and crisp, providing a textural foil to the soft interior.
Essential Components for the Perfect Melted Butter Sheen
Unsalted Butter: 1 cup (227g). Melting the butter allows the water content to bond more effectively with the sugars, resulting in a chewier, denser cookie rather than a cakey one.
Granulated Sugar: ¾ cup (150g). This is the key to achieving those toasted outer edges and the essential crinkle-top surface through proper aeration with the eggs.
Dark Brown Sugar: 1 cup (200g), packed. The molasses content in brown sugar provides the “fudgy center” and the deep golden-tan color we are looking for.
Large Eggs & Extra Yolk: 2 whole eggs plus 1 yolk. The extra yolk adds a layer of richness and ensures the interior remains soft and doughy even after the cookies cool.
All-Purpose Flour: 2 ¼ cups (280g). This provides the structural foundation; we use just enough to hold the chocolate together without making the cookie heavy.
Semi-Sweet Chocolate: 10 oz (280g), roughly chopped. Using a bar instead of chips creates the “pools” seen in our visual blueprint, as chips are designed to hold their shape.
Flaky Sea Salt: For garnish. A few scattered flakes of large sea salt cut through the richness of the butter and chocolate, elevating the flavor profile significantly.
Vanilla Extract & Baking Soda: 1 tbsp (15ml) vanilla and 1 tsp (6g) baking soda. These are the invisible workers that provide the aromatic depth and the necessary lift for that crinkled texture.
Must-Have Tools for Professional Results
To achieve the look of bakery-style cookies, you will need a heavy-duty light-colored baking sheet to prevent the bottoms from burning. A large 3-tablespoon cookie scoop ensures uniform thickness, which is vital for that “handheld” look. Finally, a wire cooling rack is essential to stop the cooking process at the perfect moment, keeping the centers soft.
The Step-by-Step Path to Cookie Perfection
Melting the Fat and Building the Flavor Base
In a small saucepan or microwave-safe bowl, melt the 1 cup (227g) of butter until it is completely liquid and starting to show a slight golden shimmer. Allow it to cool for about 5 minutes so it doesn’t scramble the eggs, then whisk it vigorously with the granulated and brown sugars.
You want to whisk the sugars and melted butter for at least 2 minutes. This creates an emulsion that is responsible for the melted butter chocolate chip cookies‘ signature crinkle top. The mixture should look like thick, pale caramel before you move to the next step.
Incorporating the Richness
Add the 2 whole eggs, the extra egg yolk, and the vanilla extract. Continue whisking until the batter is glossy and smooth. You will notice a distinct “butter sheen” starting to form in the bowl, which is a great visual cue that your fats and liquids are properly combined.
Folding the Dry Ingredients and Chocolate Pools
Sift in the flour, baking soda, and a pinch of fine salt. Use a spatula to gently fold the mixture until just a few streaks of flour remain. Over-mixing at this stage will develop too much gluten, ruining the “soft doughy interior” we desire.
Fold in the 10 oz (280g) of chopped semi-sweet chocolate. Reserve a few large un-melted chocolate chunks to press into the tops later. This ensures your melted butter chocolate chip cookies have that professional, high-end finish with visible chocolate puddles.
Portioning and the High-Heat Bake
Scoop large, 3-tablespoon balls of dough onto your prepared baking sheet. For the best results, let the dough balls chill in the fridge for 30 minutes; this prevents the cookies from spreading too thin, keeping them thick and “jumbo.”
Bake at 375°F (190°C) for 9-11 minutes. Look for the “Visual Cue”: the edges should be toasted and deep golden-brown, but the centers must still look slightly pale and “underbaked.” They will firm up on the hot pan once removed from the oven.
Expert Tips for the Ultimate Crinkle Surface
- The Pan Bang: Halfway through baking, gently lift the baking sheet and drop it against the oven rack. This collapses air pockets and creates those beautiful ripples.
- Chocolate Placement: Press that single un-melted chocolate chunk into the center of the cookie immediately after it comes out of the oven for a “styled” look.
- Temperature Control: Ensure your melted butter is warm but not hot. If it’s too hot, it will melt the chocolate chunks prematurely into the dough, losing those distinct “pools.”
- Salt Timing: Sprinkle the flaky sea salt immediately after baking so it adheres to the “melted butter sheen” on the surface.
How to Store and Refresh Your Cookies
These cookies are best enjoyed warm, but you can store them in an airtight container at room temperature for up to 3 days. To regain that “gooey, fudgy center,” simply microwave a single cookie for 10-15 seconds. If you have extra dough, you can freeze individual balls and bake them from frozen—perfect for when you crave jumbo chocolate chip cookies on demand.
The Perfect Pairings
While a cold glass of milk is the classic choice, these rich cookies pair beautifully with a salty-sweet spread. If you are hosting a dessert brunch, consider serving these alongside lemon blueberry cheesecake cookies for a bright flavor contrast. For a savory-then-sweet dinner, they are the perfect follow-up to a hearty meal like stuffed Italian sausage.
Common Questions About Melted Butter Cookies
You can, but chocolate chips contain stabilizers that prevent them from melting into ‘pools.’ For the gooey reservoirs seen in the photos, use a high-quality semi-sweet chocolate bar and chop it by hand.
Chilling is highly recommended for melted butter cookies. It allows the flour to fully hydrate and solidifies the fat, preventing the cookies from spreading too thin and ensuring they stay thick and bakery-style.
The crinkle top is achieved by whisking the melted butter and sugars thoroughly with the eggs to create a meringue-like emulsion. This dries slightly on top in the oven, forming that paper-thin, shiny crust.
The extra fat and protein in a single egg yolk provide structural integrity and a rich, doughy mouthfeel. It ensures the cookies stay soft and chewy for days after baking.
Melted butter creates a chewier, denser texture because it bonds more easily with the sugars. This eliminates the air pockets found in creamed butter recipes, leading to a fudgier center rather than a cakey one.
The Ultimate Melted Butter Chocolate Chip Cookie Recipe
Melted Butter Chocolate Chip Cookies: The Secret to Fudgy Centers and Crinkle Tops
Ingredients
Equipment
Method
- Whisk the melted butter, brown sugar, and granulated sugar in a large bowl for 2 minutes until pale and emulsified.
- Incorporate the eggs, egg yolk, and vanilla extract. Whisk until the mixture is glossy and shows a buttery sheen.
- Gently fold in the flour and baking soda with a spatula until just combined. Do not overmix.
- Fold in the chopped chocolate chunks, reserving a few for the tops.
- Scoop 3-tbsp mounds onto a baking sheet and chill for 30 minutes in the refrigerator.
- Bake at 375°F (190°C) for 9-11 minutes until edges are toasted and golden-brown, but centers are still soft.
- Press reserved chocolate chunks into the tops and sprinkle with flaky sea salt immediately.
Notes
Ensure your oven is fully preheated to 375°F for that toasted edge texture.
Closing & Call to Action
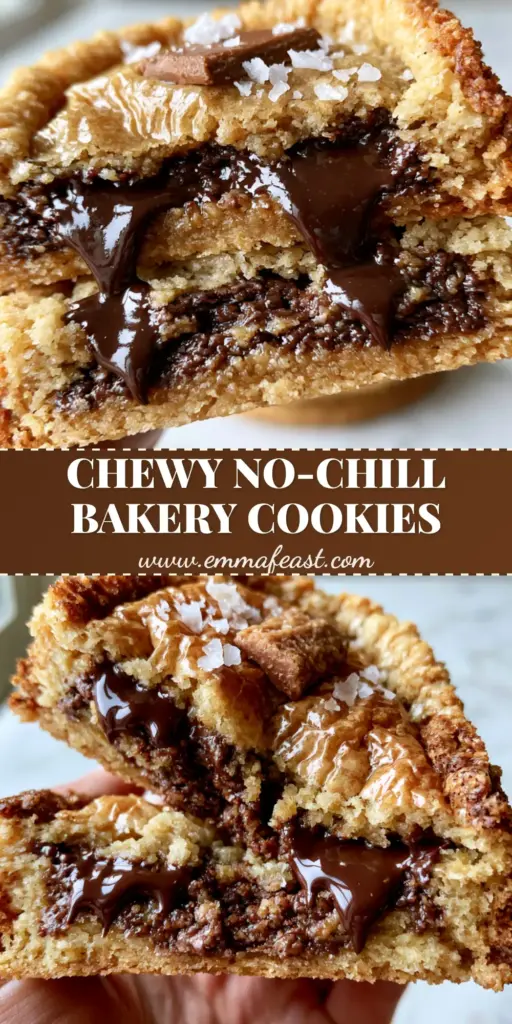
Mastering the melted butter chocolate chip cookies technique is a game-changer for any home baker. The combination of the shiny crinkle top, the toasted edges, and that incredibly gooey, fudgy center makes this a “holy grail” recipe. We would love to see your results! Leave a comment below with your favorite chocolate brands, and don’t forget to share your cookie-pull photos with us on Pinterest.