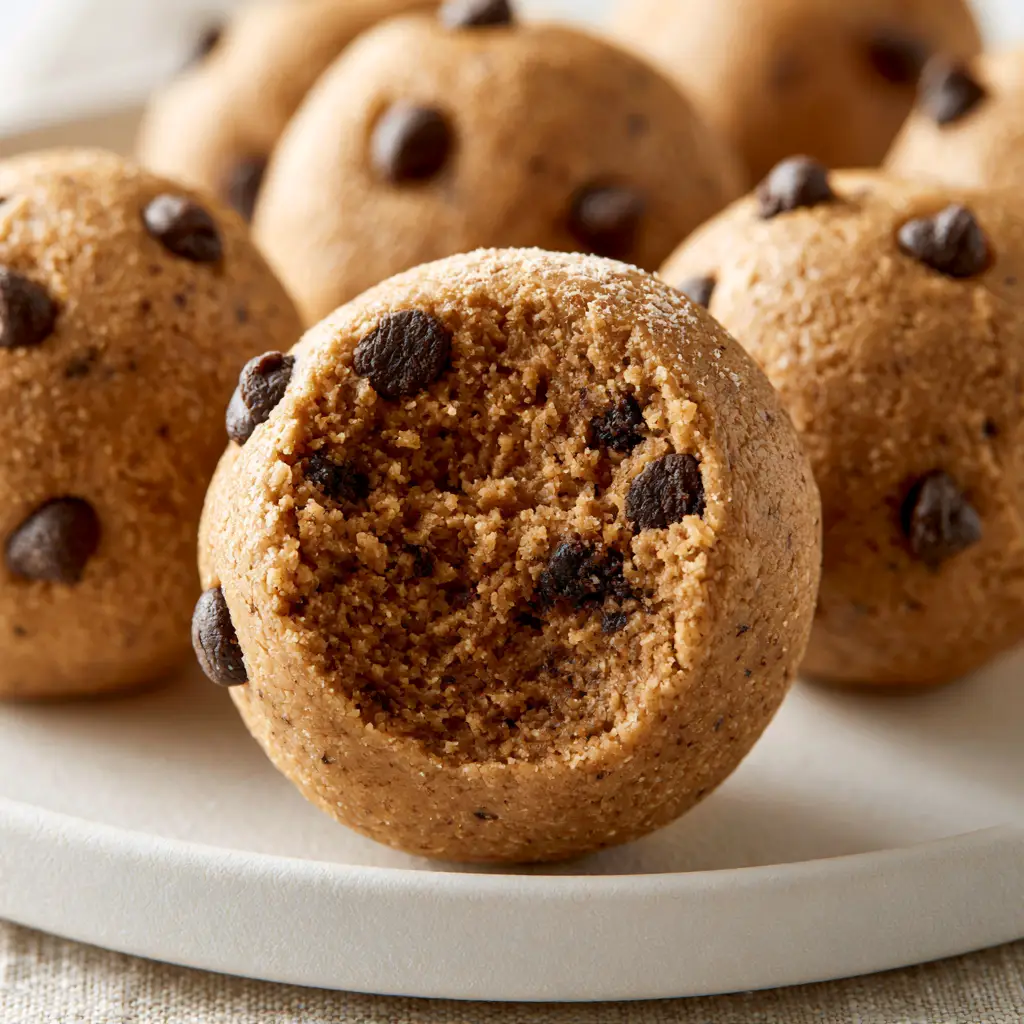
Peanut butter balls are the ultimate solution for when those intense midday cravings hit and you need something sweet, satisfying, and shockingly easy to make. This recipe delivers a dense, moist, fudgy interior texture that mimics a decadent truffle but uses wholesome ingredients you likely already have in your pantry.
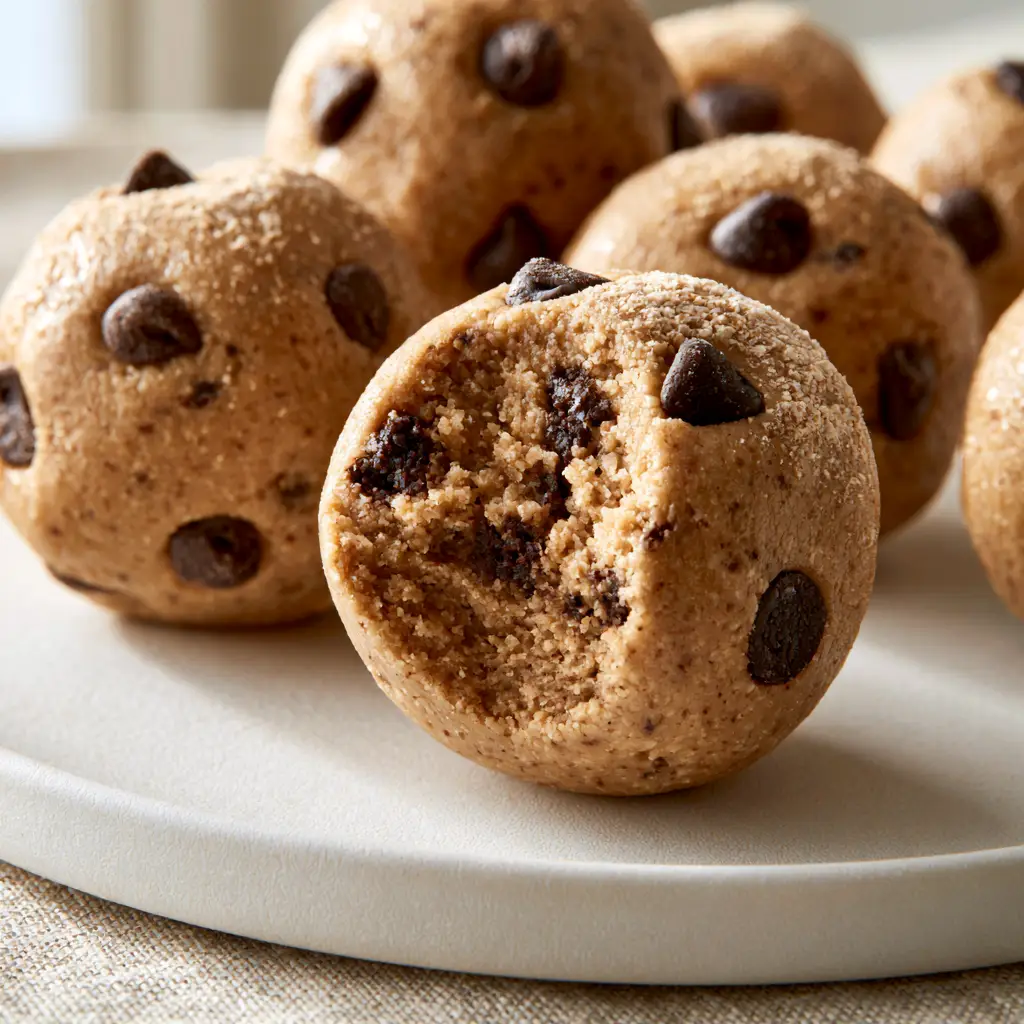
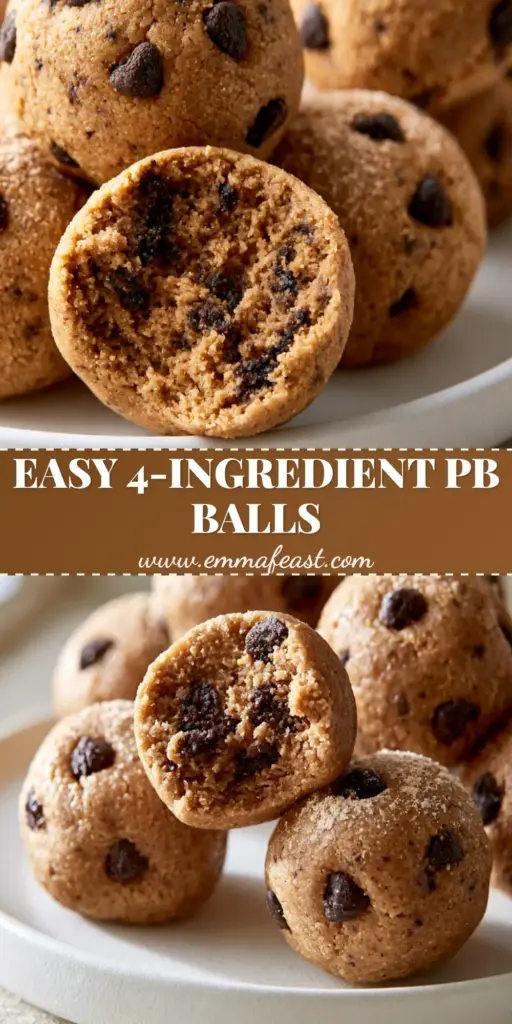
Every bite of these peanut butter balls features a smooth exterior dotted with mini dark chocolate chips, all finished with a professional-looking fine oat flour dusting. Whether you are looking for a quick pre-workout fuel or a late-night treat, these hand-rolled delights offer glossy maple syrup highlights that catch the light and make them absolutely irresistible on any dessert platter.
Why These Fudgy Peanut Butter Treats Are a Pinterest Favorite
- Perfectly Dense Texture: The combination of creamy fats and fine flour creates a dense fudgy center that melts in your mouth.
- Glossy Visual Appeal: We use high-quality sweeteners to ensure glossy maple syrup highlights for that photo-ready sheen.
- Quick & No-Bake: Ready in under 20 minutes, making them faster than baking a batch of apple bars.
- Macro-Friendly: Packed with protein and healthy fats to keep you satiated longer than traditional sugary snacks.
The Secret Pantry Staples for the Best Peanut Butter Balls
To achieve that extreme macro close-up level of perfection, the quality of your ingredients matters. Unlike a complex cinnamon roll casserole, these simple bites rely on the synergy of just a few components.
Creamy Peanut Butter: You need 1 cup (250g) of creamy, well-stirred peanut butter. This acts as the structural base and provides the rich, nutty flavor profile.
Pure Maple Syrup: Use 1/3 cup (80ml) of Grade A maple syrup. This provides the glossy highlights and a depth of sweetness that granulated sugar simply cannot match.
Fine Oat Flour: You will need 1.5 cups (180g) of finely ground oat flour. This creates the dense, moist, fudgy interior while keeping the recipe naturally gluten-free.
Mini Dark Chocolate Chips: Add 1/2 cup (90g) of mini chips. The smaller size ensures they are embedded throughout the dough without compromising the structural integrity of the ball.
Fine Sea Salt: Just 1/4 teaspoon (1.5g) to balance the sweetness and enhance the chocolate notes.
How to Make Perfectly Round Peanut Butter Balls
Mixing the Creamy Dough
In a large mixing bowl, combine your 1 cup (250g) of creamy peanut butter with 1/3 cup (80ml) of maple syrup. Use a stiff spatula to blend until the mixture is uniform and shows those glossy highlights.
Slowly fold in the 1.5 cups (180g) of fine oat flour and the sea salt. The dough should transition from a liquid state to a creamy peanut butter dough that is slightly tacky but doesn’t stick aggressively to your fingers.
Folding in the Dark Chocolate
Once the base is smooth, gently fold in the 1/2 cup (90g) of mini dark chocolate chips. Ensure they are evenly distributed so that every hand-rolled peanut butter ball has a beautiful speckled appearance.
If your kitchen is particularly warm, chill the dough for 10 minutes. This makes the rolling process much easier and ensures the smooth exterior remains intact.
The Art of Hand-Rolling and Dusting
Scoop about 1 tablespoon (15ml) of dough at a time. Roll the dough between your palms with gentle pressure to create perfectly round spheres. You should see the chips embedded throughout the surface.
Place a small amount of extra oat flour in a shallow bowl. Give each ball a very fine oat flour dusting. This provides a soft, matte finish that contrasts beautifully with the glossy maple syrup sheen beneath.
Expert Tips for Success
- Avoid Oil Separation: If using natural peanut butter, ensure it is thoroughly mixed. Excess oil will prevent the peanut butter balls from holding their shape.
- Sift Your Flour: For that fine oat flour dusting, use a small mesh strainer to ensure there are no clumps on the exterior.
- Use a Scoop: A small cookie scoop ensures consistent sizing, which is vital for a professional plated minimalist look.
- Chill for Texture: While delicious at room temperature, chilling them for 30 minutes creates a dense, moist, fudgy interior that is truly elite.
Storage, Reheating & Freezing
These peanut butter balls are incredibly stable. Store them in an airtight container in the refrigerator for up to 2 weeks. The cold temperature actually enhances the dense fudgy center.
For long-term storage, flash-freeze the balls on a parchment-lined tray for one hour, then transfer to a freezer bag. They will stay fresh for up to 3 months. Simply thaw for 5 minutes before enjoying.
What to Serve With This
These treats are the perfect finish to a savory brunch featuring a hearty breakfast casserole. The saltiness of the peanut butter complements savory egg dishes beautifully.
If you are hosting a gathering, pair these with savory sausage rolls for a high-protein snack spread that will keep your guests coming back for more.
Frequently Asked Questions
Yes, as long as you use certified gluten-free oat flour, these bites are 100% gluten-free and vegan-friendly.
Yes! You can swap the peanut butter for creamy almond butter or sunflower seed butter at a 1:1 ratio for a different flavor profile.
The secret is a very fine oat flour dusting. Use a small sieve to lightly coat the balls after rolling to achieve that clean, artisanal look.
This usually happens if the peanut butter was too oily or if there wasn’t enough oat flour. Try chilling the dough for 15 minutes to firm it up before rolling.
The Best 5-Ingredient Peanut Butter Balls Recipe
Peanut butter balls: The Ultimate Fudgy 5-Ingredient Snack
Ingredients
Equipment
Method
- In a large bowl, whisk together the creamy peanut butter and maple syrup until smooth and glossy.
- Stir in the fine oat flour and sea salt until a dense, fudgy dough forms.
- Fold in the mini dark chocolate chips until evenly distributed throughout the peanut butter dough.
- Roll 1 tablespoon of dough into a ball. Roll lightly in extra oat flour for a subtle dusting finish.
Notes
If the dough is too soft, chill in the fridge for 10 minutes before rolling.
Save, Share, and Rate!
Did these peanut butter balls satisfy your sweet tooth? If you loved that dense fudgy interior, please save this recipe to your favorite Pinterest board! Follow emma_feast_official for more high-protein, easy-to-make treats.
If you made these, share a photo in the comments below—I love seeing your hand-rolled creations! Don’t forget to leave a 5-star rating to help other home cooks find this recipe.