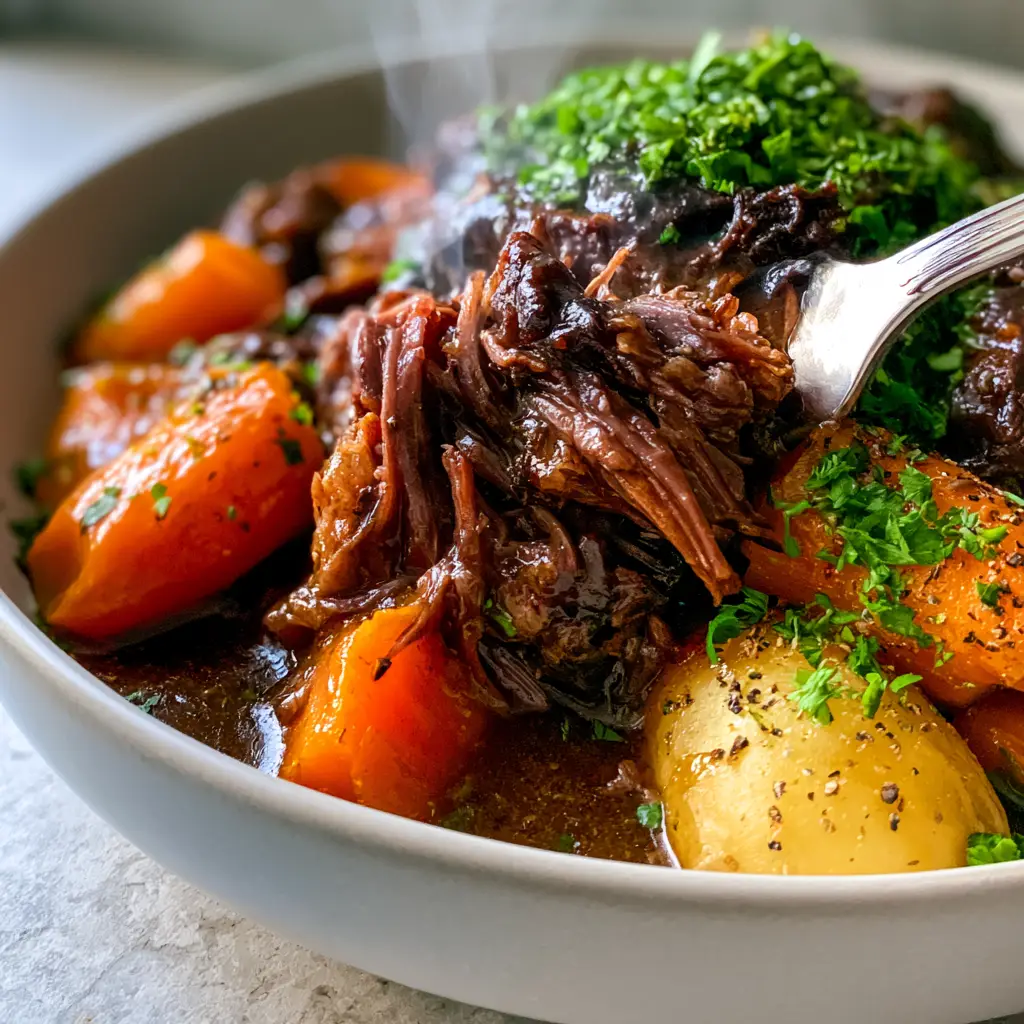
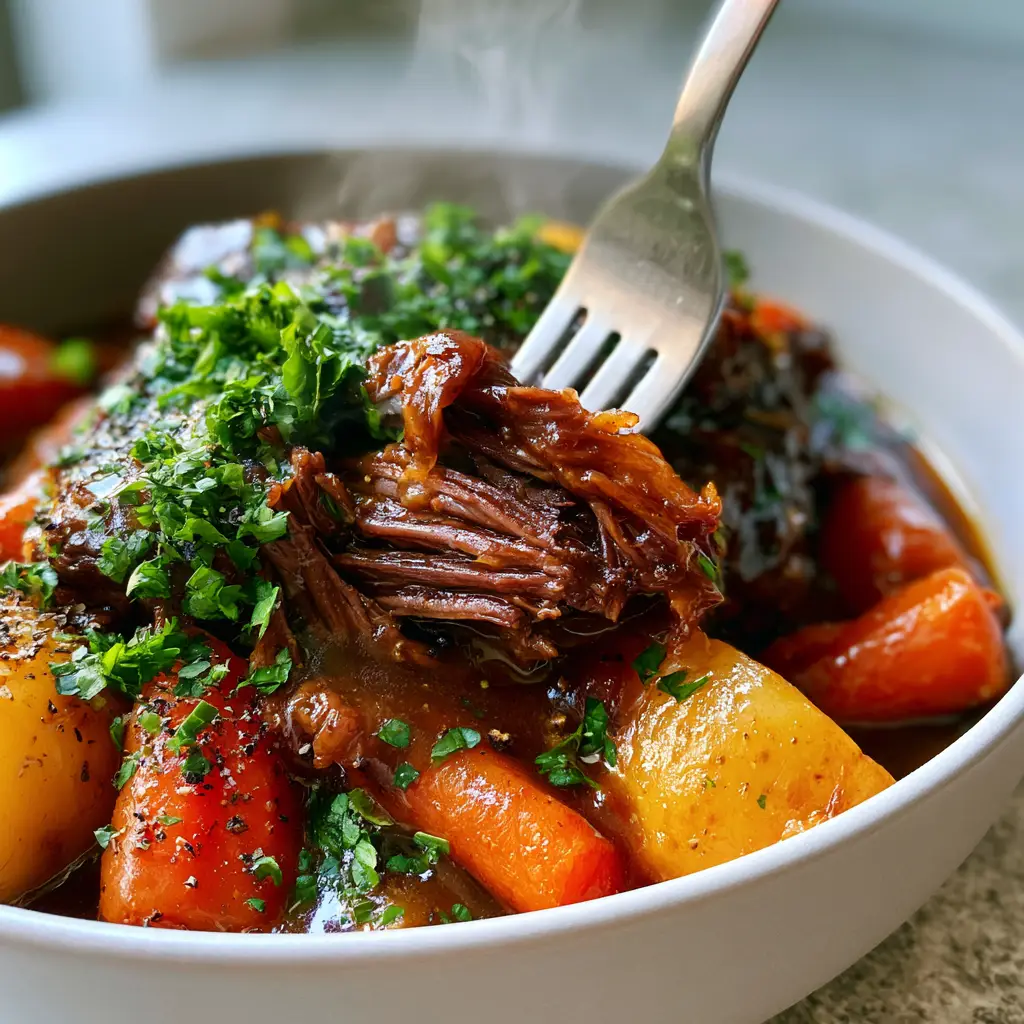
There is nothing quite like the sight of a Classic Pot Roast Recipe being gently pulled apart by a silver fork to reveal steaming, tender beef fibers. When the sunlight hits that glossy, dark brown gravy and those vibrant orange carrots, you know you are in for a culinary experience that defines comfort. This isn’t just a meal; it’s a centerpiece of home-cooked excellence that fills your kitchen with a soul-warming aroma.
Mastering this dish requires more than just throwing meat into a pot. It is about understanding the science of the braise and the delicate balance of seasoning. We are going to achieve a result that looks exactly like a high-end smartphone photo: glistening, moist, and perfectly structured. Whether you are a seasoned pro or a kitchen novice, this guide will ensure your roast is the star of the table every single time.
The beauty of this specific preparation lies in the textures. We aren’t looking for a mushy pile of meat; we want defined, succulent beef strands that hold their moisture while swimming in a rich, velvety sauce. By following these professional techniques, you will create a dish that is as visually stunning as it is delicious.
Why This Classic Pot Roast Recipe Stands Above the Rest
- The Maillard Masterpiece: We prioritize a deep, hard sear on the chuck roast to develop a complex flavor profile that permeates the entire gravy.
- Glossy Gravy Engineering: Our technique ensures a thick, dark brown sauce that coats the back of a spoon and glistens under natural light.
- Textural Integrity: By timing our vegetables correctly, the halved golden potatoes and large carrot chunks remain vibrant and tender rather than dissolving into the broth.
- Aromatic Depth: Using fresh sprigs of thyme and cracked black pepper provides a sensory “pop” that elevates the dish from simple to sophisticated.
The Secret Pantry Essentials for Savory Success
3 lbs (1.4kg) Beef Chuck Roast: This is the non-negotiable king of roasts. Its high collagen content breaks down over hours of slow cooking into silky gelatin, providing that signature “melt-in-your-mouth” texture.
2 tbsp (30ml) Neutral High-Smoke Point Oil: You need an oil like avocado or grapeseed to achieve a high-heat sear without burning. This creates the foundational crust that gives the meat its visual appeal.
1 lb (450g) Golden Potatoes: We use golden potatoes because their thin skins stay intact when halved. This adds a beautiful rustic look and a buttery internal texture to the finished plate.
4 Large Carrots (300g): Cut into large, rustic chunks, these provide the bright orange contrast seen in our visual blueprint. Larger pieces ensure they don’t overcook during the long braising process.
2 cups (480ml) High-Quality Beef Stock: This serves as the liquid base. Choose a low-sodium version so you can control the salt levels as the liquid reduces into a thick gravy.
2 tbsp (30g) Tomato Paste: This “invisible” ingredient is the secret to that dark, glossy brown color. It adds umami and helps darken the sauce without needing artificial coloring.
Fresh Thyme and Parsley: The thyme sprigs infuse the meat during cooking, while the heavy sprinkle of fresh chopped parsley at the end provides the bright green visual “wow” factor.
Cracked Black Pepper and Sea Salt: Coarsely cracked pepper provides a visible texture on the meat, while salt is essential for drawing out the natural beefy juices.
Essential Tools for a Professional Braise
To achieve the succulent result shown in our photos, you will need a 6-quart (5.7L) slow cooker or a heavy-bottomed Dutch oven. The slow cooker is ideal for those who want to “set it and forget it” while ensuring the beef fibers remain moist and steaming. You will also need a high-quality chef’s knife for those large carrot chunks and a silver fork for that final, satisfying shred.
A heavy stainless steel skillet is also recommended for the initial searing phase. While some slow cookers have a “brown” function, a traditional skillet often reaches higher temperatures, leading to a superior crust. Finally, have a small whisk and a ramekin ready for your cornstarch slurry to achieve that ultra-glossy gravy finish.
Mastering the Art of the Perfect Braise
The Crucial Sear: Building Flavor Foundations
Start by patting your 3 lb (1.4kg) chuck roast bone-dry with paper towels. Moisture is the enemy of a good sear; any dampness will cause the meat to steam rather than brown. Generously season every surface with sea salt and cracked black pepper, pressing the spices into the meat fibers.
Heat your oil in a skillet over medium-high heat until it begins to shimmer and a light wisp of smoke appears. Carefully place the roast in the pan. Do not move it for at least 4-5 minutes. You are looking for a deep, dark mahogany crust to form—this is the secret to a rich, brown Classic Pot Roast Recipe.
Deglazing and Building the Braising Liquid
Once the meat is seared on all sides, remove it and place it into your slow cooker. In the same skillet, add a splash of beef stock to scrape up all those golden-brown bits (the fond) from the bottom of the pan. This is pure flavor gold that shouldn’t be wasted.
Stir in your tomato paste and a bit of garlic if desired, whisking until the liquid is smooth and dark. Pour this mixture over the roast in the slow cooker. Add the remaining beef stock until the roast is roughly halfway submerged. This allows the top of the meat to gently steam while the bottom braises.
Timing the Vegetables for Maximum Visual Appeal
Place your halved golden potatoes and large carrot chunks around the sides of the roast. By tucking them into the liquid, they absorb the beefy essence without becoming waterlogged. Lay three fresh sprigs of thyme across the top of the meat to let the oils infuse downward.
Set your slow cooker to “Low” for 8 to 10 hours. While you might be tempted to use the “High” setting, the low and slow method is scientifically superior for breaking down tough connective tissue into tender fibers. You will know it is ready when the beef gives way to a fork with zero resistance.
The Grand Finale: Thickening the Glossy Gravy
Once the meat is tender, carefully remove the roast and vegetables to a warm platter. Strain the remaining liquid into a small saucepan. Create a slurry with 2 tbsp (15g) cornstarch and 2 tbsp (30ml) cold water, then whisk it into the simmering liquid.
Watch as the sauce transforms from a thin broth into a thick, glossy dark brown gravy. It should be shiny and decadent. Pour this liquid back over the meat, ensuring every shredded fiber is glistening. Finish with a heavy sprinkle of fresh chopped parsley and a final crack of black pepper.
Expert Tips for a Picture-Perfect Result
- Rest Before Shredding: Let the roast sit for 10 minutes after cooking before you pull it apart. This allows the internal juices to redistribute, ensuring the beef fibers stay moist.
- Carrot Sizing: Cut carrots into 2-inch (5cm) pieces. This prevents them from turning into mush during an 8-hour cook cycle.
- The Vinegar Trick: If your gravy feels a bit flat, add 1 tsp (5ml) of balsamic vinegar. The acidity brightens the heavy flavors and helps deepen the dark brown color.
- Potato Choice: Stick with Yukon Gold or red potatoes. Russet potatoes tend to fall apart and make the gravy grainy.
What to Serve with Your Classic Pot Roast
This roast is a complete meal on its own, but a few side dishes can round out the experience. For a fun twist on classic flavors, consider serving a side of potato chive egg bites for brunch if you have leftovers. If you are looking for more beef inspiration, our korean pot roast offers a spicy, soy-glazed alternative.
For those who love a bit of a kick, the mississippi pot roast is a fan favorite that uses similar slow-cooking techniques. And if you have extra beef, it can be repurposed into a hearty jambalaya recipe for a completely different flavor profile the next day.
Don’t forget dessert! After a heavy savory meal, something light like our mini lemon cheesecakes provides the perfect citrusy finish to cleanse the palate.
Frequently Asked Questions
While possible, ‘Low’ is recommended for 8-10 hours. ‘High’ can sometimes cause the muscle fibers to seize and toughen before the collagen has a chance to fully melt.
Yes! Searing creates the Maillard reaction, which is responsible for the deep, complex flavors and the dark brown color of the final gravy. Skipping this step results in a paler, blander roast.
Whisk a cornstarch slurry into the hot cooking liquids at the end. The starch gelatinizes, creating a smooth, shiny sheen that coats the meat beautifully.
The beef chuck roast is the ideal cut. It contains the perfect amount of fat and connective tissue (collagen) that breaks down during slow cooking to create a tender, moist texture.
If the roast is tough, it usually needs more time. Connective tissue takes hours to melt; if it’s not shredding, put the lid back on and give it another hour on low.
The Ultimate Classic Pot Roast Recipe
Classic Pot Roast Recipe: The Ultimate Guide to Fork-Tender Beef and Glossy Gravy
Ingredients
Equipment
Method
- Pat the chuck roast dry and season generously with salt and pepper. In a hot skillet with oil, sear the beef for 4-5 minutes per side until a deep mahogany crust forms.
- Move the beef to the slow cooker. Add a splash of stock to the skillet to scrape up the browned bits, stir in tomato paste, and pour over the beef.
- Add the halved potatoes, large carrot chunks, and thyme sprigs to the slow cooker. Pour in the remaining beef stock.
- Cover and cook on Low for 8-10 hours until the beef fibers are tender and pull apart easily with a fork.
- Remove meat and vegetables. Whisk a cornstarch slurry into the simmering cooking liquid until it becomes a glossy, dark brown gravy.
- Shred the beef gently, pour the gravy back over, and garnish with heavy parsley and cracked black pepper.
Notes
A splash of balsamic vinegar at the end adds depth and color to the gravy.
Closing & Call to Action
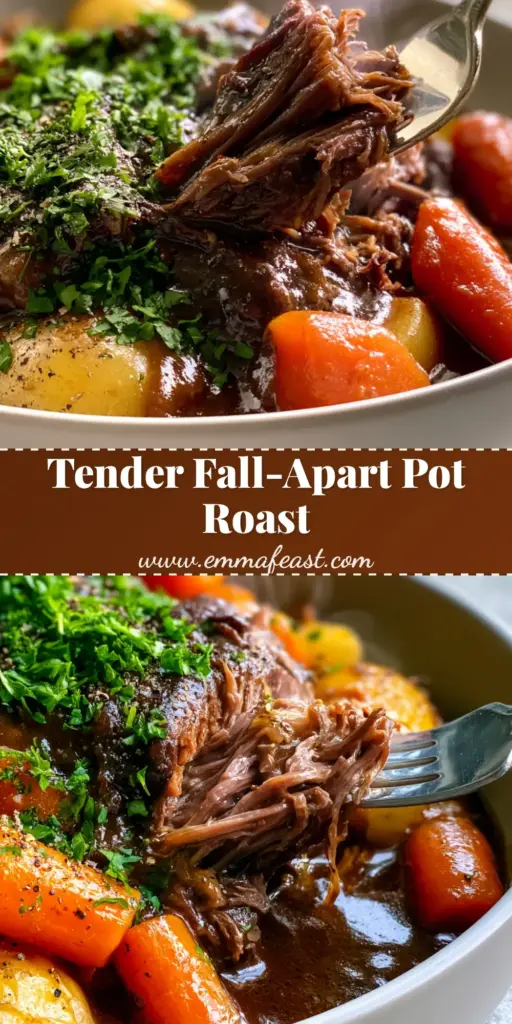
Creating the perfect Classic Pot Roast Recipe is an act of love that rewards you with incredible flavor and a stunning visual presentation. From the glossy gravy to the fork-tender shredded beef, every element of this dish is designed to satisfy. We hope this guide helps you create a meal that your family will request for years to come.
If you enjoyed this recipe, please leave a comment below and tell us how yours turned out! Don’t forget to share your photos and tag us, or save this recipe to your boards on Pinterest so you never lose it. Happy cooking!