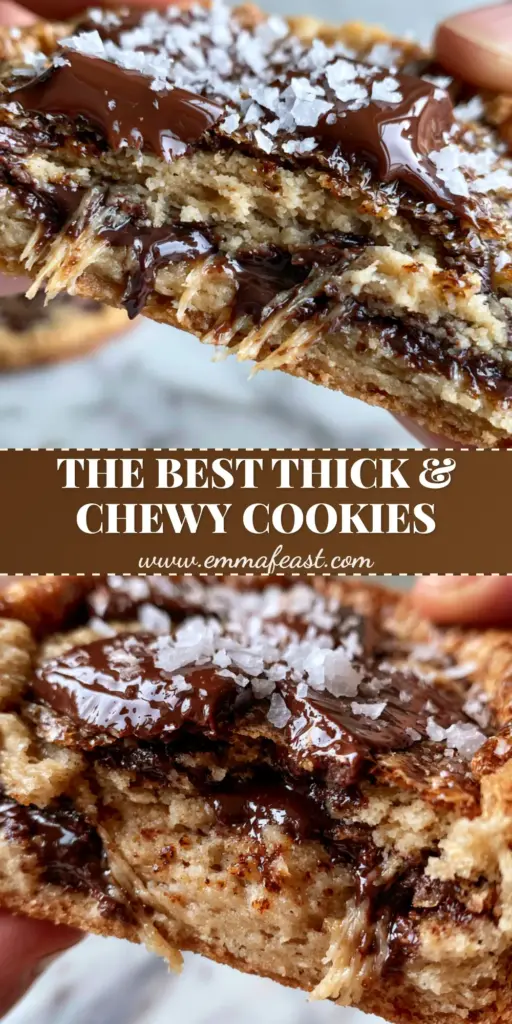
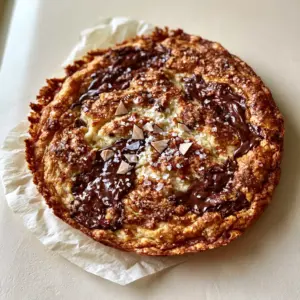
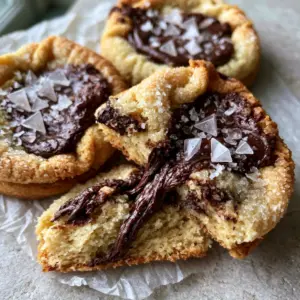
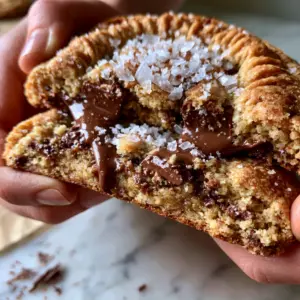
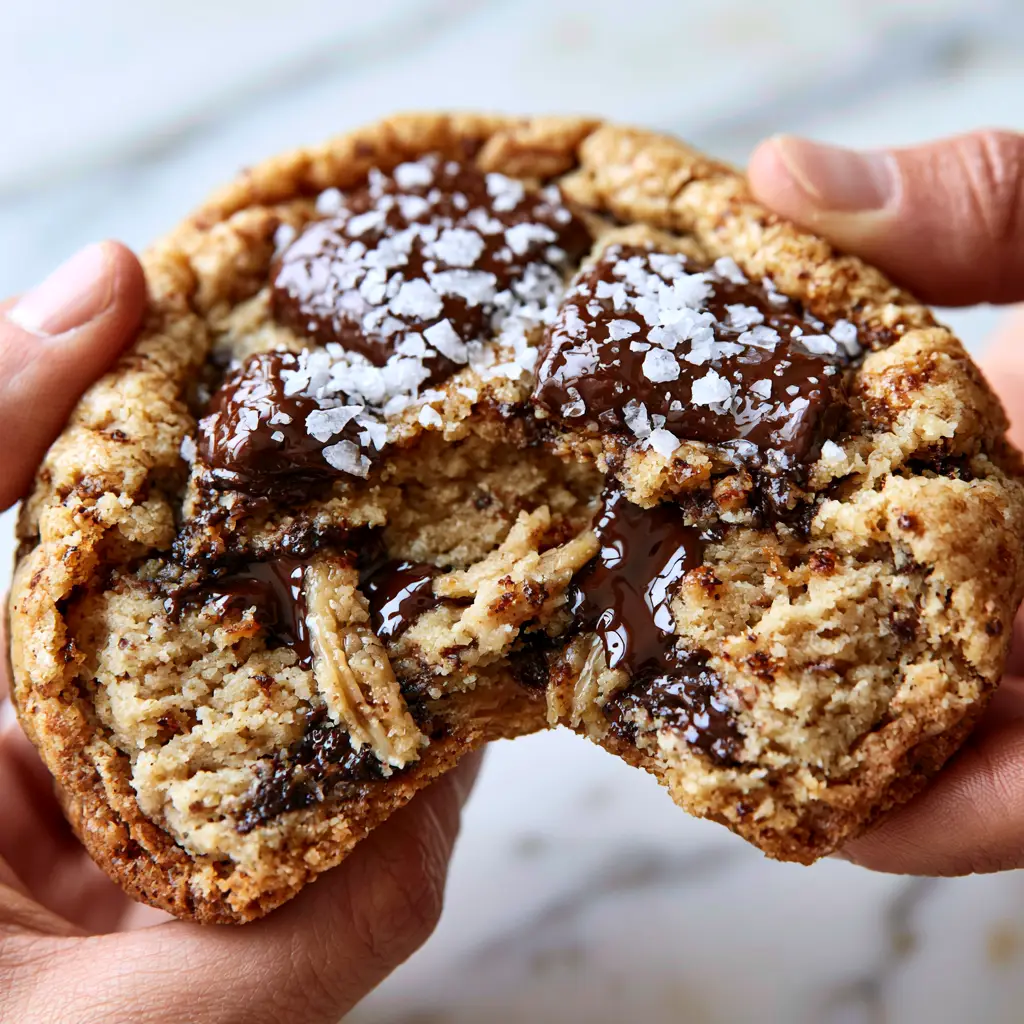
There is nothing quite like the sensory experience of breaking into perfect chocolate chip cookies. Imagine a cookie so thick and substantial that it feels heavy in your hand, yet possesses a delicate, paper-thin crinkly crust that shattered at the slightest touch. As you pull it apart, the dense, light-brown interior reveals itself—not as a dry crumb, but as a landscape of gooey dough and molten pools of dark chocolate that stretch and glisten under the light.
The aroma is the first thing that hits you: the deep, nutty scent of toasted brown butter mingled with the sophisticated bitterness of premium dark chocolate. These chocolate chip cookies aren’t just a snack; they are a masterclass in culinary textures. You get the crunch of the deep golden edges, the soft chew of the center, and the occasional spark of flaky sea salt that cuts through the rich, caramelized sweetness of the dough.
Achieving this bakery-style result at home requires more than just a standard recipe; it requires an understanding of the science behind the ingredients. From the maillard reaction in the browning butter to the specific hydration levels of the dough, every element of these chocolate chip cookies has been engineered to match the stunning visuals of a high-end professional kitchen. Let’s dive into the techniques that will transform your baking game forever.
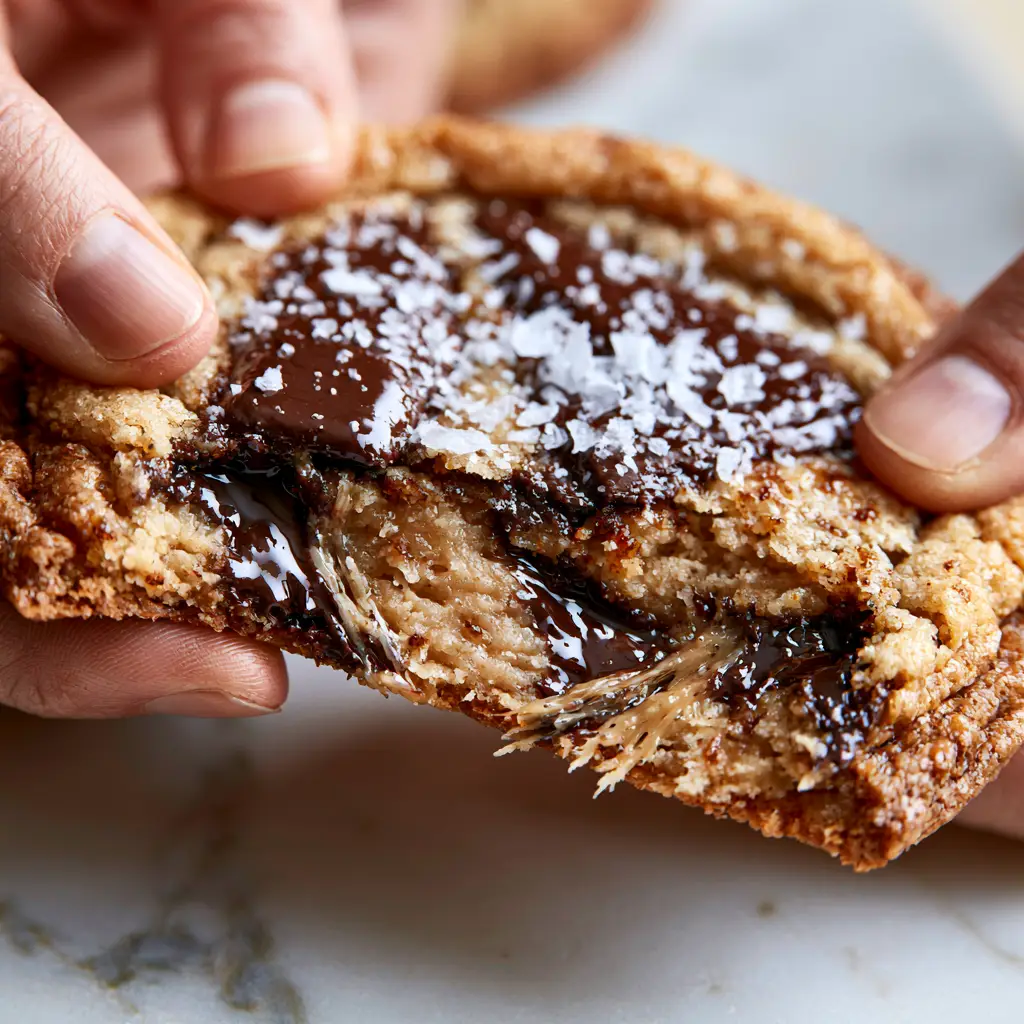
The Anatomy of the Perfect Bakery-Style Cookie
- The Crinkly Top: A professional, paper-thin crust that creates a beautiful topographical map of sweetness on every cookie.
- Molten Chocolate Pools: By using hand-chopped dark chocolate chunks instead of chips, we create large, glistening reservoirs of melted cacao.
- Toasted Brown Butter Specks: Tiny flecks of caramelized milk solids are visible throughout the dough, providing an unmatched depth of flavor.
- Structural Contrast: Thick, dense centers paired with crispy, deep-golden outer edges for the ultimate mouthfeel.
- The Salty Finish: A generous sprinkle of flaky sea salt that balances the sugars and enhances the “molten” visual of the chocolate.
Essential Components for Decadent Chocolate Chip Cookies
Unsalted Butter (1 cup / 227g): We start with high-quality butter because we are going to brown it. This process removes water and toasts the milk solids, creating those signature brown butter specks and a nutty profile that defines these chocolate chip cookies.
Dark Chocolate Chunks (10 oz / 285g): Skip the chips and go for high-quality bars with at least 60% cacao. Hand-chopping the chocolate ensures irregular sizes, leading to those gorgeous molten chocolate pools and thin strands of gooey dough when pulled apart.
Dark Brown Sugar (1 cup / 200g): The high molasses content in dark brown sugar is the secret to a soft, chewy center. It provides the moisture and acidity needed to react with the leavening agents for that perfect rise and spread.
Granulated White Sugar (½ cup / 100g): While brown sugar provides chew, white sugar is responsible for the crispy outer edges and the crinkly top crust. The ratio between these two sugars is what creates the “bakery-style” texture.
All-Purpose Flour (2 ¼ cups / 280g): This provides the structural foundation. We weigh our flour to ensure the cookies stay thick and don’t spread into flat puddles on the baking sheet.
Large Egg + One Egg Yolk: The extra yolk adds fat and emulsifiers, which contributes to the “dense, light-brown interior” described in our visual blueprint. It makes the dough feel richer and more professional.
Vanilla Bean Paste (1 tbsp / 15ml): Using paste instead of extract adds those beautiful tiny vanilla seeds. It complements the toasted brown butter and elevates the overall flavor profile.
Baking Soda and Powder: A combination of both allows for a lift that creates the thick height while also encouraging the browning of the edges through the Maillard reaction.
Flaky Sea Salt (for garnish): This isn’t just a garnish; it’s a functional ingredient. The large, glistening crystals provide a visual and textural contrast to the smooth, molten chocolate.
Tools for Achieving Professional Results
To recreate the exact look of bakery-style chocolate chip cookies, you will need a few specific tools. A heavy-bottomed stainless steel saucepan is vital for browning the butter, as it allows you to see the milk solids change color from gold to a deep amber.
A digital kitchen scale is non-negotiable for accuracy. When making jumbo chocolate chip cookies, even a few grams of extra flour can turn a chewy cookie into a cakey one. Finally, a large 3-ounce cookie scoop will help you achieve the massive, thick profile seen in professional food photography.
Mastering the Brown Butter Foundation
Liquid Gold: Toasting the Milk Solids
Place your butter in a light-colored saucepan over medium heat. As the butter melts, it will begin to crackle and pop—this is the water evaporating. Once the crackling subsides, a foam will form on the surface.
Watch closely as the sediment at the bottom of the pan turns a deep, toasted cinnamon brown. The smell will become intensely nutty. Immediately remove the pan from the heat and pour the butter (and all those toasted specks!) into a heat-proof bowl to stop the cooking process. This is the flavor base of your chocolate chip cookies.
The Emulsion: Mixing for the Crinkle
Combine the browned butter with both sugars. Whisk vigorously for at least 2-3 minutes. This step is crucial for the crinkly top crust; you want to partially dissolve the sugars into the fat to create a stable emulsion.
Add the egg, the extra yolk, and the vanilla bean paste. Continue whisking until the mixture lightens in color and becomes thick and ribbony. If you’ve ever made melted butter chocolate chip cookies, you know this stage determines the final texture of the crumb.
Folding and Hydrating the Dough
Gently fold in your dry ingredients using a spatula. Do not overmix! Overworking the dough develops too much gluten, which will make your cookies tough instead of tender and chewy.
Once the flour is almost invisible, fold in your hand-chopped dark chocolate chunks. Ensure the chunks are distributed so every cookie gets a mix of large shards and small slivers. Cover the dough and refrigerate for at least 2 hours (ideally 24). This “aging” process allows the flour to fully hydrate, resulting in a deeper flavor and a thicker, more controlled spread.
The Bake: Achieving Visual Perfection
Temperature and Placement
Preheat your oven to 350°F (175°C). Use a large scoop to portion the chilled dough onto a parchment-lined baking sheet. Space them at least 3 inches apart to allow for the edges to crisp up without the cookies running into each other.
Bake for 10-12 minutes. You are looking for a very specific visual cue: the edges should be a deep, set golden brown, but the centers should still look slightly underdone and soft. This “carry-over cooking” is what ensures the interior remains gooey and dense.
The Finishing Touches
The moment the cookies come out of the oven, use a circular cookie cutter or a glass to “scoot” the cookies into perfect circles if they have spread irregularly. This creates that professional, clean aesthetic.
Immediately sprinkle the tops with large flakes of sea salt while the chocolate pools are still molten and glistening. The heat of the cookie will help the salt adhere to the surface, creating that stunning, high-contrast look that makes these chocolate chip cookies so irresistible.
Expert Tips for Success
- Quality of Chocolate: Use a chocolate bar (like Valrhona or Guittard) rather than chips. Chips contain stabilizers that prevent them from forming those beautiful molten pools.
- The “Scoot” Technique: For perfectly round cookies, place a round cutter over the hot cookie and move it in a circular motion to pull in the edges.
- Don’t Skip the Chill: Chilling the dough is what prevents the cookies from becoming thin and greasy. It is the secret to the thick, bakery-style height.
- Room Temperature Eggs: Ensure your eggs are at room temperature so they emulsify properly with the warm brown butter and sugars.
The Science of Storage and Reheating
These chocolate chip cookies are best enjoyed warm, but they store beautifully. Keep them in an airtight container at room temperature for up to 3 days. To regain that “molten chocolate” experience, pop a cookie in the microwave for 10-15 seconds before serving.
If you want to bake them on demand, you can freeze the portioned dough balls for up to 3 months. Bake directly from frozen, adding an extra 2 minutes to the total baking time. This is a great way to always have brown sugar chocolate chip cookies ready for guests.
What to Pair with These Decadent Cookies
While a cold glass of milk is classic, these cookies are sophisticated enough to pair with a dark roast coffee or even a glass of tawny port. If you are hosting a dessert party, consider serving these alongside our lemon blueberry cheesecake cookies for a bright flavor contrast.
For those who love a variety of textures, you might also enjoy our rippled chocolate chip cookies or perhaps a batch of cookies and cream cupcakes for the ultimate sugar-filled celebration.
Frequently Asked Questions
You can, but chips contain stabilizers to help them hold their shape. For the ‘molten pools’ seen in professional photos, hand-chopped chocolate bars are necessary as they melt more fluidly.
Yes, browning the butter removes water and toasts the milk solids, creating a nutty, toasted flavor and visible specks that regular melted butter simply cannot provide.
Use the ‘cookie scoot’ method: immediately after taking them out of the oven, place a large round cutter or glass over the cookie and move it in a circular motion to reshape the edges while soft.
The crinkly top is achieved by the specific ratio of granulated sugar and brown butter emulsion. Whisking the sugars and butter vigorously helps create a thin meringue-like layer that shatters during baking.
Cookies usually turn out flat because the butter was too warm or the dough wasn’t chilled long enough. Chilling the dough solidifies the fat, ensuring a slower spread and a thicker, bakery-style height.
The Ultimate Brown Butter Chocolate Chip Cookie Recipe
Chocolate Chip Cookies with Brown Butter and Flaky Sea Salt
Ingredients
Equipment
Method
- In a light-colored saucepan, melt the butter over medium heat. Simmer until the crackling stops and the milk solids at the bottom turn a deep amber brown. Immediately transfer to a bowl, scraping all the toasted specks out.
- Whisk the warm brown butter with dark brown sugar and white sugar for 2-3 minutes until a thick emulsion forms. This creates the crinkly top crust.
- Whisk in the egg, egg yolk, and vanilla bean paste until the mixture is pale and ribbony.
- Sift in the flour, baking soda, baking powder, and kosher salt. Fold gently with a spatula until just a few streaks of flour remain. Fold in the hand-chopped dark chocolate chunks.
- Cover the dough and refrigerate for at least 2 hours. This is essential for the thick bakery-style texture and flavor development.
- Preheat oven to 350°F (175°C). Scoop 3-ounce balls of dough onto parchment-lined sheets. Bake for 10-12 minutes until edges are golden but centers remain soft.
- Remove from oven and immediately sprinkle with flaky sea salt. Let cool on the pan for 10 minutes to allow the center to set.
Notes
Ensure your eggs are at room temperature to avoid curdling the warm butter.
Join the Feast!
We hope these chocolate chip cookies bring a touch of bakery-style magic to your kitchen. The combination of toasted brown butter, molten dark chocolate, and that perfect crinkly top is truly a game-changer. If you made this recipe, please leave a comment below and let us know how your cookies turned out!
Don’t forget to sign up for our newsletter for more professional-grade recipes and baking tips. You can also follow us and share your bakes on Pinterest to stay inspired by our latest culinary creations!