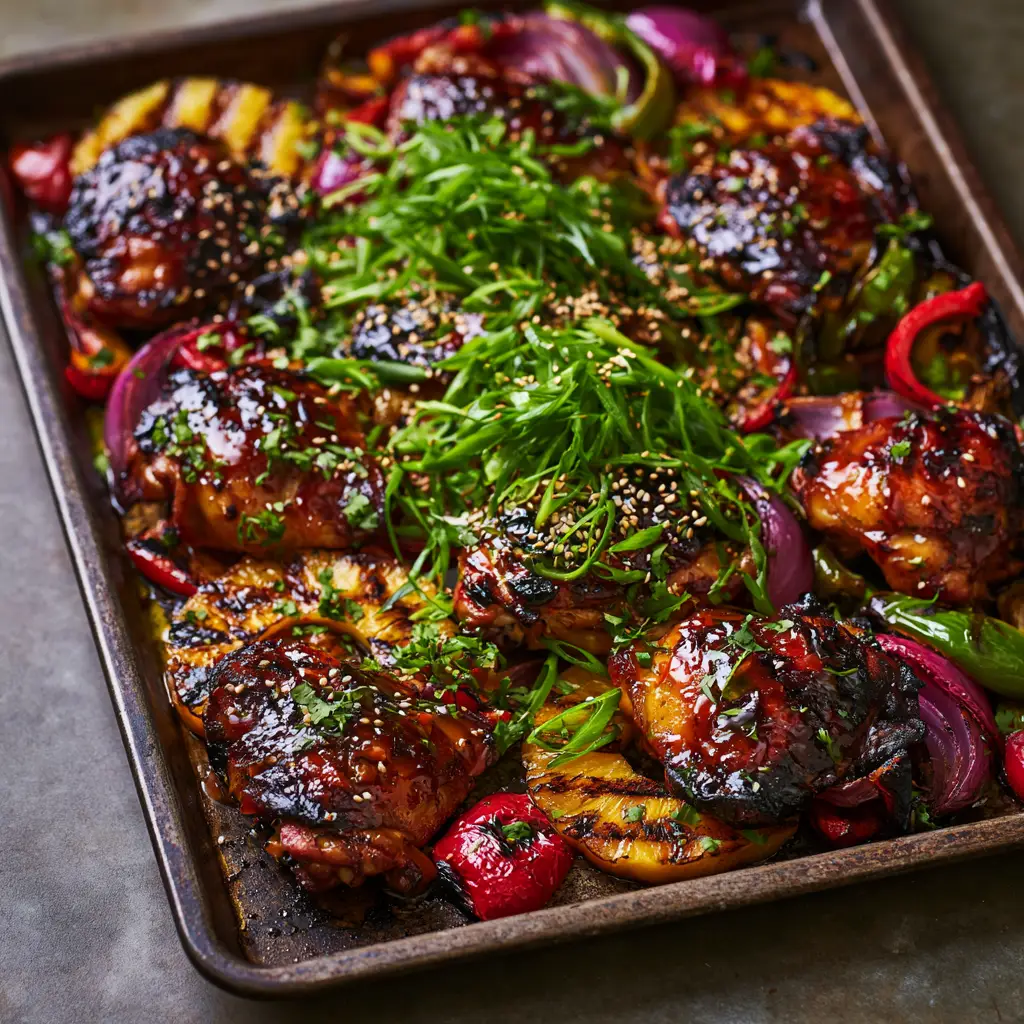
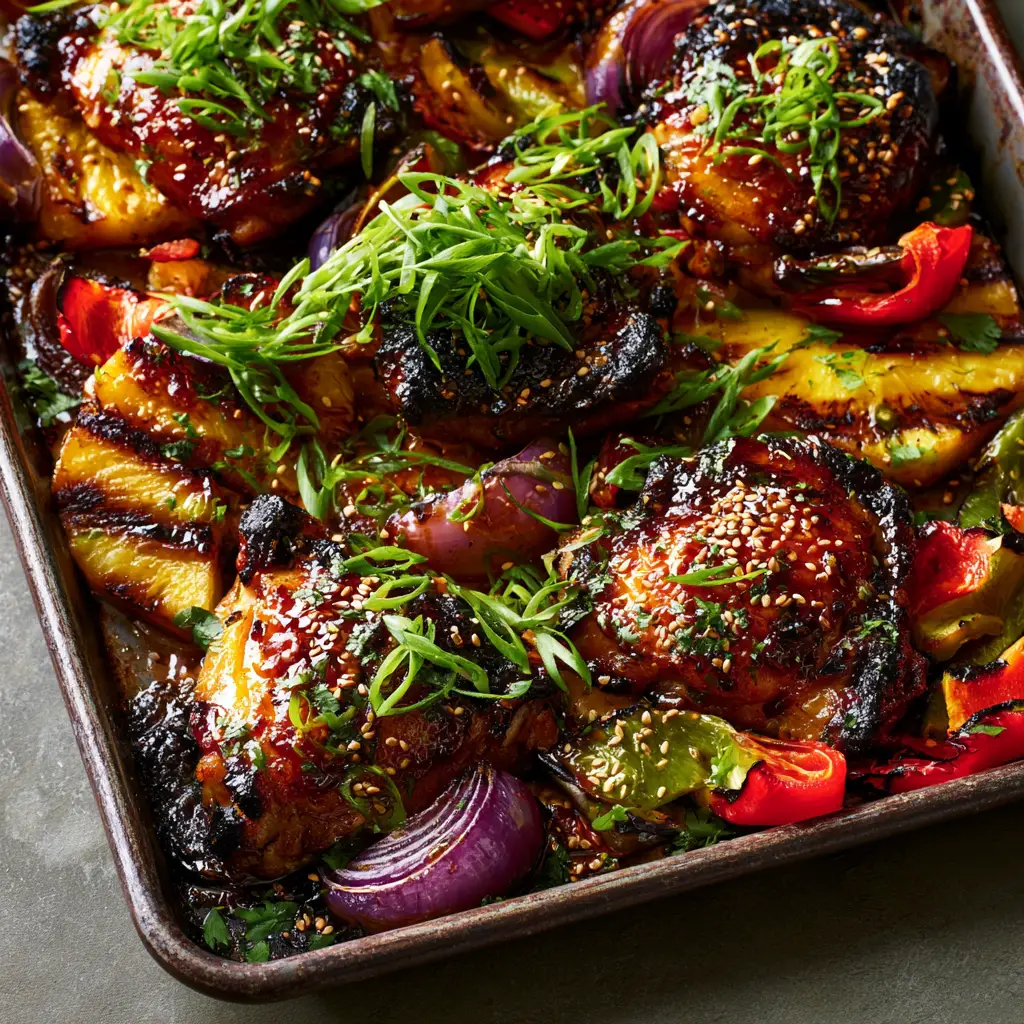
When you imagine the perfect island getaway, your senses likely drift toward the smell of sweet, smoky wood fire and the sight of glistening, mahogany-hued meats. This baked huli huli chicken brings that exact tropical experience into your kitchen, delivering deeply caramelized chicken thighs that look like they just stepped off a rotisserie on a North Shore beach. The thick, high-gloss amber-colored glaze is the star here, clinging to every curve of the meat with a stick-to-your-fingers consistency that is purely addictive.
We aren’t just baking chicken; we are creating a vibrant, rustic sheet pan masterpiece filled with softened red onion wedges and vibrant blistered red and green bell pepper slices. The contrast between the savory, charred edges of the poultry and the bright, acidic burst of grilled pineapple rings creates a culinary harmony that is as visually stunning as it is delicious. Finished with a heavy dusting of thinly sliced bright green scallions and toasted white sesame seeds, this dish is a sensory explosion that turns a simple weeknight dinner into a celebration.
Why You Will Crave This Sticky Hawaiian Feast
- High-Gloss Visual Appeal: The combination of brown sugar and honey creates a thick, amber-colored glaze that achieves a professional, glossy finish under the heat.
- Complex Flavor Profile: You get the perfect balance of salty soy, sweet pineapple juice, and the aromatic punch of fresh ginger and garlic.
- Textural Variety: From the snap of the blistered bell peppers to the soft, roasted red onions and the juicy, tender juicy chicken thighs, every bite offers something new.
- Efficient One-Pan Cleanup: By roasting the chicken and tropical sides together, you maximize flavor infusion while minimizing the time spent at the sink.
- Forensic Accuracy: This recipe is designed to match the rustic, charred, and vibrant look of a handheld smartphone photo, ensuring your result looks exactly like the professional version.
The Anatomy of an Authentic Huli Huli Glaze
To achieve the “huli huli” (meaning “turn turn”) essence without a rotating spit, we rely on a high-sugar, high-viscosity marinade. The sugars are essential for that deep caramelization you see in the baked huli huli chicken blueprint. Using fresh aromatics ensures the flavor isn’t just sweet, but has the depth required to stand up to the charred pineapple.
Chicken Thighs (Bone-in or Boneless): We recommend 2 lbs (900g) of thighs; their higher fat content ensures the meat stays succulent even while the exterior undergoes intense caramelization. Thighs are far superior to breasts for this application, much like the technique used in Bobby Flay’s chicken thighs recipes.
Unsweetened Pineapple Juice: 1 cup (240ml) provides the enzymatic power to tenderize the chicken while contributing the base note of tropical sweetness. Avoid using “pineapple drink” blends, as they lack the necessary acidity.
Packed Brown Sugar & Honey: Use 1/2 cup (100g) of brown sugar and 2 tbsp (30ml) of honey to create the “sticky to the touch” texture. This combination is what allows the glaze to build up in thick, amber layers.
Soy Sauce (Tamari for Gluten-Free): 1/2 cup (120ml) acts as the primary salt source, providing the “umami” foundation that balances the heavy sugar content. It also contributes to the dark, rich color of the finished dish.
Ketchup: 1/4 cup (60g) adds body to the sauce and a hint of vinegar, helping the glaze achieve that high-gloss, amber sheen described in the visual prompt. It acts as a stabilizer for the other liquid ingredients.
Fresh Ginger and Garlic: 2 tbsp (12g) of grated ginger and 4 cloves of minced garlic provide the aromatic heat that cuts through the sweetness. Fresh is non-negotiable here for that authentic island aroma.
Sesame Oil: 1 tsp (5ml) adds a toasted, nutty depth that anchors the brighter fruit flavors. A little goes a long way in providing that “rustic” scent profiles.
The Visual Produce: 1 large red onion, 1 red bell pepper, 1 green bell pepper, and 1 fresh pineapple. These provide the “blistered” and “charred” elements that make the baked huli huli chicken visually pop against a dark stone countertop.
Essential Tools for Sheet Pan Success
To replicate the rustic dark metal sheet pan look, a heavy-duty rimmed baking sheet is required. This prevents the juices from overflowing while allowing the heat to circulate around the chicken thighs. A wire rack is optional but helpful if you want maximum air circulation, though placing the chicken directly on the pan helps the bottoms caramelize in the rendered fats.
You will also need a small saucepan to reduce the marinade into that “thick amber huli huli glaze.” A silicone basting brush is vital for layering the sauce during the final minutes of cooking, which is the secret to the high-gloss finish. Finally, a sharp chef’s knife is needed to achieve the “thinly sliced” scallions and “tiny flecks” of cilantro for the garnish.
Mastering the Huli Huli Technique: Step-by-Step
1. Infusing the Flavor (The Marinade)
In a large bowl, whisk together the pineapple juice, soy sauce, brown sugar, ketchup, honey, ginger, garlic, and sesame oil. Reserve 1/2 cup (120ml) of this liquid and set it aside in the refrigerator—this will become your basting glaze later. Place your chicken thighs in a large zip-top bag, pour in the remaining marinade, and let them soak for at least 4 hours, or ideally overnight, to ensure the flavors penetrate deep into the muscle fibers.
2. Preparing the Tropical Bed
Preheat your oven to 400°F (200°C). While the oven heats, slice your red onion into 1-inch (2.5cm) wedges, leaving the root intact so they stay together during roasting. Slice the red and green bell peppers into 1/2-inch (1.25cm) strips. Peel and core the pineapple, cutting it into thick 1/2-inch (1.25cm) rings. Toss the vegetables (not the pineapple) with a drizzle of oil and a pinch of salt to ensure they blister properly.
3. The Initial Roast
Arrange the marinated chicken thighs on the rustic dark metal sheet pan, skin-side up. Intersperse the red onion wedges, bell pepper strips, and pineapple rings around the chicken. Place the pan in the center rack and roast for 20-25 minutes. You will hear the fat beginning to render and see the vegetables start to soften and brown at the edges.
4. The Glazing Phase (Achieving the Gloss)
While the chicken roasts, take the reserved marinade and simmer it in a small saucepan over medium heat for 8-10 minutes. It should reduce by half until it is a thick, syrupy amber color. Remove the chicken from the oven and use your basting brush to generously coat each thigh with the glaze. Place the pan back in the oven, specifically under the broiler for the last 3-5 minutes.
5. The Final Char and Blister
Watch the oven closely during the broiling phase. You are looking for the sugar to bubble and turn a deep mahogany, and for the edges of the pineapple and peppers to develop distinct dark grill marks and charred spots. The glaze should look “sticky to the touch” and have a mirror-like shine. Remove from the heat once the internal temperature of the chicken reaches 165°F (74°C).
6. The Forensic Garnish
Immediately upon removing the pan from the oven, garnish the baked huli huli chicken while the glaze is still tacky. Sprinkle a heavy dusting of thinly sliced bright green scallions and toasted white sesame seeds over the entire pan. Finish with tiny flecks of fresh green cilantro for a final pop of color and freshness.
Expert Tips for Maximum Caramelization
- Pat Dry Before Roasting: If you want a truly charred edge, pat the chicken skin dry with a paper towel after marinating but before adding the initial glaze. This allows the fat to crisp up before the sugar goes on.
- The Broiler is Your Friend: Don’t be afraid of the dark spots. The “charred” look in the blueprint comes from the sugars reaching the stage just before burning, which provides that authentic BBQ flavor.
- Room Temperature Meat: Take your chicken out of the fridge 20 minutes before baking to ensure it cooks evenly, preventing the outside from burning while the inside remains raw.
- Don’t Crowd the Pan: If the ingredients are piled on top of each other, they will steam instead of roasting. Use two pans if necessary to ensure the peppers and onions “blister” rather than mush.
Storage and Reheating Advice
Leftover baked huli huli chicken is incredible the next day as the flavors continue to meld. Store in an airtight container in the refrigerator for up to 4 days. When reheating, avoid the microwave if possible; it can make the glaze rubbery. Instead, place the chicken and vegetables back on a sheet pan and heat at 350°F (175°C) until warmed through, which helps maintain the sticky texture.
This dish can also be frozen for up to 3 months. To freeze, ensure the chicken is completely cool, then wrap individual thighs in foil before placing them in a freezer bag. Thaw overnight in the fridge before reheating.
What to Serve with Your Hawaiian Chicken
To complete the island experience, serve this dish over a bed of fluffy jasmine rice or coconut rice to soak up the extra amber glaze. For a more varied texture, these smashed baked potatoes provide a crispy, salty contrast to the sweet chicken. If you are hosting a larger gathering, consider adding this to a spread of creative baby shower food ideas for a tropical-themed event.
For those looking for a lower-carb option, the chicken and roasted vegetables are hearty enough to stand alone, or you can serve them alongside fresh lettuce wraps for a light, crunchy element. The flavors also pair beautifully with a cold macaroni salad, a staple of any true Hawaiian plate lunch.
Frequently Asked Questions
Yes, but be careful not to overcook them. Thighs are preferred for baked huli huli chicken because they stay juicy at high temperatures, while breasts can dry out before the glaze caramelizes.
The secret is reducing the marinade on the stovetop until it’s syrupy and then brushing it onto the chicken during the final 5 minutes of broiling to create that amber sheen.
They are similar, but huli huli chicken typically includes pineapple juice and a higher ratio of ginger and ketchup, giving it a more tropical, acidic, and complex flavor profile than traditional teriyaki.
‘Huli’ means ‘to turn.’ Traditionally, the chicken was cooked on a spit and turned constantly, but this baked version achieves the same caramelization using a reduced glaze and a broiler.
Ensure the pineapple rings are in direct contact with the hot sheet pan and use the high-heat broiler setting for the final few minutes of cooking to create those dark grill marks.
The Ultimate Baked Huli Huli Chicken Recipe Card
Baked Huli Huli Chicken with Charred Pineapple and Peppers
Ingredients
Equipment
Method
- Whisk pineapple juice, soy sauce, brown sugar, ketchup, honey, ginger, garlic, and sesame oil. Reserve 1/2 cup (120ml) and marinate chicken in the rest for 4-24 hours.
- Simmer the reserved marinade in a saucepan for 8-10 minutes until it becomes a thick, amber-colored glaze.
- Arrange chicken, onion wedges, pepper strips, and pineapple rings on a sheet pan. Bake at 400°F (200°C) for 20-25 minutes.
- Brush chicken with the reduced glaze. Broil for 3-5 minutes until the chicken is caramelized and peppers are blistered.
- Top with sliced scallions, toasted sesame seeds, and cilantro flakes before serving.
Notes
Ensure the glaze is bubbly and mahogany-colored before removing from the oven.
Bring the Island Heat to Your Kitchen
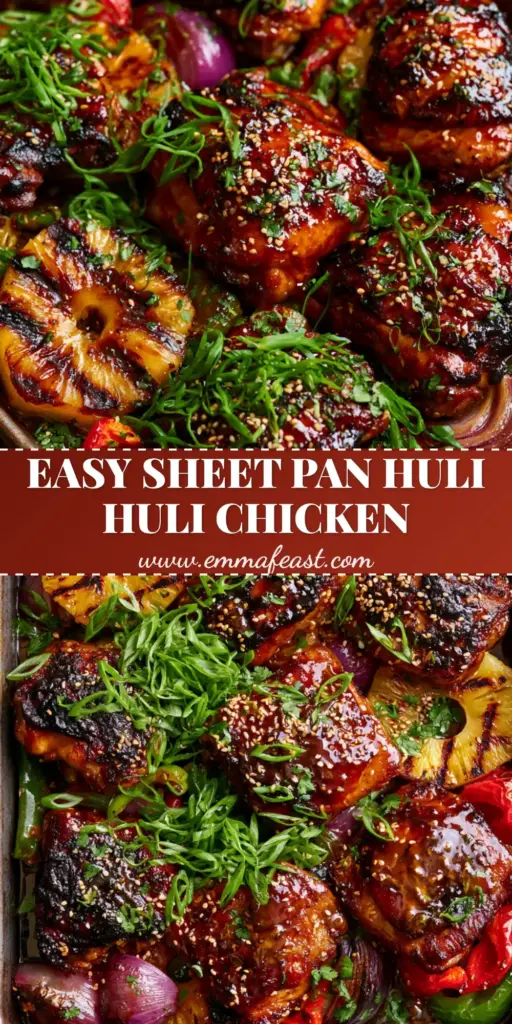
This baked huli huli chicken is more than just a meal; it’s a visual and culinary journey to the islands. By focusing on the high-gloss amber glaze and the specific charred textures of the pineapple and peppers, you create a dish that is as impressive to look at as it is to eat. Whether you are a fan of classic Hawaiian huli huli chicken or just looking for a new way to level up your weeknight poultry, this recipe delivers on every promise.
If you loved the sticky, caramelized results of this recipe, please leave a comment below and share your photos with us! Don’t forget to follow emma_feast_official on Pinterest for more visually-driven recipe inspiration and tropical cooking tips.