There is something uniquely nostalgic about the aroma of a Pineapple Bread baking in a warm oven. As the natural sugars in the fruit begin to caramelize against the sides of the loaf pan, a sweet, tropical scent fills the kitchen, promising a treat that is part-dessert, part-breakfast luxury. This isn’t just another quick bread; it is a meticulously engineered masterpiece designed for the perfect crumb.
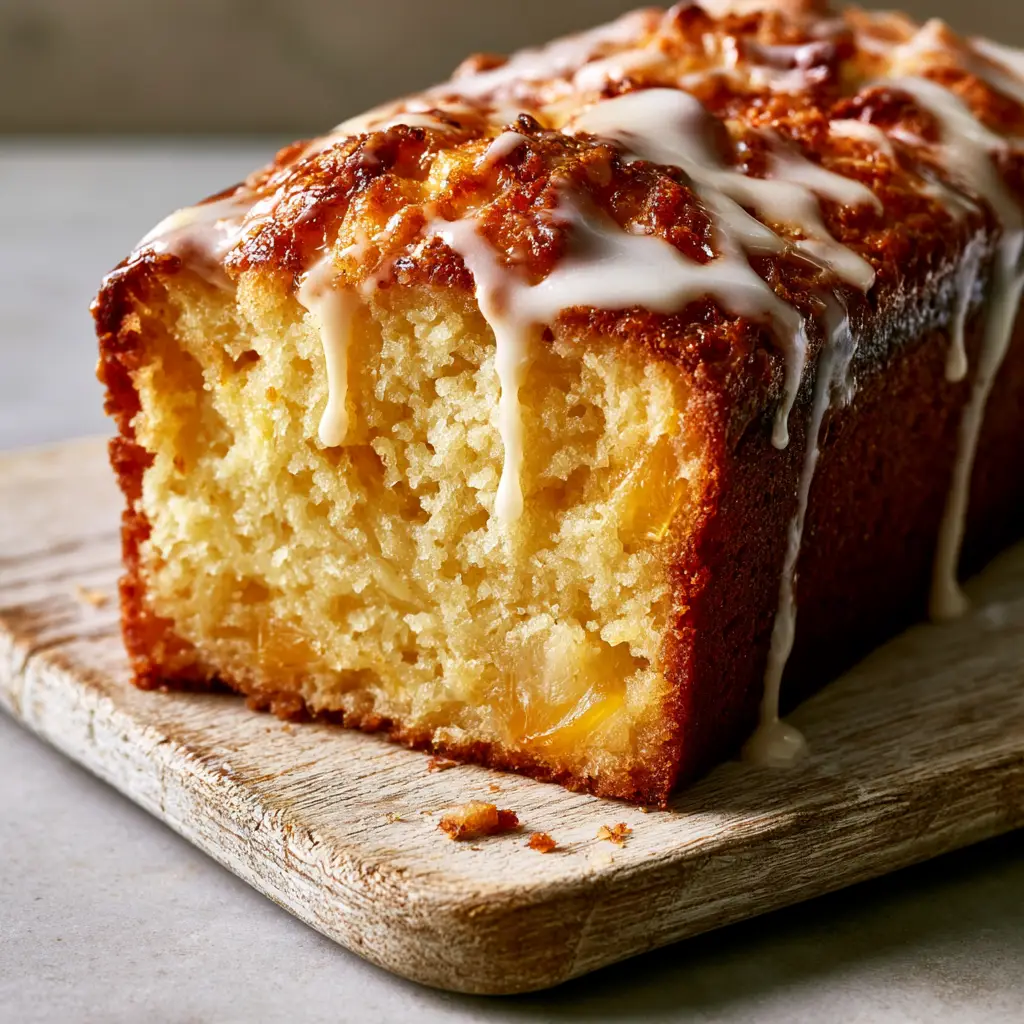
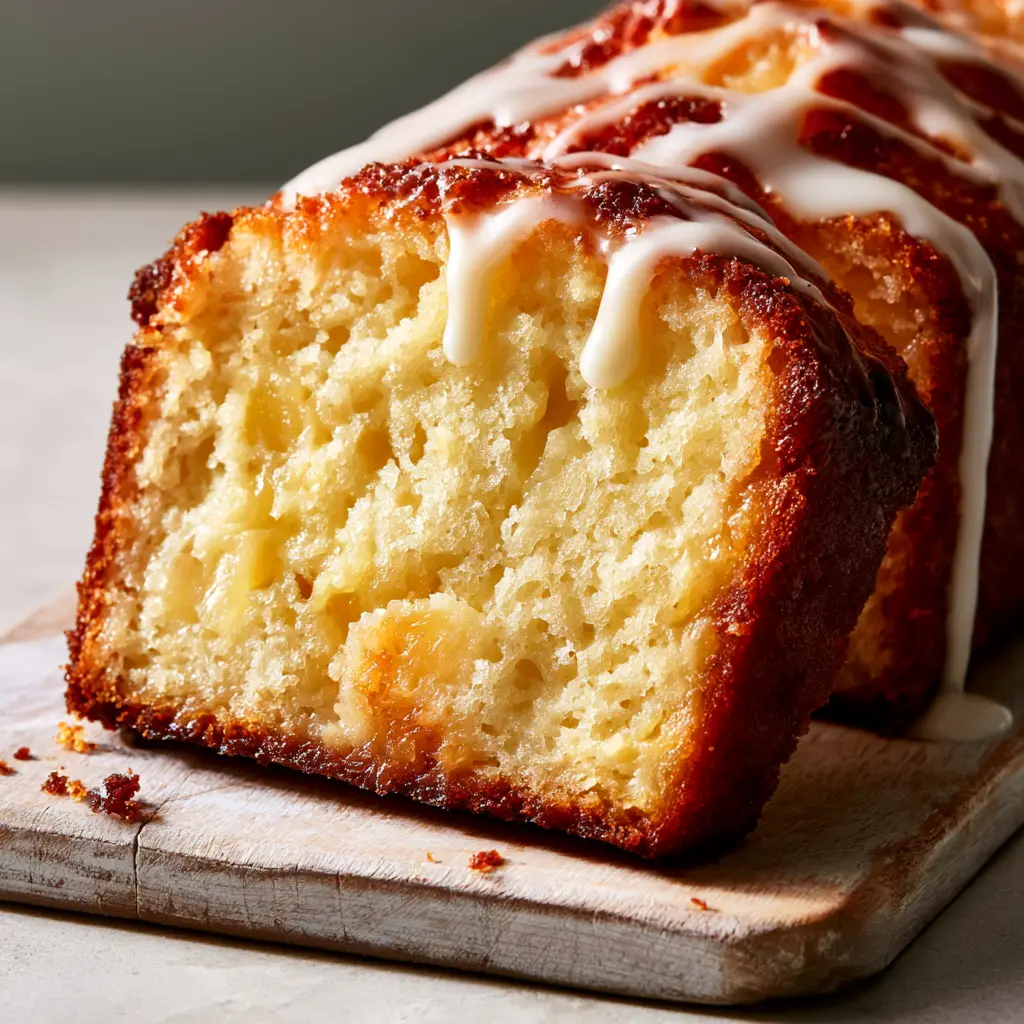
In the soft morning sunlight, a thick, generous slice of this Pineapple Bread reveals its true character. The interior is a pale-yellow, soft, and damp crumb, punctuated by glistening bits of juicy crushed pineapple that burst with flavor in every bite. When paired with a thick, opaque white sugar glaze dripping down its golden-brown sides, it becomes the undisputed star of any brunch spread.
Whether you are serving this on a rustic wooden board for guests or enjoying a quiet moment with a cup of coffee, the visual appeal is undeniable. If you enjoy starting your day with vibrant, fruit-forward bakes, you might also find yourself craving my strawberry cheesecake overnight oats for those busier weekday mornings.
The Science of a Perfectly Moist Tropical Crumb
Achieving that specific “damp” texture described in our visual blueprint requires a delicate balance of acidity and fat. The crushed pineapple provides more than just flavor; its enzymes and moisture content interact with the flour to create a tenderizing effect that standard quick breads often lack.
We use a specific ratio of fats to ensure the bread remains soft for days. While many recipes rely solely on butter for flavor, we incorporate a neutral oil to guarantee the bread stays moist even when stored in the refrigerator. This combination ensures that every bite feels like a cloud-like cake rather than a dense brick.
For those who love experimenting with texture in their morning routine, this recipe provides a wonderful contrast to the satisfying crunch of banana bread waffles. Both offer that comforting fruit-infused base but with entirely different mouthfeel and presentation styles.
What Makes This Pineapple Bread Stand Out?
- Golden-Brown Caramelized Crust: The exterior boasts a deep, rustic bronze hue that provides a slight structural snap before reaching the soft center.
- Ultra-Opaque Sugar Glaze: Unlike thin washes that disappear, this glaze is thick, white, and artfully drizzled to create those iconic drips.
- Visible Fruit Inclusions: Using crushed yellow pineapple ensures that every single slice is packed with vibrant, juicy bits of fruit.
- Professional Cake Crumb: A fine-textured, pale-yellow interior that mimics the quality of a high-end bakery loaf.
- Rustic Presentation: Beautifully suited for serving on light-colored wooden boards with just a few stray crumbs for that “perfectly imperfect” look.
The Foundation: Essential Ingredients for Success
All-Purpose Flour (375g / 3 cups): This provides the necessary structure to hold the heavy fruit inclusions without the bread collapsing. It creates the “fine crumbs” visible in the final presentation.
Crushed Pineapple (565g / 20 oz can): Do not drain the juice entirely; the liquid is vital for the pale-yellow color and the intense tropical moisture profile. It ensures the “moist cake crumb” we are aiming for.
Granulated Sugar (200g / 1 cup): This provides sweetness and aids in the caramelization of the crust, giving it that golden-brown finish under the natural light.
Large Eggs (2): These act as the primary binding agent and contribute to the “pale-yellow interior” through the richness of the yolks. Ensure they are at room temperature for better emulsification.
Vegetable Oil (120ml / 1/2 cup): Oil is the secret to a “damp texture” that lasts. It coats the flour proteins, preventing excess gluten development and keeping the loaf soft.
Baking Powder & Baking Soda (1 tsp each): The baking powder provides lift, while the soda reacts with the acidic pineapple to create an airy, light crumb structure.
Powdered Sugar (240g / 2 cups): The base of our thick white glaze. It must be sifted to ensure the glaze is “glistening” and smooth without any unsightly lumps.
Heavy Cream or Whole Milk (30-45ml / 2-3 tbsp): Used to thin the glaze to the perfect “dripping” consistency. This creates the “thick, opaque white” look seen in our visual prompt.
Professional Equipment for the Perfect Loaf
To achieve the “golden-brown baked loaf” look, the choice of pan is critical. A light-colored aluminum 9×5 inch loaf pan is recommended, as it conducts heat evenly without over-browning the edges too quickly. Dark pans can lead to a crust that is too hard and dark, rather than the “slightly caramelized” finish we desire.
A wire cooling rack is also essential. Allowing the bread to cool slightly on the rack before glazing prevents the icing from melting and running off completely. You want the glaze to “glisten under soft natural light” and stay thick on top, just as pictured.
Step-by-Step Instructions to Tropical Perfection
1. Preparing the Tropical Base
Preheat your oven to 350°F (175°C). Grease your loaf pan generously with butter and a dusting of flour. In a large mixing bowl, whisk together your flour, baking powder, baking soda, and salt until perfectly aerated.
2. Emulsifying the Wet Ingredients
In a separate bowl, beat the eggs and sugar until the mixture is pale and slightly frothy. Slowing stream in the oil while whisking constantly. Stir in the crushed pineapple (with about 2 tablespoons of its juice) and a teaspoon of vanilla extract. This creates the “damp texture” foundation.
3. Folding for a Fine Crumb
Gently fold the dry ingredients into the wet mixture using a spatula. Stop the moment you no longer see streaks of flour. Over-mixing will destroy the “soft cake crumb” and make the bread tough and rubbery.
4. The Baking Process
Pour the batter into the prepared pan and smooth the top. Bake for 50-60 minutes. Look for the “Visual Cue”: a deep golden-brown crust and a toothpick that comes out clean with only a few moist crumbs attached.
5. Crafting the Signature Thick Glaze
While the loaf cools, whisk the powdered sugar with the cream and a splash of pineapple juice. It should be thick enough to hold its shape but fluid enough to drip. Once the bread is cool to the touch, drizzle the glaze artistically over the top, allowing it to “drip slowly down the sides.”
Expert Tips for the Most Visual Impact
- The Drip Technique: To get those “thick, opaque” drips, apply the glaze in two stages. A thin base layer, followed by a thicker second layer once the first has set slightly.
- Pineapple Distribution: Toss your crushed pineapple with a tablespoon of flour before adding it to the batter. This prevents the “juicy bits” from sinking to the bottom of the loaf.
- Room Temp Ingredients: Always use room temperature eggs and pineapple. Cold ingredients can cause the fat in the batter to seize, leading to an uneven “moist cake crumb.”
- The Rustic Look: Serve on a light-colored wooden board as suggested in the blueprint. Use a serrated knife for clean, thick slices that show off the pale-yellow interior.
Storage, Reheating, and Freezing Advice
This Pineapple Bread stays remarkably moist for up to 4 days when wrapped tightly in plastic wrap and kept at room temperature. Because of the “thick white sugar glaze,” it is best to avoid stacking slices unless you place parchment paper between them.
If you wish to freeze the loaf, it is best to do so before glazing. Wrap the cooled loaf in a double layer of foil and freeze for up to 3 months. When ready to serve, thaw at room temperature and apply the fresh glaze for that “glistening” finish.
What to Serve With This Pineapple Loaf
This bread is a versatile star that fits into many menus. For a complete weekend brunch, pair a slice with our cornmeal pancakes for a wonderful textural interplay between the soft bread and the slightly gritty, buttery pancakes.
If you are serving this as a late afternoon snack, it pairs beautifully with savory elements. After a hearty meal like our easy chicken dinner ideas, a slice of this tropical bread serves as a light yet satisfying conclusion.
For those who enjoy a bit of heat with their sweet, try serving this alongside some hot honey chicken. The sweetness of the pineapple and the thick glaze provides a cooling counterpoint to the spicy honey glaze.
Frequently Asked Questions
You can, but you must pulse it in a food processor until it reaches a crushed consistency. Fresh pineapple contains more active enzymes (bromelain), which can make the bread even softer, so bake it immediately after mixing.
Look for a deep golden-brown crust and a slight crack down the center. A toothpick inserted into the thickest part should come out with a few moist crumbs but no raw batter.
Use a high ratio of powdered sugar to liquid and ensure the bread is completely cool before glazing. If the bread is warm, the glaze will melt and become transparent.
For this specific recipe, do not drain the pineapple completely. The juice is essential for creating the soft, pale-yellow interior and providing the moisture needed for a damp cake crumb.
Density usually comes from over-mixing the batter. Once you add the dry ingredients, fold gently until just combined. This preserves the fine crumb structure seen in the visual blueprint.
The Ultimate Moist Pineapple Bread Recipe
Pineapple Bread: The Ultimate Ultra-Moist Glazed Loaf Recipe
Ingredients
Equipment
Method
- Preheat oven to 350°F (175°C) and grease a 9x5 inch loaf pan.
- Whisk flour, baking powder, baking soda, and salt in a large bowl.
- In a separate bowl, beat eggs and sugar until pale; whisk in oil, vanilla, and crushed pineapple with juice.
- Gently fold the dry ingredients into the wet until just combined to ensure a fine cake crumb.
- Pour into the pan and bake for 50-60 minutes until the crust is golden-brown and a toothpick comes out clean.
- Cool in the pan for 10 minutes, then move to a rack. Whisk powdered sugar and cream until thick and opaque; drizzle over the cooled bread.
Notes
Wait for the bread to cool completely before glazing for the thickest drips.
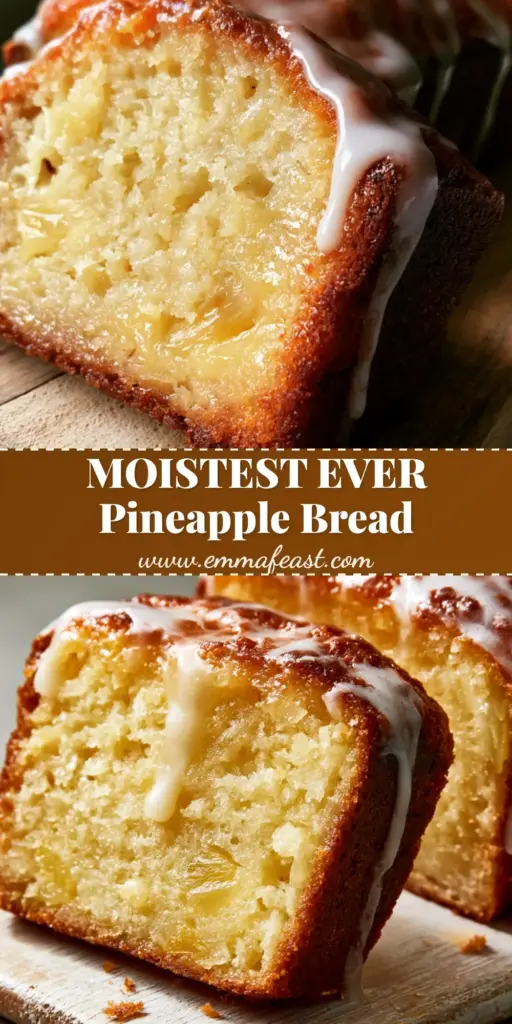
This Pineapple Bread is more than just a recipe; it’s a sensory experience. From the first sight of that thick, glistening glaze to the last “fine crumb” on the wooden board, it is designed to impress. The combination of the caramelized crust and the pale-yellow, juicy interior makes it a repeat request in any household.
If you enjoyed this tropical escape, please leave a comment below and let me know how yours turned out! Don’t forget to sign up for our newsletter for more bakery-style recipes delivered straight to your inbox. You can also save this recipe to your “Brunch Favorites” board on Pinterest.